Last updated November 18, 2026
Free written scope consultation - allowances, timeline, and change-order rules on paper before a single trade is scheduled
The Complete Driveway & Pavers Guide for Santa Ana Homeowners
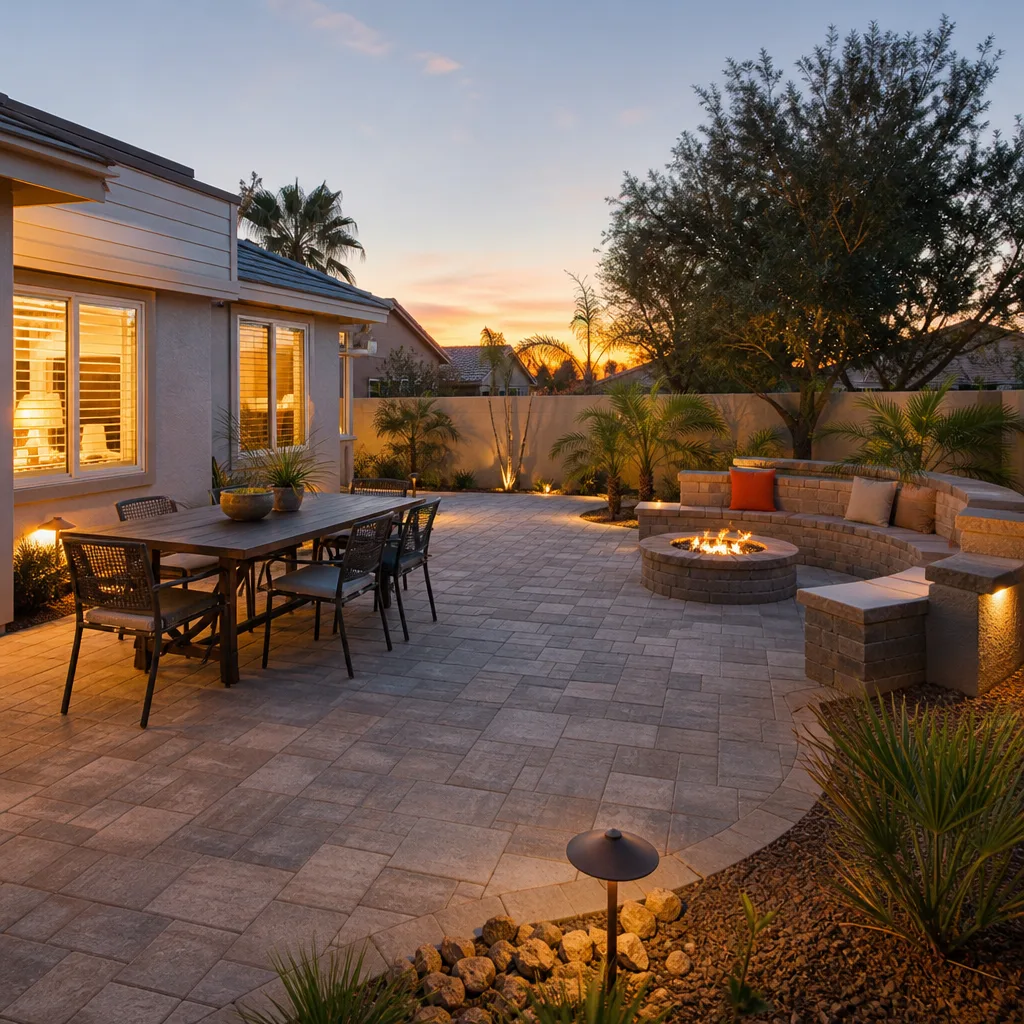
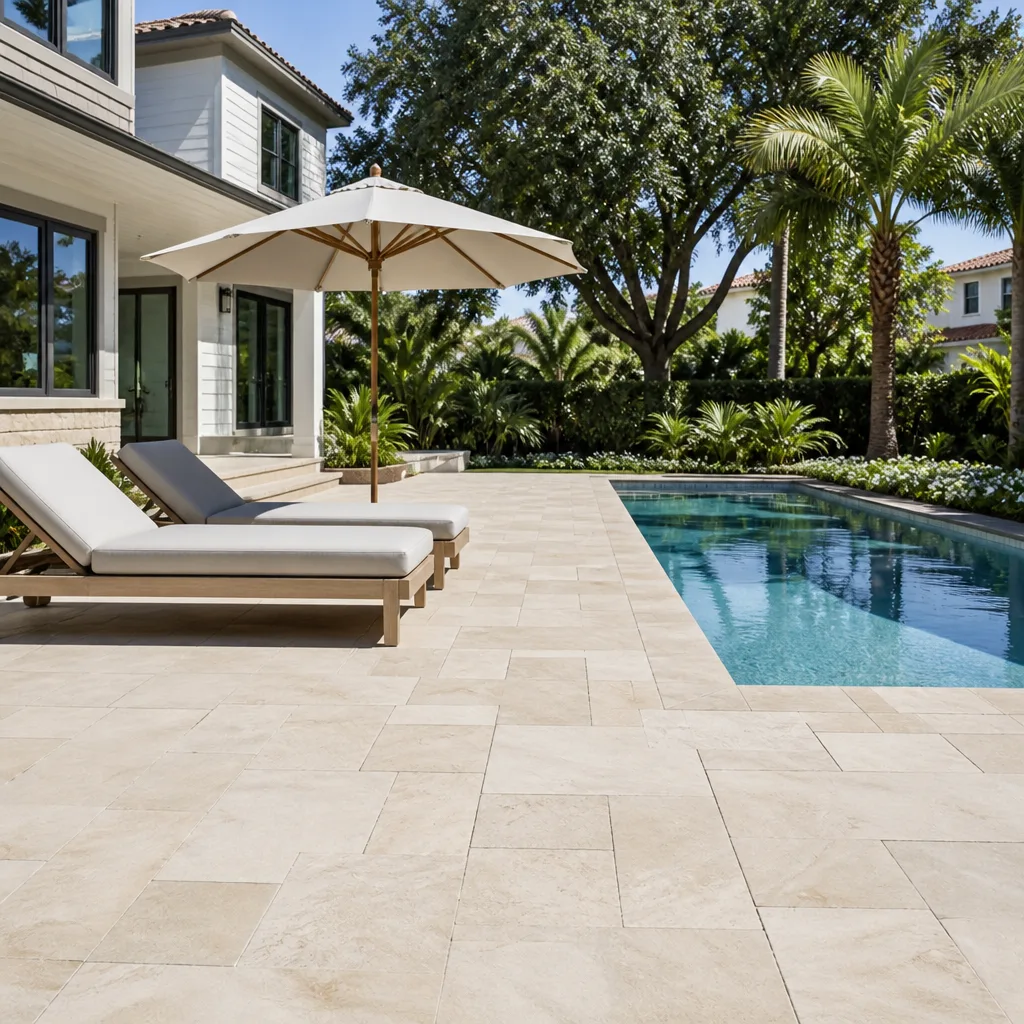
Most failed paver driveways in Orange County don’t fail because of bad pavers. They fail because whoever installed them followed a guide written for Arizona caliche or Georgia red clay instead of the expansive soil sitting under Santa Ana neighborhoods. We’ve pulled up eight-year-old driveways in Santa Ana where the Belgard pavers were still perfect and the base underneath had turned to mush. The material was never the problem. The dirt was. This guide covers what actually matters here: the 6-inch compacted base Santa Ana’s clay demands, how HOA approvals really work in the tracts off Bristol and Warner, which permeable options the city favors for runoff, real 2024 Santa Ana labor costs, and how to read two bids side by side without getting fooled.
Quick Answer
A paver driveway in Santa Ana typically runs $14 to $26 per square foot installed in 2024, and the single biggest factor in whether it lasts 25 years or fails in 8 is base preparation, not paver brand. Santa Ana’s clay-heavy soil expands when wet and shrinks when dry, so you need a minimum 6-inch compacted aggregate base (not the 4-inch spec national guides recommend), proper drainage away from the slab, and edge restraint that actually holds. Everything else – color, pattern, brand – is the easy part.
Styles & brands we work with
- Kitchen remodeling
- Bathroom remodeling
- Home additions & ADU
- Roofing
- Windows & doors
- Driveway & pavers
- Fence
Table of Contents
- Why Santa Ana’s Clay Soil Changes Everything About Base Prep
- What Driveway Pavers Actually Cost in Santa Ana in 2024
- HOA Rules and Paver Approvals in Santa Ana Tracts
- Permeable Pavers and Santa Ana’s Runoff Requirements
- How to Compare Two Contractor Bids Line by Line
- The Install Process, Step by Step
- Keeping a Santa Ana Paver Driveway Looking New
Why Santa Ana’s Clay Soil Changes Everything About Base Prep
The soil under most of Santa Ana is expansive clay – the kind that swells when it takes on water and shrinks as it dries. That cycle happens here more than people realize. Santa Ana gets roughly 12 to 14 inches of rain a year, but it arrives in a handful of concentrated storms, and the ground goes from bone dry to saturated in days. Add the occasional cold snap that pushes nighttime temps near freezing, and you get a small but real freeze-thaw effect in the top few inches of soil. That movement is what destroys a shallow base.
National paver guides call for a 4-inch compacted base. That spec was written for stable, well-draining soils. On Santa Ana clay, a 4-inch base is a shortcut that shows up as rocking pavers, sunken corners, and joint sand washing out within a few seasons. We install a minimum 6-inch compacted Class II aggregate base on Santa Ana driveways, and 8 inches under anything that takes regular vehicle traffic like an RV pad or a double-wide driveway off a busy street.
Base prep here also means:
- Excavating to the right depth. If the finished paver surface needs to sit flush with the garage slab, you have to dig down 6 inches of base plus 1 inch of bedding sand plus the paver thickness – about 10 to 11 inches total. Contractors who skip the excavation math end up with a driveway that sits proud of the garage and channels water the wrong way.
- Compacting in lifts. Six inches of base goes down in two 3-inch lifts, each compacted with a plate compactor before the next goes in. Dumping 6 inches at once and hitting it with a tamper leaves loose material at the bottom.
- Grading away from the house. A minimum 2% slope away from the garage and foundation. On flat Santa Ana lots this is a design decision made before the first shovel hits the ground.
- Edge restraint set in concrete. Plastic edge restraint pinned into the base is what keeps the whole field from spreading. It’s a small line item that separates a 25-year driveway from a 10-year one.
If a bid doesn’t mention excavation depth, base thickness, or compaction, it’s not a complete bid. It’s a number.
What Driveway Pavers Actually Cost in Santa Ana in 2024
National average cost guides will tell you a paver driveway runs $8 to $14 per square foot. Those numbers undercut Santa Ana labor reality by roughly 30%, and they assume the 4-inch base spec that doesn’t hold up on our soil. Here’s what we actually see come across bids and contracts in Santa Ana in 2024, broken out so you can compare apples to apples.
- Standard concrete paver, 6-inch base, full install: $14 to $22 per square foot
- Premium paver (Belgard, Techo-Bloc, tumbled or textured finishes): $18 to $26 per square foot
- Permeable paver system with open-graded base and drainage: $20 to $30 per square foot
- Base prep and excavation only (if you’re reusing existing pavers): $5 to $9 per square foot
- Tear-out and haul-away of existing concrete or asphalt: $2 to $4 per square foot
- Edge restraint, concrete-set: $3 to $5 per linear foot
- Sealing (recommended every 3 to 5 years in Santa Ana sun): $1.50 to $3 per square foot
A typical two-car Santa Ana driveway runs 400 to 600 square feet. At $16 to $22 per square foot for a standard concrete paver with the correct base, that’s $6,400 to $13,200 installed. A 500-square-foot driveway with premium pavers, tear-out, and a permeable system can land between $12,000 and $17,000. Those ranges are real for this zip code, and they include the base work that cheap bids leave out.
The number that should make you pause is a bid under $10 per square foot for a full install. It’s almost always a sand-set install with a 4-inch base, or a re-sand over existing pavers with no base correction at all. Ask the contractor to put the base spec in writing. If they won’t, that tells you what you need to know.
When the driveway connects to a new front walk or a patio, the same base principles apply, and bundling the work usually brings the per-square-foot cost down. Our Driveway & Pavers in Santa Ana page covers the hardscape scope in more detail, and if the project also touches a retaining wall or a new front fence, we scope those together so the grading is done once.
HOA Rules and Paver Approvals in Santa Ana Tracts
Santa Ana has a lot of older tract neighborhoods built between the 1950s and 1980s, plus newer developments that came with HOA rules attached. If your home sits in a community with an architectural review committee, the paver color and pattern almost always need written approval before you order material – and that approval process has its own rhythm.
Here’s how the approval flow usually works:
- Request the HOA’s architectural guidelines in writing. Most Santa Ana-area HOAs have a specific document listing approved hardscape colors, patterns, and sometimes a required percentage of the driveway that must remain traditional concrete. Get it before you pick a paver.
- Submit a design package. That means a scaled drawing of the driveway, the paver brand and color name (not just “tan”), the pattern (herringbone, running bond, ashlar), and the edge restraint you plan to use.
- Wait for written approval. Committees meet monthly in most Santa Ana tracts. Approvals typically take 2 to 6 weeks. Ordering pavers before you have the letter in hand is how homeowners get stuck with a pallet of material they can’t legally install.
- Keep the approval in the job file. If the HOA changes board members mid-project, that letter is your proof.
We’ve seen HOAs reject a paver choice not because of the color but because the pattern didn’t match the adjacent sidewalks. We’ve also seen a homeowner get approval for a color the HOA later said was discontinued. Local HOAs can be particular, and the material approval is the part that trips people up. Put the approved brand, color, and pattern name in writing on your contract, so there’s no confusion at delivery. That’s the same reason every scope and allowance on a Barrett & Sons job goes on paper – an allowance that isn’t on paper is a surprise waiting for a date.
Permeable Pavers and Santa Ana’s Runoff Requirements
Permeable pavers are a growing part of Santa Ana hardscape work, and for good reason. The Santa Ana Municipal Code and the regional water quality rules that govern Orange County increasingly favor permeable surfaces because they reduce runoff into storm drains, and runoff carries pollutants straight to the coast. If your project adds or replaces a significant amount of impervious surface – and a full driveway replacement counts – permeable pavers can help keep you compliant and can head off drainage problems caused by water sheeting onto a neighbor’s property.
How a permeable system works differs from a standard install in a few specific ways:
- Open-graded base. Instead of dense Class II aggregate, permeable systems use washed, open-graded stone that lets water pass through. The base is still compacted, still 6 inches minimum, but the gradation is different.
- Wider joint openings with small stone in the joints. The joints are filled with a clean, small aggregate rather than fine sand, so water can move through the surface.
- Subsurface drainage or a storage layer. On Santa Ana clay, water can’t always drain into the soil fast enough on its own, so a permeable system often includes a perforated underdrain tied to the storm system or a dry well. On tight clay, a permeable surface without a way for the water to leave is a bathtub.
- Slope still matters. Even a permeable driveway needs to grade away from the house.
Permeable pavers cost more up front – the $20 to $30 per square foot range versus $14 to $22 for standard – but they can reduce the amount of traditional drainage you have to build and they satisfy the runoff goals the city is pushing toward. For Santa Ana homeowners who’ve had water ponding on the driveway after storms, permeable is worth pricing out before you decide.
How to Compare Two Contractor Bids Line by Line
Two bids for a Santa Ana paver driveway can differ by $4,000 and look almost identical on the summary page. The difference is almost always in the base. Here’s how to read them side by side so you’re comparing a full-base install to a full-base install, not a full-base install to a sand-set shortcut.
- Find the excavation and base line. It should state the depth of excavation and the thickness of compacted base in inches. If it doesn’t, ask for it in writing. “Proper base prep” is not a spec.
- Check the aggregate type. Class II aggregate for a standard system, open-graded for permeable. “Gravel” or “base material” without a grade is a red flag.
- Look for edge restraint. It should be listed, with the material and whether it’s concrete-set. A bid without edge restraint is missing a real cost.
- Confirm the paver brand and color name. Belgard, Techo-Bloc, or a named equivalent – with the specific color and pattern. “Tan paver” is too vague to compare.
- Read the drainage scope. Is there a slope plan? A drain? A connection to the storm system? This line is often the first to disappear in a cheap bid.
- Look for tear-out and haul-off as separate line items. If they’re bundled into a lump sum, you can’t tell what the disposal actually costs.
- Check what happens to price changes. A reputable contractor puts any scope change in a written change order before work proceeds. If the bid doesn’t say that, assume the final invoice is an open question.
Line-item bids are the only way to protect yourself. A lump-sum bid from a company you’ve never met tells you almost nothing about what you’re buying. We write every scope, every allowance, and every price change onto paper before work happens, and we’ll sit down with a competitor’s bid and walk through it line by line if you want a second opinion.
The Install Process, Step by Step
Knowing the sequence helps you spot a shortcut when you see one on your own driveway. Here’s the order a full-base Santa Ana paver install follows.
- Plan and permit check. Confirm HOA approval and any city requirements, mark utilities, and set the grading plan with the finished height at the garage slab.
- Tear-out and haul-off. Remove the existing concrete, asphalt, or old pavers and haul it away the same week.
- Excavate to depth. Dig down 10 to 11 inches to account for base, bedding sand, and paver thickness.
- Place and compact the base in lifts. Two 3-inch lifts of Class II aggregate, each compacted. This is the step that gets rushed, and it’s the one that matters most on Santa Ana clay.
- Set edge restraint. Pin the restraint into the compacted base and set it with concrete along the driveway perimeter.
- Bedding sand and screed. About 1 inch of bedding sand, screeded to grade.
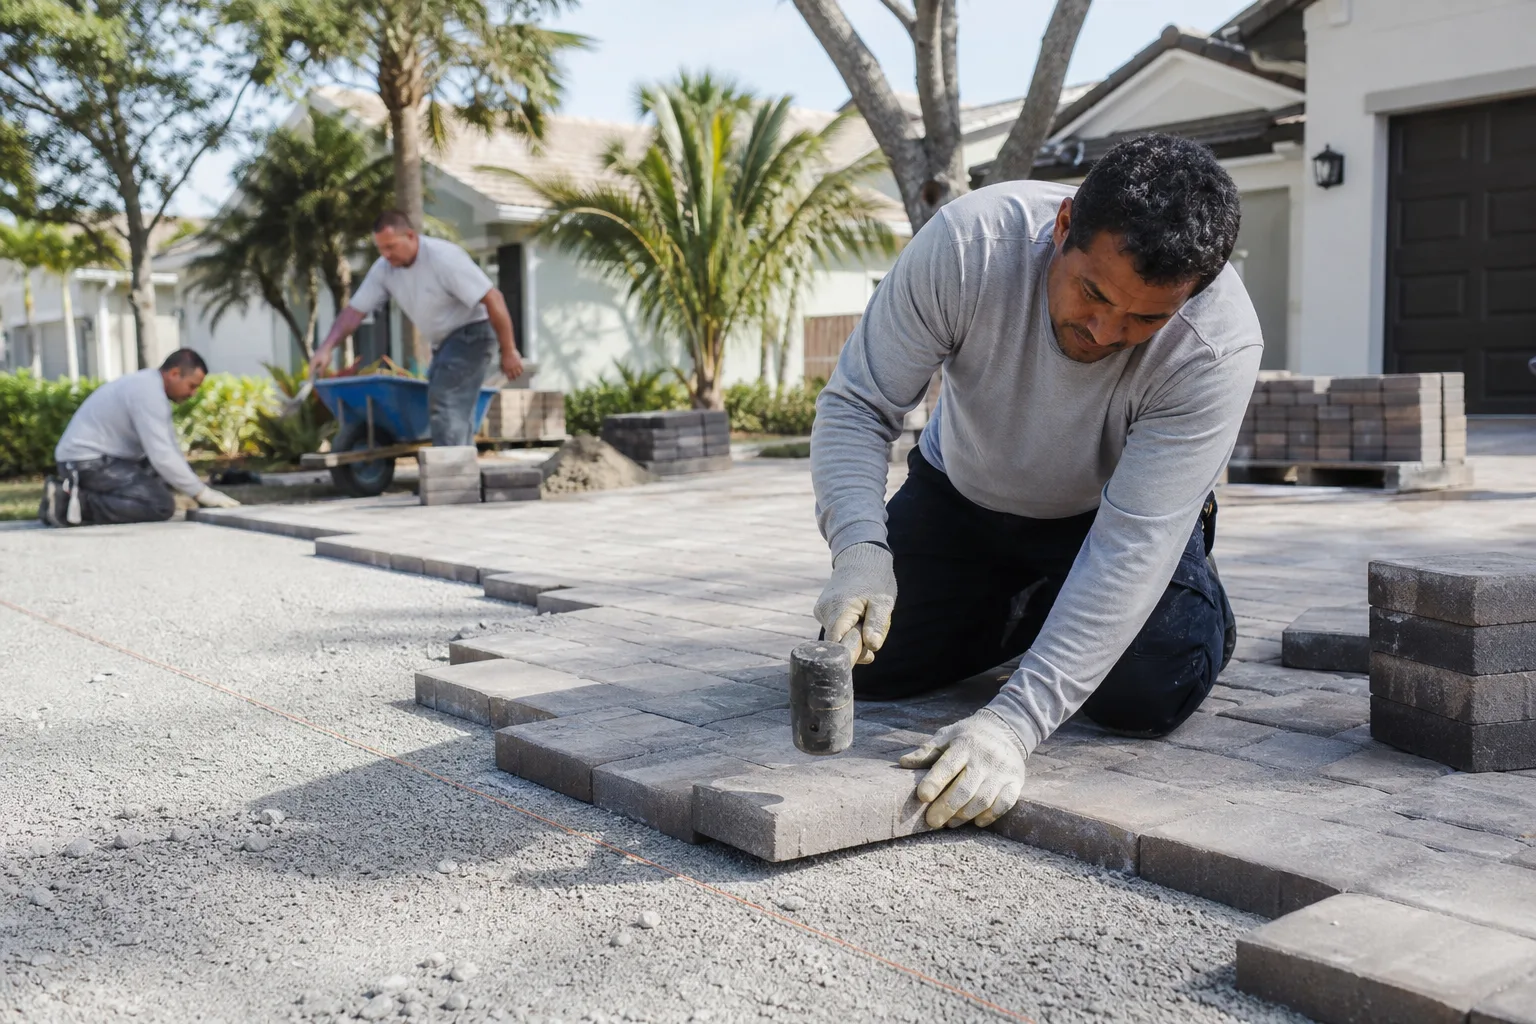
- Lay the pavers. Set the field in the approved pattern, cutting edge pieces as you go.
- Compact and fill joints. Plate-compact the finished field, then sweep in joint sand and compact again.
- Final grade check and cleanup. Verify the slope away from the house, sweep the surface, and walk the job with you.
Sealing usually waits 30 to 60 days to let moisture escape, then gets reapplied every 3 to 5 years depending on sun exposure. The intense Santa Ana summer sun is hard on pavers, and a good sealer slows the fading and keeps the joint sand in place.
Keeping a Santa Ana Paver Driveway Looking New
A properly installed paver driveway is low maintenance, not no maintenance. Here’s what keeps one looking sharp in Santa Ana.
- Re-sand joints every few years. Joint sand settles and washes out. Refilling joints keeps the field locked and stops pavers from shifting. This is a weekend job for a homeowner.
- Re-seal every 3 to 5 years. The UV load in Santa Ana fades unsealed pavers faster than most of the country. Sealing also makes oil and tire marks easier to clean.
- Clean with a stiff broom, not a pressure washer on high. A wide fan tip at moderate pressure is fine; a narrow jet at high pressure blasts the joint sand out and dulls the surface.
- Deal with oil stains fast. Absorbent material first, then a dedicated paver cleaner. Waiting a week makes a permanent mark more likely.
- Watch for settling after heavy rain. A low spot that holds water after a winter storm is a sign something underneath is moving. On Santa Ana clay, that’s worth a look before it grows.
- Skip the salt in a cold snap. The occasional Santa Ana nighttime freeze tempts people to throw salt down. Salt doesn’t do pavers any favors. Sand for traction is the better move.
Common Mistakes to Avoid
- Accepting a 4-inch base. The national guide spec doesn’t hold up on Santa Ana clay. Six inches is the floor, not the ceiling.
- Ordering material before HOA approval. A pallet of pavers your committee hasn’t approved is a very expensive driveway ornament.
- Hiring the lowest bid without a base spec in writing. The cheapest number is almost always the shallowest base. Ask for the excavation depth and base thickness.
- Ignoring drainage planning. A flat Santa Ana lot with no grading plan sends water toward the garage or the neighbor. It has to be designed before the first dig, not after the first flood.
- Skipping permeable options on a ponding driveway. If you’ve had standing water after storms, price a permeable system before defaulting to standard pavers.
- Paying for premium pavers and pairing them with a cheap base. You’re paying for the part you’ll see; the part you won’t see is what makes it last.
- Forgetting the permit side. Anything that changes a driveway apron or touches the right-of-way may need a city permit. The last contractor most customers used told them permits were optional. They weren’t.
See the difference
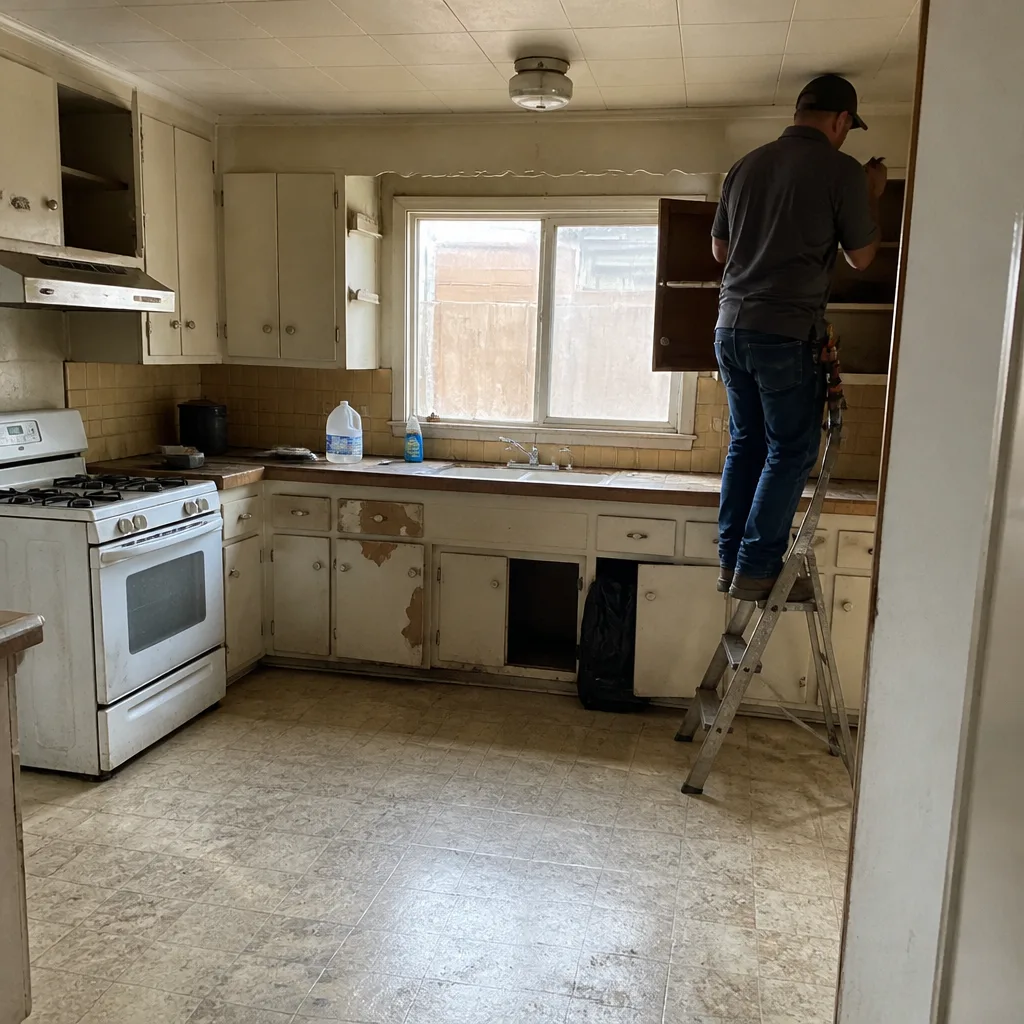 Before
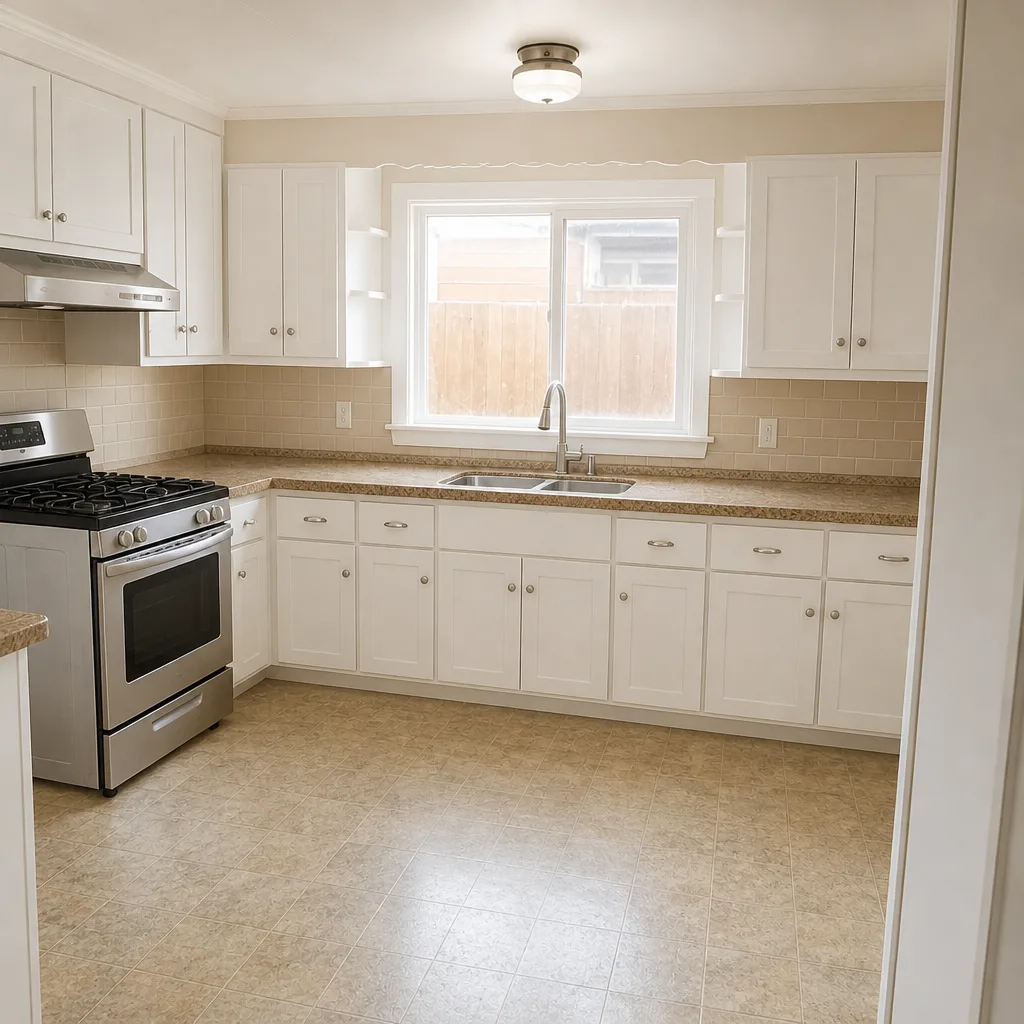 After
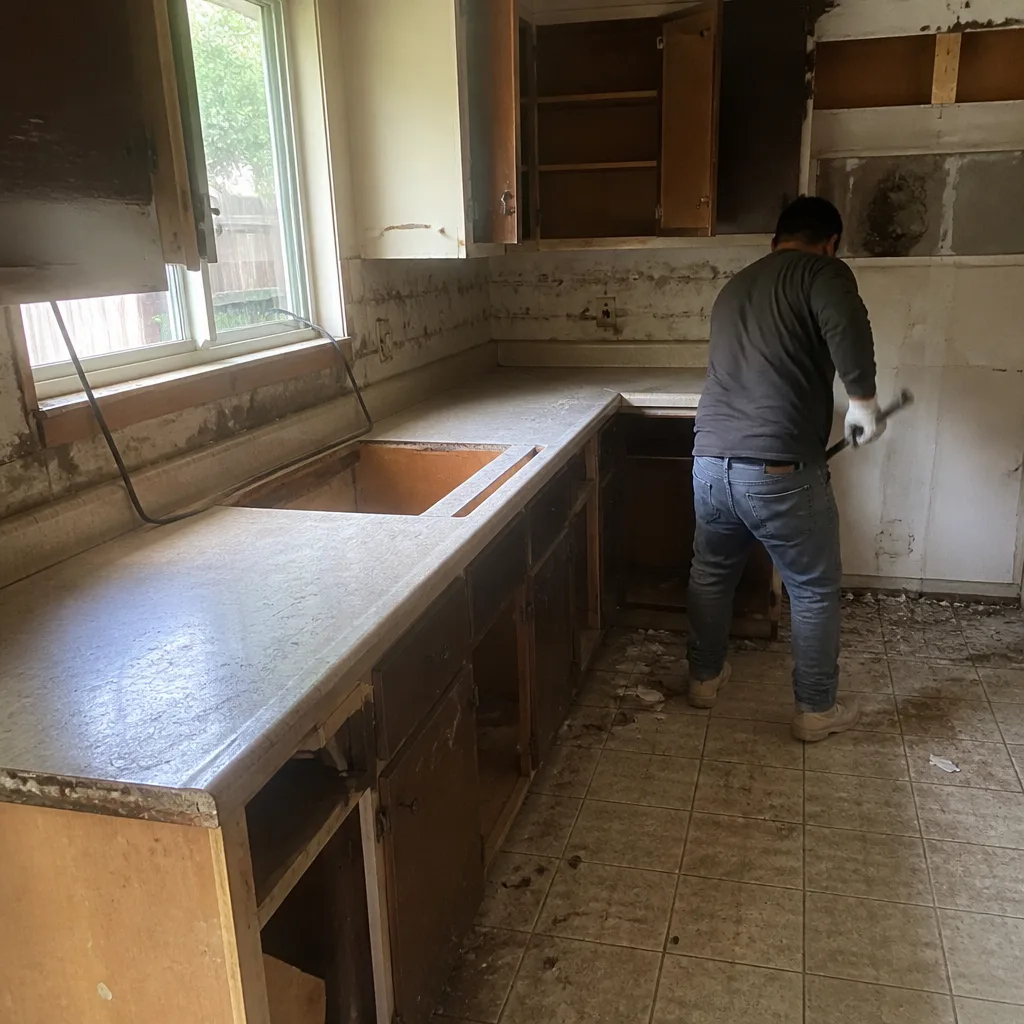 Before
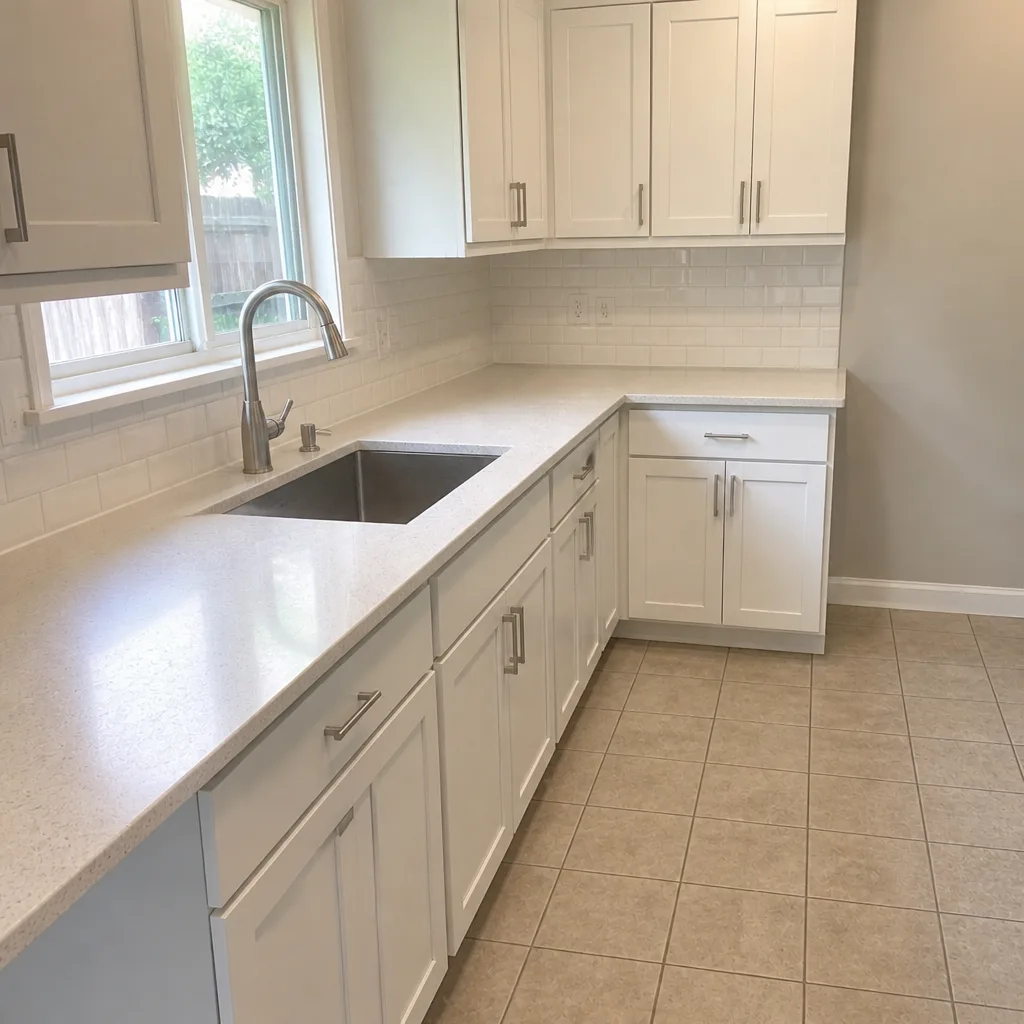 After
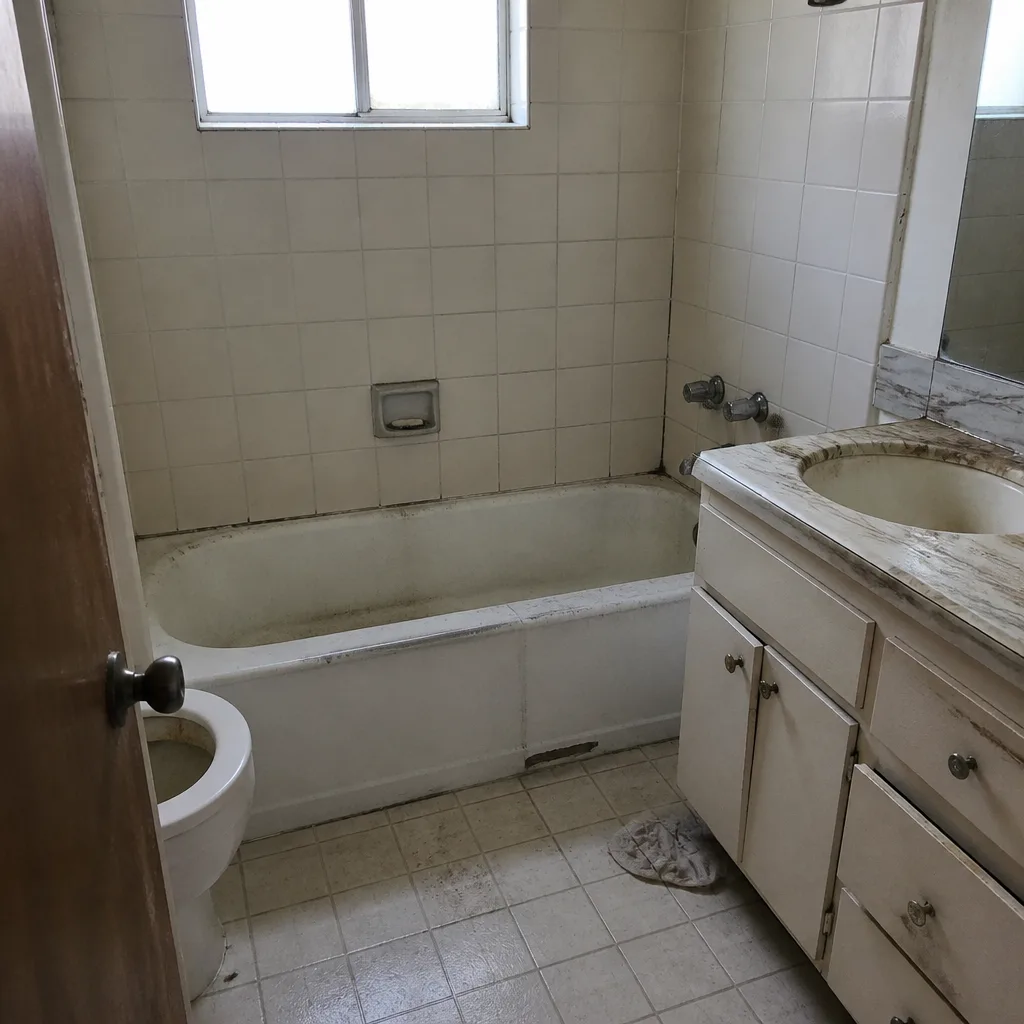 Before
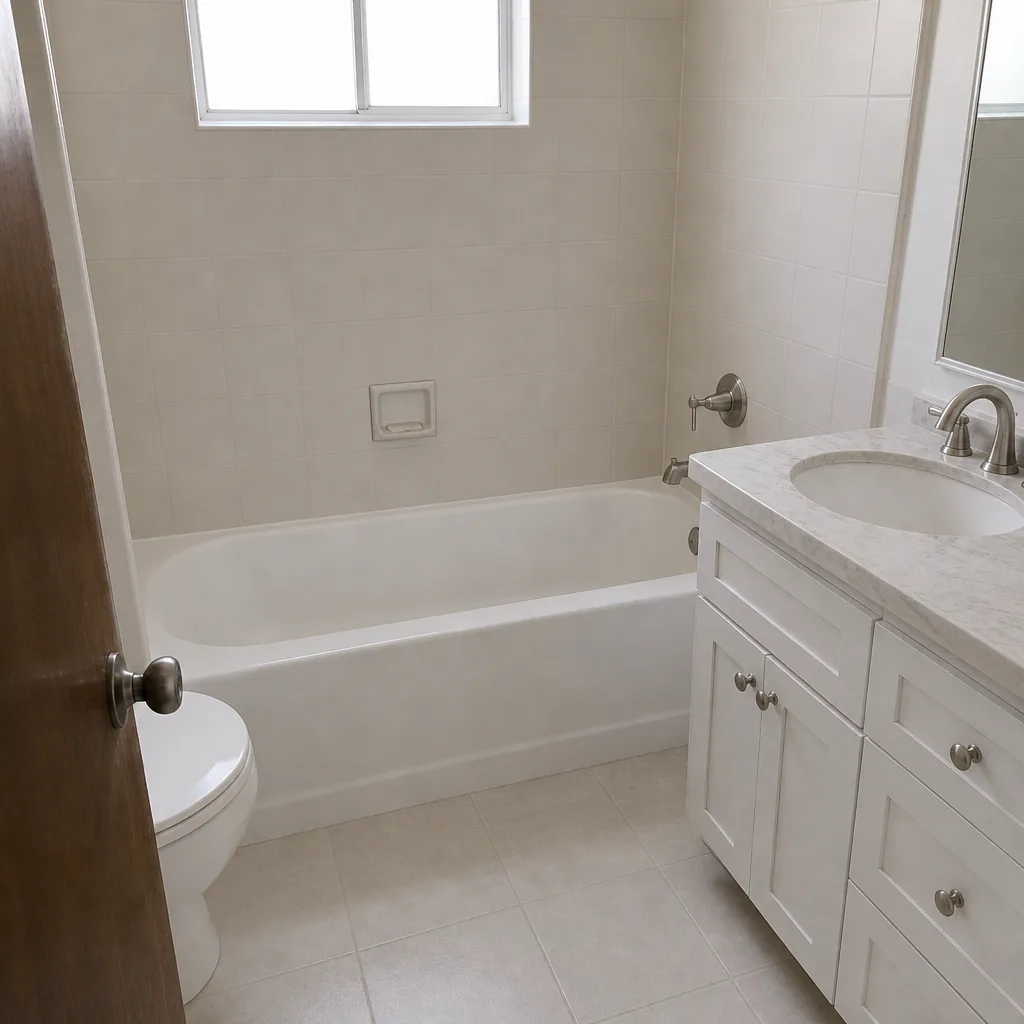 After
When to Call a Professional
Some paver jobs in Santa Ana are a genuine do-it-yourself project. A small front walk, a garden path, a 10-by-10 patio on a sand base – all fair game for a motivated homeowner. A full driveway is not, mainly because of the base work. Six inches of compacted base in two lifts, excavation to the right depth, edge restraint set in concrete, and grading that moves water away from the foundation is the kind of work that goes wrong quietly and shows up years later as a sunken corner or a window that won’t shut.
Call a professional when the driveway is the job, when your lot is on clay with drainage problems, when your HOA needs a design package, or when you’re pairing pavers with a fence, retaining wall, or an addition. On a wider remodel that also touches the front of the house – a new fence line, an entry walk, or an ADU with its own driveway – get the grading planned once. Our Fence Installation in Santa Ana and Home Additions & ADU in Santa Ana pages go into detail on how those link to hardscape work.
Barrett & Sons Construction Santa Ana offers free estimates in Santa Ana, with every scope, base depth, and allowance written out before you sign anything. Call (888) 325-4971. We pull the permits, we grade for the soil under your driveway, and every completed job carries the written 90-Day Done Right Promise: if something’s not right, we come back and fix it.
Frequently Asked Questions
A paver driveway in Santa Ana runs $14 to $26 per square foot installed in 2024, with the exact number depending on paver brand, base requirements, and whether you need tear-out. A typical 500-square-foot two-car driveway lands between $6,400 and $17,000. Call (888) 325-4971 for an exact quote on your driveway – estimates are free.
Santa Ana’s expansive clay soil swells and shrinks with the wet-dry cycle, and a 4-inch base doesn’t absorb that movement. We spec a 6-inch minimum compacted base to keep the field stable through seasonal moisture swings and the occasional cold snap. Base depth is the line item that separates a long-lived driveway from a short one.
Not without a written change order. Any scope change, allowance change, or price change arrives on paper before work proceeds, so the number you sign is the number you pay. Ask any contractor to put that in writing before you hire them.
When a permit is required – typically for anything that changes the driveway apron or touches the public right-of-way – yes, we pull it and get the inspection signed. Permits are not optional, and a contractor who suggests otherwise is giving you the wrong advice.
Sometimes, but it depends on the condition and grading of the existing slab, and it’s never a way to skip base work on Santa Ana clay. An overlay can reduce demo cost on a sound slab, but a cracked, heaved, or poorly-draining slab has to come out. We’ll tell you which situation you’re in after looking at it.
A typical 500-square-foot Santa Ana driveway takes 3 to 5 working days from tear-out to final compaction, weather permitting. If the job includes permeable drainage or extensive grading, add another 1 to 2 days. Timeline gets set in writing before we start.
The Bottom Line
The paver is the easy decision. The base is the whole game. On Santa Ana’s clay, a 6-inch minimum compacted base, proper excavation depth, edge restraint set in concrete, and grading away from the house are what separate a driveway that lasts 25 years from one that fails in 8. Get the base and drainage spec in writing, get HOA approval before you order a single paver, and compare bids line by line so you’re not paying a full-base price for a sand-set shortcut. The numbers in this guide are real for Santa Ana in 2024, and any contractor who can’t match them on paper is selling you something else. Our Barrett & Sons Construction Santa Ana home page is the place to start if you want to see how we handle the whole job.
Barrett & Sons Construction Santa Ana is owner-operated, founded in 1998, and every eligible job gets permits pulled, inspections signed, and the written 90-Day Done Right Promise. Calls are answered by a live person around the clock, and we publish our name and address because we want you to check them. Call (888) 325-4971 for a free estimate on your Santa Ana driveway, and ask about the free second opinion on any written estimate while you’re at it.
Written by the team at Barrett & Sons Construction Santa Ana.