Last updated November 18, 2026


Free written scope consultation - allowances, timeline, and change-order rules on paper before a single trade is scheduled
Driveway & Pavers Maintenance Checklist for Santa Ana Homeowners
The number-one reason pavers fail in Santa Ana isn’t the freeze-thaw cycle people read about online – it’s alkali soil migration and standing water after the first heavy rain of the season hitting a base that dried out all summer. Our clay here is loaded with salts, and our dry season runs long enough that most homeowners forget the base underneath is even there. Then October hits, water pools against a crust that no longer drains, and the damage shows up in a single weekend. This checklist is built around what actually breaks on Santa Ana driveways, season by season, so you can catch the small stuff before it becomes a re-grade. We’ll cover efflorescence, the first-rain inspection, heat and sealing schedules, tree roots, and how to tell a Saturday repair from a base job.
Quick Answer
Maintaining driveway pavers in Santa Ana comes down to four habits: keep the joints full of polymeric sand, do a full walk-through the morning after the first significant fall rain, seal on a heat-aware schedule (spring or late fall, never mid-August), and catch efflorescence and root heave early before they undermine the base. Most Santa Ana paver problems start with water and salt, not wear from cars.
Styles & brands we work with
- Kitchen remodeling
- Bathroom remodeling
- Home additions & ADU
- Roofing
- Windows & doors
- Driveway & pavers
- Fence
Table of Contents
- Why Santa Ana’s Alkaline Clay Eats Pavers (and the Sand That Fights Back)
- The First-Rain Inspection: Your Most Important 20 Minutes of the Year
- Heat Island Effect: Asphalt vs. Pavers in a Santa Ana Summer
- When to Seal and When to Wait
- Tree Roots Under a Paver Field: What It Looks Like Before It’s a Trip Hazard
- The 90-Minute Saturday Job vs. the Base Re-Grade
- Santa Ana Seasonal Maintenance Calendar
- Common Mistakes to Avoid
Why Santa Ana’s Alkaline Clay Eats Pavers (and the Sand That Fights Back)
Santa Ana sits on clay soils with a high pH, and that chemistry does two slow things to a paver field. First, it pushes dissolved salts up through the base and out through the joints and the face of the pavers, which is why you see that chalky white haze – efflorescence – creeping across a driveway that looked clean last spring. Second, alkali clay swells when it wets and shrinks when it dries, and that movement works on the bedding layer until the pavers start to rock.
The fix that matters most is the joint sand. Standard mason sand is the wrong choice here. We install and recommend a polymeric joint sand that sets up firm and resists water penetration; it locks the joints, blocks the wicking that carries salts to the surface, and holds the field together through the shrink-swell cycle. It’s not a cure-all, but it’s the difference between a driveway that needs occasional touch-up and one that needs a re-grade every few years.
What to watch for with alkaline soil:
- White haze on the surface. Efflorescence. Brush it dry first; if it returns after a rain, the salts are still migrating and you have a drainage problem feeding it.
- Loose or sinking joints. Sand washing out of the joints is normal at first. Sand gone from whole sections means water is running through, not off.
- Rocking pavers. A paver that tips when you step on the corner has lost bedding support. One or two is a repair. A cluster is a base problem.
- Chalky crust at the base of a slope. Salts accumulating where water sits. That’s the spot to check first after rain.
None of this is unique to pavers in general – it’s specific to what our soil does. If you’ve watched a neighbor’s driveway haze over while yours stays clean, the difference is usually joint sand and drainage, not luck.
The First-Rain Inspection: Your Most Important 20 Minutes of the Year
The morning after the first real October or November rain is the single best diagnostic window you’ll get all year in Santa Ana. All dry season, small problems build quietly: a low corner, a settled joint, a hairline crack in the base, a grade that’s off by a quarter inch. The first heavy rain exposes every one of them at once, because that’s when water finally has enough volume to pool, run, and reveal where it’s going.
Here’s the walk-through, in order:
- Look for standing water before it drains. Get out early. Any puddle that’s still there an hour after the rain stops is sitting where the grade is wrong.
- Follow the low edge. Water should leave the driveway at the street or a designed drain. If it’s running toward the garage, the house, or a fence line, that’s the priority fix.
- Check the joints. Look for sand that’s been pushed out or washed to the edges. Fresh sand loss after one rain means the joints weren’t full to begin with.
- Walk the field barefoot or in soft shoes. Rocking pavers and soft spots show up underfoot before they show up to the eye.
- Inspect the base edge and any retaining border. Look for soil erosion under an edge restraint or a border stone that’s tipped.
- Look for new efflorescence. Salt haze that appears after rain confirms water is moving through the base.
Write down what you find and take photos. If you need a repair, a dated photo of a puddle next to a low paver tells a contractor more than any description. And if the water is running toward the house, don’t wait for a second rain – that’s a drainage correction, not a cosmetic issue.
Heat Island Effect: Asphalt vs. Pavers in a Santa Ana Summer
Santa Ana summers are hot, and an unshaded driveway takes the full hit. Dark asphalt absorbs sunlight and holds heat; surface temps on a black asphalt driveway on a 95-degree afternoon can run hot enough to be uncomfortable through a shoe sole, and that heat radiates back at the house and the garage door all evening. Light-colored pavers reflect more of that energy and stay measurably cooler to the touch. That’s not a small comfort detail – it changes how you schedule maintenance.
Sealing is where the heat island matters most. Sealant cures by losing solvent or water, and on a 100-degree paver surface it flashes off too fast to penetrate evenly. That leaves you with a patchy, glossy, or sticky finish that traps dirt and dulls within a season. In our experience, the practical sealing window in Santa Ana is spring (March to early May) or late fall (late October through November) – cool enough mornings, dry enough days. Avoid July and August entirely.
A quick thermal comparison to keep in mind:
- Asphalt: hottest surface, most heat stored and released into the evening, more prone to softening and tracking under a hot car in peak summer.
- Light concrete pavers: cooler surface, better light reflection, less heat stored, and individual units can be replaced if damaged.
- Dark or charcoal pavers: a middle ground; cooler than asphalt but still hot in full sun. Consider shade or a lighter border if your driveway faces west.
If your paver driveway has trees casting shade on part of it, seal in sections or plan around the shade line. Uneven curing from part-sun, part-shade is one of the most common sealing complaints we hear, and it’s almost always a scheduling issue, not a product one.
When to Seal and When to Wait
Sealing gets oversold as annual maintenance. It isn’t. In Santa Ana, a quality penetrating sealer on a properly installed paver field can last two to three years, sometimes longer on a shaded or low-traffic driveway. Sealing every year is money spent for no gain, and sealing a wet or dirty base is money spent on a finish that fails early.
Seal only when all of these are true:
- The pavers have been dry for at least 48 hours, with no rain in the forecast for two days after.
- The joints are full of polymeric sand and the field has been swept and cleaned.
- Efflorescence has been treated and hasn’t returned – sealing over active salts traps them in.
- Any rocking or settled pavers have been lifted and re-bedded first. Sealant won’t fix a base problem, it just makes it harder to see.
Wait on sealing if the driveway has fresh efflorescence, if you’ve just had repairs, or if it’s midsummer. A sealer applied over a problem is a coating, not a fix. Our Driveway & Pavers in Santa Ana crew can tell you in a walk-through whether your field is ready or needs prep first.
Tree Roots Under a Paver Field: What It Looks Like Before It’s a Trip Hazard
Santa Ana’s mature street tree canopy is one of the best things about the neighborhoods – and one of the quietest threats to a paver driveway. Roots don’t break pavers the way they crack a slab. They lift them, slowly, from underneath, and the earliest sign isn’t a cracked paver at all. It’s a subtle rise or a shallow ruffle across a few units that catches your toe if you’re not watching.
What root intrusion looks like before it’s dangerous:
- A gentle hump or dip running in a line, often along a tree’s likely root path toward water.
- Pavers riding up at one edge while the rest of the field stays flat. The high edge is closest to the root.
- Loose joints in a band. Polymeric sand cracks or sheds in a stripe where the base is being pushed.
- A paver that rocks on one axis but not another. That’s a lever under it, not just settling.
Catch it early and the repair is often lifting a short run of pavers, cutting the offending root back to a safe distance, and re-bedding. Let it go and the root thickens, lifts more pavers, and eventually pushes through a base course deep enough that a full re-grade becomes the only honest option. Root cutting near a mature tree needs judgment – cut too much and you compromise the tree. When the hump is more than a couple of inches or runs under more than a few square feet, get a professional opinion before you start prying. If a tree also threatens a fence along the same property line, our Fence Installation in Santa Ana team sees the same root patterns and can advise on both at once.
The 90-Minute Saturday Job vs. the Base Re-Grade
Not every paver problem needs a contractor, and not every one is a weekend DIY project. The honest cutoff is whether the base under the affected area is still doing its job. If it is, you’re doing a surface repair. If it isn’t, no amount of sand and muscle fixes it for long.
90-minute Saturday jobs (base is sound):
- Sweeping fresh polymeric sand into joints that have lost material.
- Lifting two or three rocking pavers, re-setting them on fresh bedding sand, and re-sanding the joints.
- Removing efflorescence with a dry brush and a paver-safe cleaner.
- Spot-cleaning oil drips and leaf tannin stains before they set.
- Replacing a chipped or cracked paver with a matching unit.
Base re-grade territory (call in a pro):
- Any puddle that survives an hour after rain stops.
- More than a handful of rocking pavers, or rocking that spreads every season.
- A visible hump or dip larger than a couple of inches.
- Water running toward the garage, house, or a fence line.
- Erosion under an edge restraint or border.
You can tell the difference by eye with one test: stand at the low spot, look down the field, and sight along the surface. A wall that’s a little dirty and needs sand is surface. A whole run that tilts or dips is base. If you’re not sure, a free estimate walk-through settles it fast.
Santa Ana Seasonal Maintenance Calendar
Santa Ana’s climate runs on two seasons – a long dry stretch and a short wet one – which makes the maintenance calendar simpler than the generic four-season checklists you find online. Here’s the schedule we recommend.
- Late winter (February). Post-rain walk-through. Check for standing water, sand loss, efflorescence, and any new rocking. Plan spring repairs.
- Spring (March to early May). Prime sealing window. Clean, treat efflorescence, top off joints, seal before the heat.
- Early summer (June). Pre-heat inspection. Note shade patterns and any pavers that rock as the ground dries. Don’t seal now.
- Peak summer (July to August). Light maintenance only. Sweep, spot-clean stains, watch for root heave. No sealing.
- Early fall (September to early October). Clear drains and low edges before the first rain. Re-sand joints if needed.
- First rain (October or November). The critical inspection – the morning after, following the steps above.
- Late fall (late October to November). Second sealing window if you missed spring. Address any drainage issues found after rain.
The calendar is a guide, not a rulebook. If your driveway faces west with no shade, favor the fall seal. If it’s under tree canopy, plan root checks twice a year.
Common Mistakes to Avoid
- Using mason sand instead of polymeric sand. Standard sand washes out and wicks salts up, which speeds efflorescence. Use a polymeric joint sand that resists water.
- Sealing in July or August. Santa Ana summer heat flashes off the sealer before it penetrates, leaving a patchy, sticky film. Seal in spring or late fall.
- Sealing over efflorescence. Trapping active salts under a coat doesn’t fix them, it hides them until the coat fails.
- Treating a low spot as a cosmetic issue. A puddle that survives an hour after rain is a drainage problem that keeps working on the base every wet season.
- Prying at a root heave too aggressively. Cutting a mature tree’s roots without judgment can damage the tree and leave you with a worse base problem. When in doubt, get an opinion.
- Ignoring the first rain. The 20 minutes the morning after the first fall storm tell you more about your driveway than a year of dry-season inspections.
- Assuming permits don’t apply. Major hardscape changes, drainage corrections, and any new retaining structure may need a permit and inspection. Pulling one protects you at resale. Our stance is simple: the permit inspector works for you, not for us – that’s why we like him.
See the difference
 Before
 After
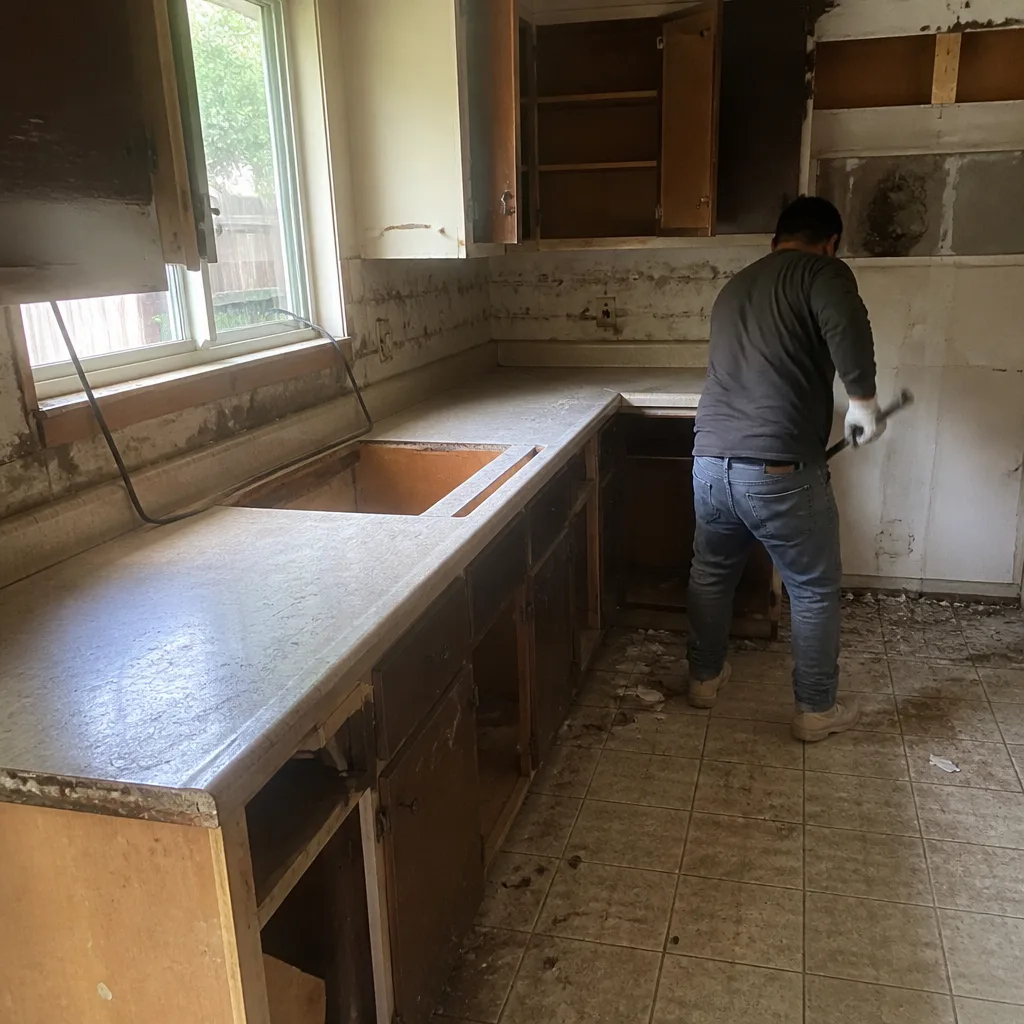 Before
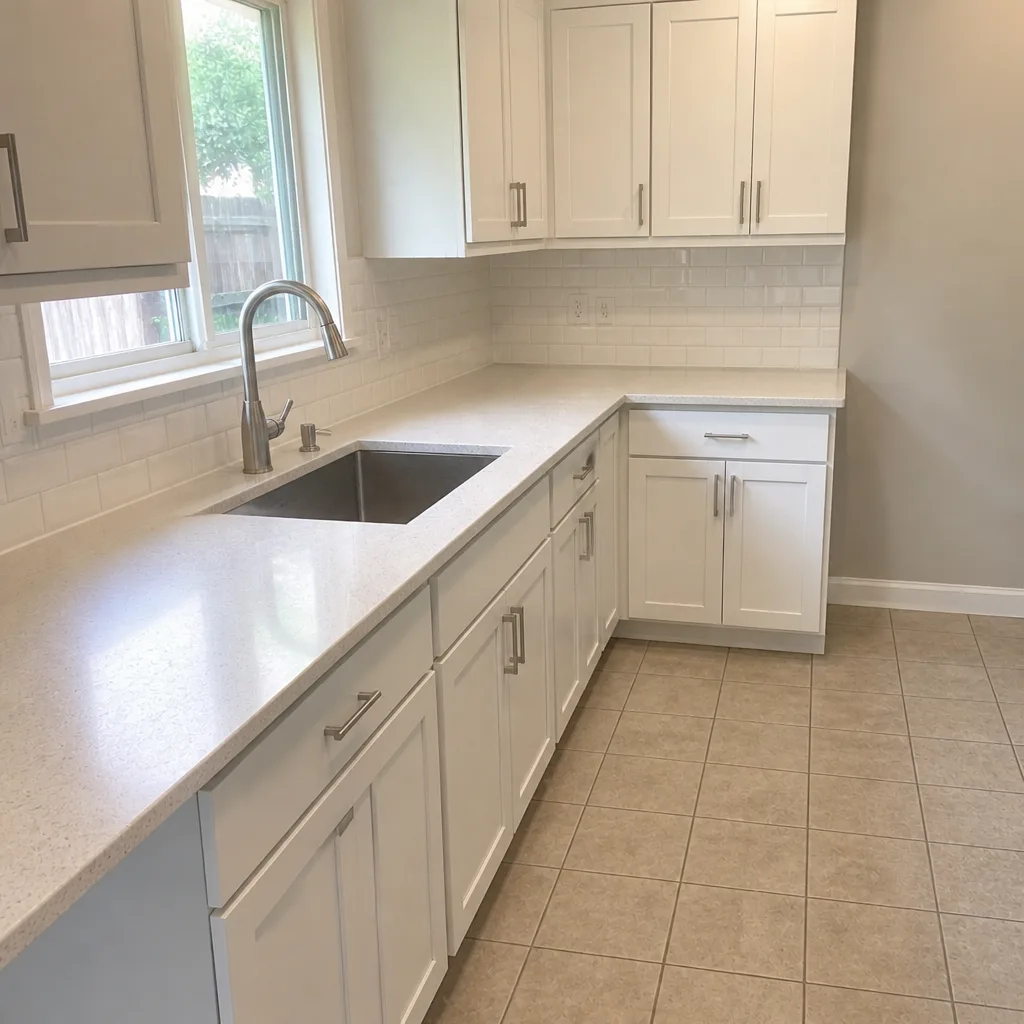 After
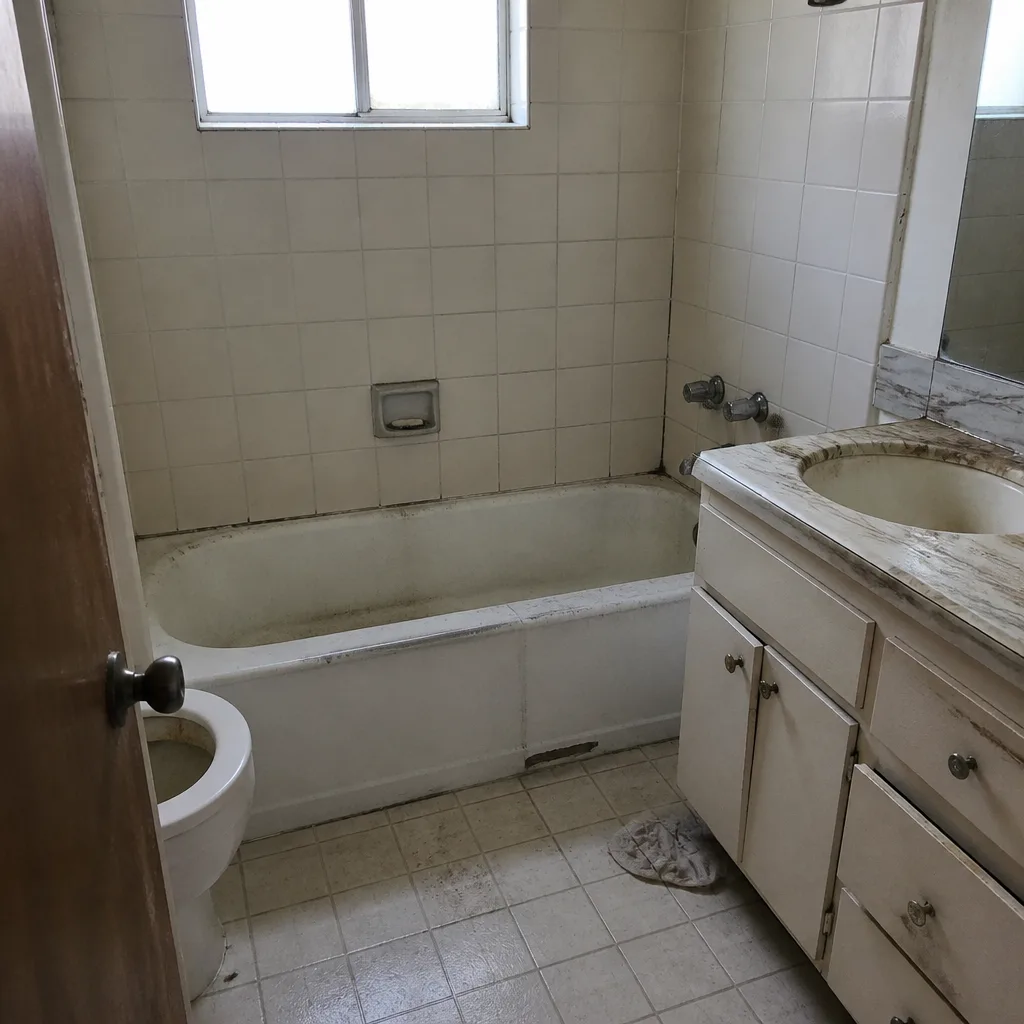 Before
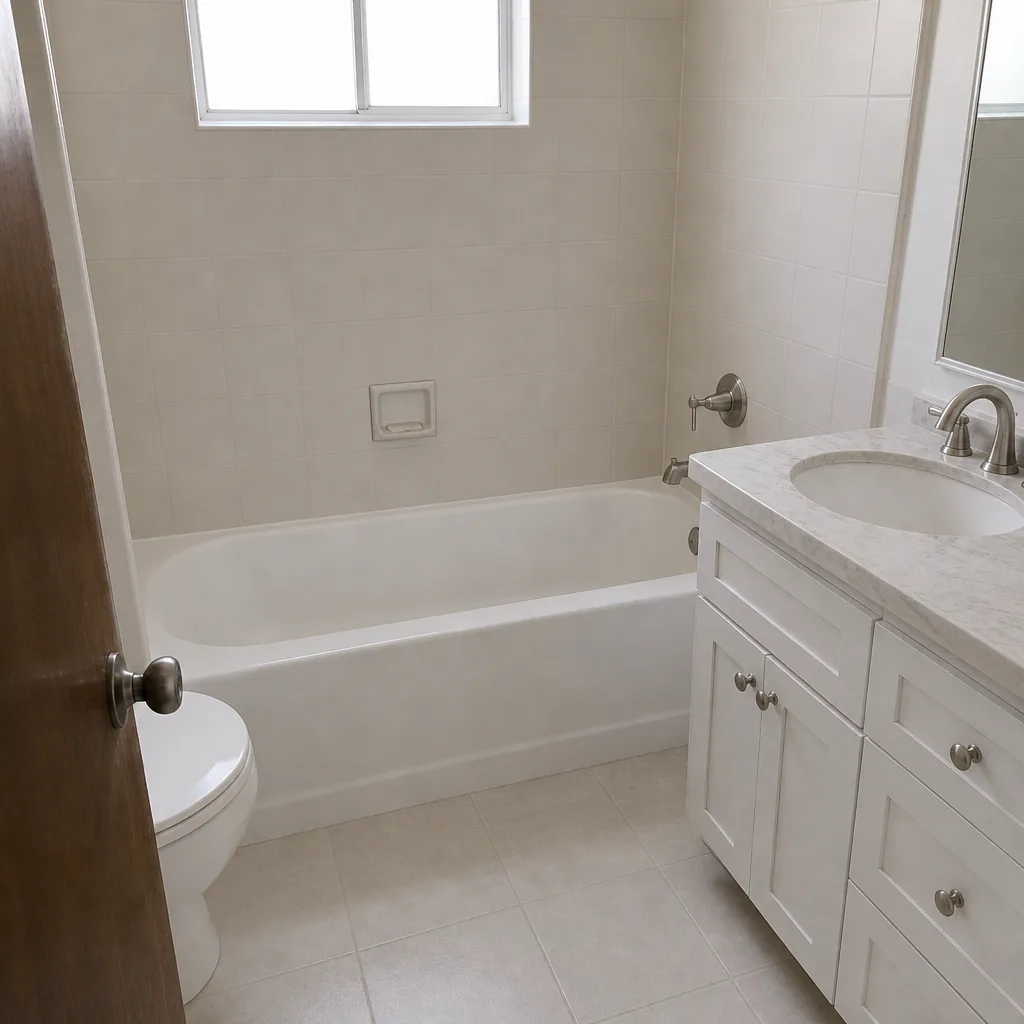 After
When to Call a Professional
Call a professional for any drainage correction that moves water away from the house, any repair that involves lifting more than a few pavers, any hump or dip larger than a couple of inches, and any root-related heave that runs under more than a small area. Also call if the field has settled enough to rock in bands, or if you’re considering a full seal after efflorescence has returned – those need a prep plan, not a coating. Base work is where a driveway job either holds up or fails, and it’s the part that’s hardest to judge from the surface. If you’re weighing a bigger project like a paver patio or a driveway extension, our Home Additions & ADU in Santa Ana team can tell you how the hardscape ties into a larger plan. Barrett & Sons Construction Santa Ana offers free estimates in Santa Ana – call (888) 325-4971.
Frequently Asked Questions
Every two to three years with a quality penetrating sealer is typically enough in Santa Ana – not every year. The key is timing: seal in spring (March to early May) or late fall, never in midsummer heat, and only when the pavers are dry and any efflorescence is treated. Call (888) 325-4971 for a free walk-through if you want an exact read on your driveway.
That white haze is efflorescence – salts migrating to the surface from the alkaline clay under the base. In Santa Ana it’s common because our soil is high-pH and the wet-dry cycle pushes salts up. Treat it with a dry brush and a paver-safe cleaner, refill joints with polymeric sand, and correct any drainage issue feeding it. If it keeps returning, call us for an estimate – the cause is usually water moving through the base.
Yes, especially in Santa Ana. Polymeric joint sand sets firm, resists water penetration, and reduces the wicking that carries salts to the surface. Regular mason sand washes out faster and lets more water into the base, which shortens the life of the whole field.
If one or two pavers rock and the rest of the field is flat, yes – lifting them, re-bedding on fresh sand, and re-sanding the joint is a doable Saturday job. If a whole cluster rocks or there’s a visible hump or dip, it’s a base issue and needs a pro. Call (888) 325-4971 for a free estimate if you’re not sure which one you have.
Check for standing water that’s still there an hour after the rain stops, sand that’s washed out of joints, new efflorescence, rocking pavers, and water running toward the garage, house, or fence line. That first-rain inspection in Santa Ana is the single best diagnostic you’ll get all year because it reveals every small problem at once.
No – sealing over active efflorescence traps the salts and makes the problem worse. Seal only after the efflorescence is treated and drainage is corrected, and only when joints are full of polymeric sand. Call (888) 325-4971 for a free estimate on prep and sealing when you’re ready.
The Bottom Line
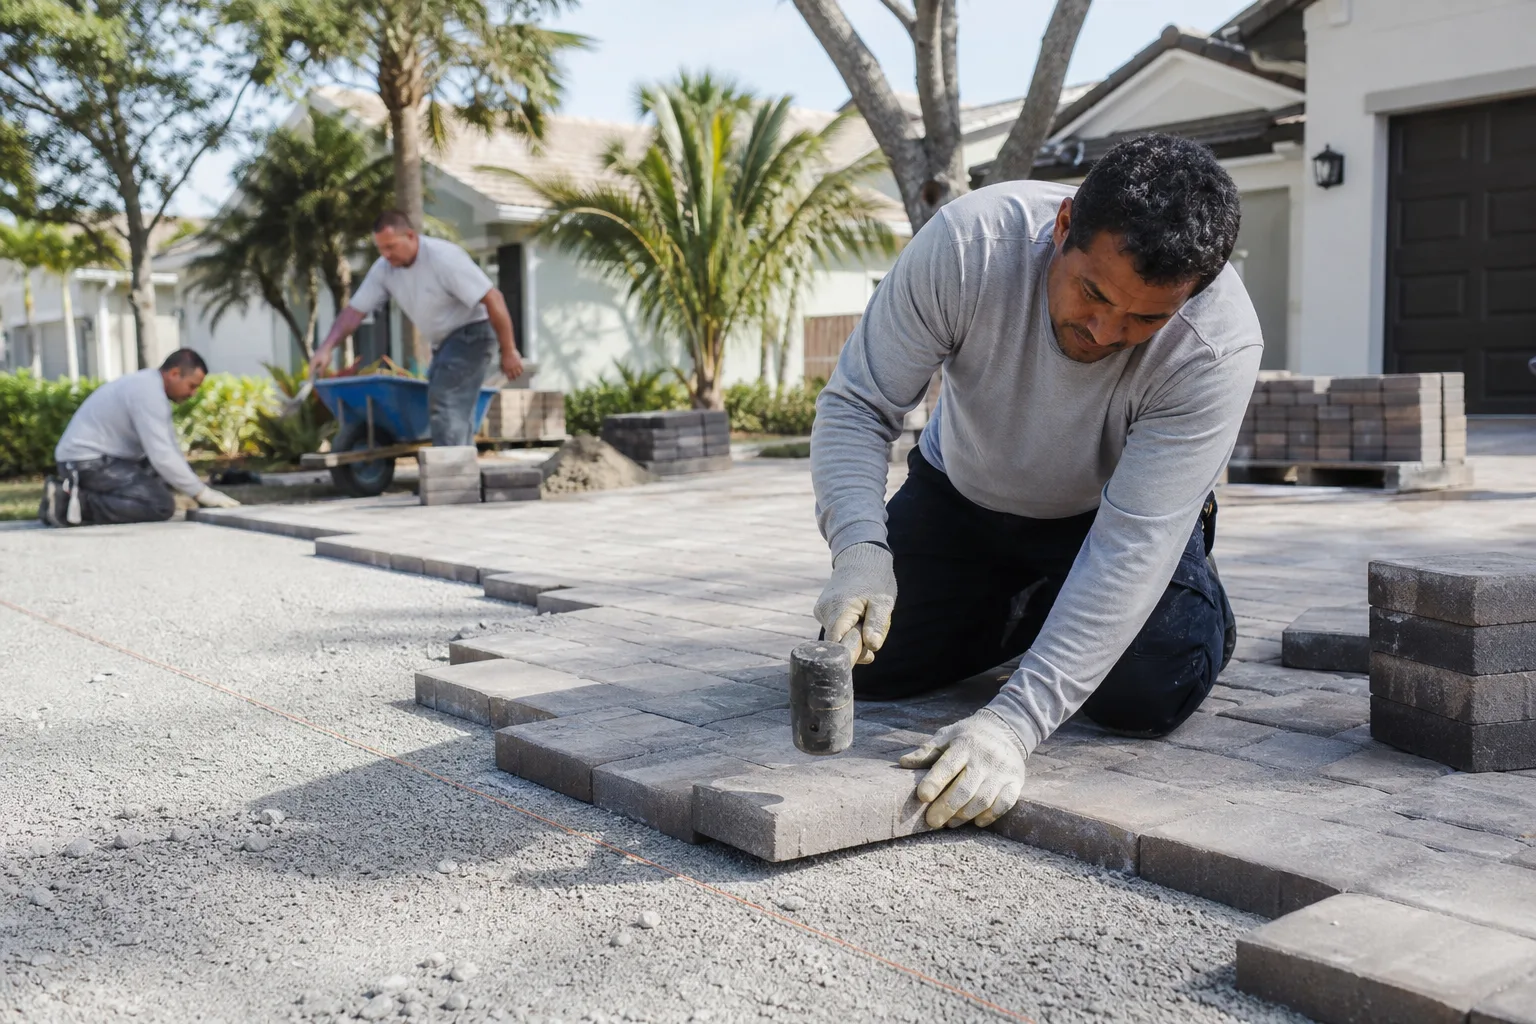
Santa Ana driveways fail from water and salt, not from cars. Keep the joints full of polymeric sand, do your first-rain inspection the morning after the season’s first storm, seal in spring or late fall and never in peak heat, and catch root heave and efflorescence early before they reach the base. None of it is complicated, and most of it takes a couple of Saturdays a year. The work you skip in October is the re-grade you pay for in March. If you’d rather have a trained eye read your driveway than guess, we offer free estimates in Santa Ana with written line-item quotes and written change orders before any scope change. Call (888) 325-4971 to schedule your free estimate, and we’ll walk the field with you and tell you what’s surface work and what’s base work.
Written by the team at Barrett & Sons Construction Santa Ana.
Looking for the rest of our work? Start at the Barrett & Sons Construction Santa Ana home page.