Last updated November 18, 2026



Free written scope consultation - allowances, timeline, and change-order rules on paper before a single trade is scheduled
Driveway & Pavers Maintenance Schedule: What to Do and When
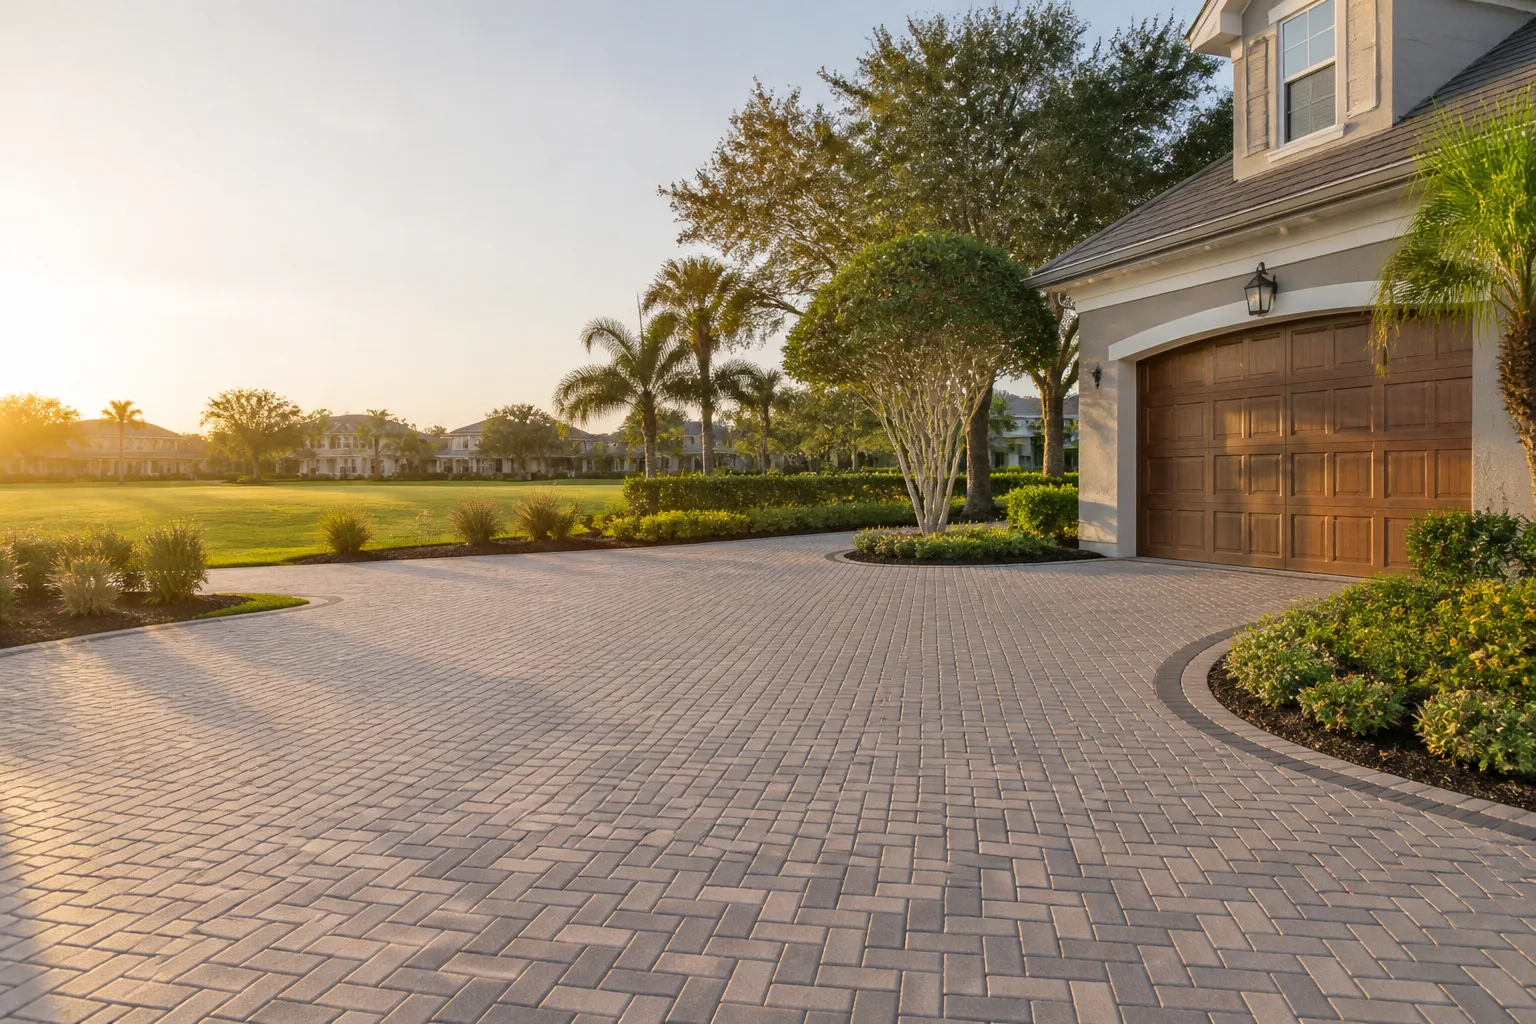
The homeowners who call us at year 12 saying their pavers “just fell apart” almost always skipped one specific October task for a decade straight, and it costs them three times what annual maintenance would have. A concrete driveway asks almost nothing of you for 20 years and then fails all at once. Pavers ask a little every year and can outlast the house if you give it. This schedule turns paver ownership into a simple annual rhythm any homeowner can follow, written from Santa Ana where the dry season is long and the rain, when it comes, arrives with force.
Quick Answer
Inspect and top off joint sand every October before the rainy season, check edge restraints once a year, clean and re-sand annually, and only reseal every three to five years when water stops beading on the surface. Pull weeds and sweep debris monthly. In Santa Ana’s dry climate the October sand inspection is the single task that prevents most paver failures, because a heavy rain event washes loose joint sand faster than a full year of foot traffic.
Styles & brands we work with
- Kitchen remodeling
- Bathroom remodeling
- Home additions & ADU
- Roofing
- Windows & doors
- Driveway & pavers
- Fence
Table of Contents
- Why pavers fail all at once (and concrete doesn’t)
- The October joint-sand window that matters most
- How to tell when sealer is actually needed
- Edging restraint checks: the most skipped task
- What to do after a heavy Santa Ana rain event
- Year-one vs. year-five vs. year-ten task breakdown
- Monthly and seasonal rhythm for Santa Ana
- Common maintenance mistakes
Why Pavers Fail All at Once (and Concrete Doesn’t)
A concrete slab is one piece. When it cracks, the crack is visible and the driveway keeps working for years. Interlocking pavers are the opposite: hundreds of small units held together by joint sand and edge restraint. Each piece carries a load, and when the sand between them migrates or the edge lets go, the system stops working as a unit and the surface starts to shift. That’s why paver failure feels sudden. The damage builds quietly for a season or two, then one hard rain or one heavy truck turns a small void into a sunken patch.
In our experience across Santa Ana, the pattern shows up in specific neighborhoods. Homes near the Santa Ana River corridor deal with soil that swells and shrinks through the dry season. Driveways on the flatter streets off Bristol and McFadden tend to hold water at the apron edge after a storm, and that standing water is what softens the bedding. Out near the foothills the grade pushes runoff across the driveway rather than away from it. None of these are paver defects. They’re drainage and joint-sand issues, and all three respond to the same annual maintenance.
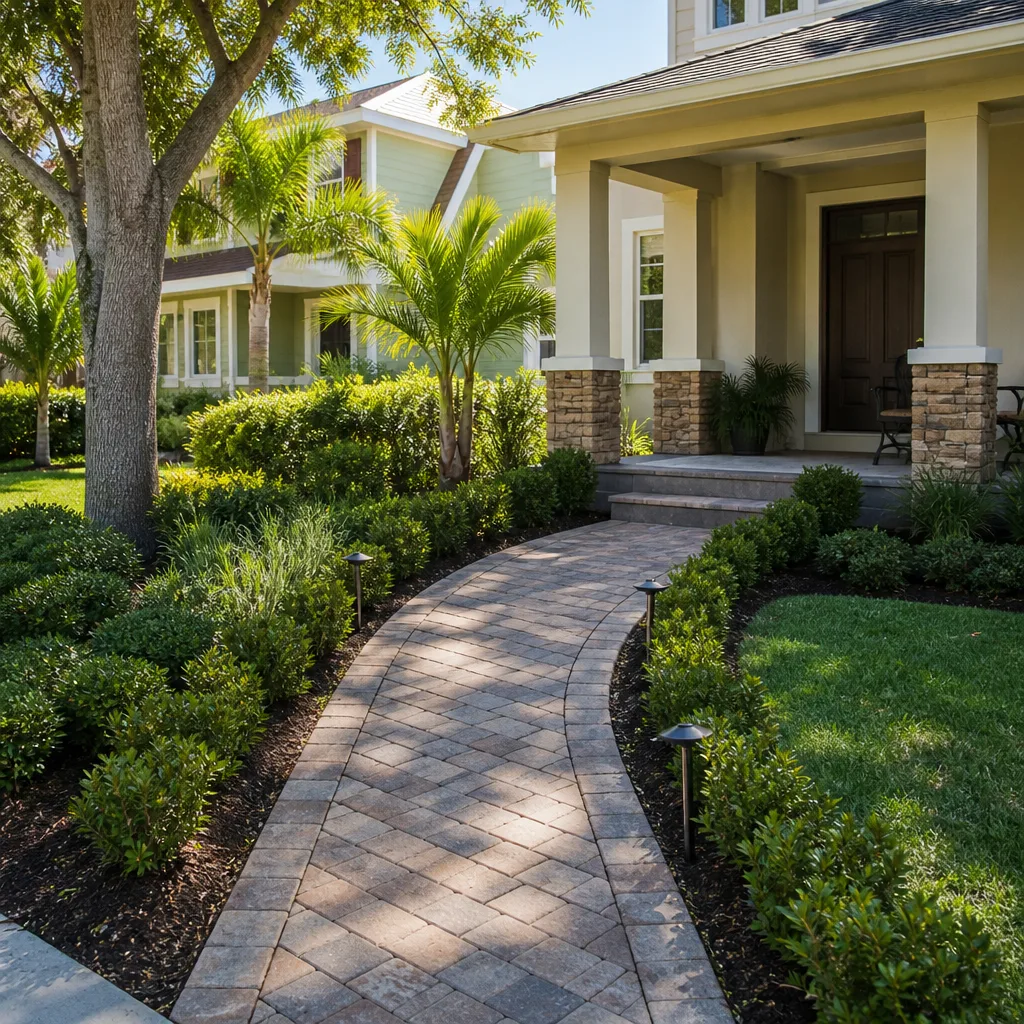
The effort curve is what makes pavers worth it. Year one needs almost nothing. By year five you’re topping sand and checking restraints. By year ten you’re doing a full clean, re-sand, and looking at sealer. Give it that rhythm and the paver system can outlast the house. Skip it and you’ll be rebuilding the base, which is a completely different job from maintaining it. See our Driveway & Pavers in Santa Ana page for how new installs are built to make this maintenance easy.
The October Joint-Sand Window That Matters Most
October is when Santa Ana homeowners should walk every square foot of paver with a broom and a bag of joint sand. Here’s why: our dry season runs roughly May through October with almost no rain, and the constant sun pulls moisture out of the bedding sand and joint sand. Wind blows fine dust out of the joints over those months. The joints settle lower and lower without any obvious sign at the surface. Then the first real storm of the year hits and lifts the loose sand out in sheets, sometimes an inch deep along the low side of the driveway. That single rain event is where the year-12 failures get their start.
The October inspection takes an afternoon and catches the problem before the rain does. Do it in this order:
- Sweep the entire surface clean and let it dry for a full day.
- Walk the joints with a screwdriver or a small pick. If a joint accepts more than about a quarter inch of the blade below the chamfer, it’s low.
- Look for joints where the sand has pulled away from the paver face, especially on the downhill side of the driveway.
- Pour a cup of water on a few joints. If it disappears past the sand line, the joint is open.
- Sweep dry polymeric or washed joint sand into the low joints, working it in with a broom, then mist lightly and repeat until joints are filled to about an eighth inch below the surface.
- Note any area where sand won’t stay put. That points to a restraint or drainage problem, not a sand problem, and it needs a closer look.
If your driveway is Belgard or Techo-Bloc, the manufacturer specs call for the joint sand to sit just below the chamfer, not flush with the top. Getting that depth right is the whole game. Skip October, and by January you’ll be sweeping sand back up off the street.
How to Tell When Sealer Is Actually Needed
Most pavers don’t need sealer every year, and every salesperson who knocks on the door will tell you they do. Sealer is a protective coating, not a maintenance requirement, and the honest test is simple: pour a quarter cup of water on a paved section in full sun and watch it. If the water beads and sits on the surface for a minute or more, the sealer is still doing its job. If it soaks in within a few seconds, the coating is worn through and the surface is exposed. That beads-versus-soaks test beats any pitch.
There’s a second test for older sealers. Sweep a small area and look at the color under direct sun against a section you haven’t cleaned. If the clean section is noticeably lighter, the coating has dirt in it or has begun to haze, and a reseal cycle is overdue.
Our rule of thumb in Santa Ana is that a quality penetrating sealer lasts three to five years on a residential driveway, because our sun is relentless but our rain is not. A driveway that sees pool water or lawn runoff needs attention sooner. A covered entry or shaded walkway can go longer. When it’s time, the surface has to be clean and dry first. Sealing over dirty pavers traps the dirt under the coating and it never comes out. And don’t let anyone tell you sealer locks the joint sand in place permanently. It helps, but the October sand check still matters. For how restraints and base work together with sealing, our Barrett & Sons Construction Santa Ana home page lays out the full hardscape picture.
Edging Restraint Checks: The Most Skipped Task
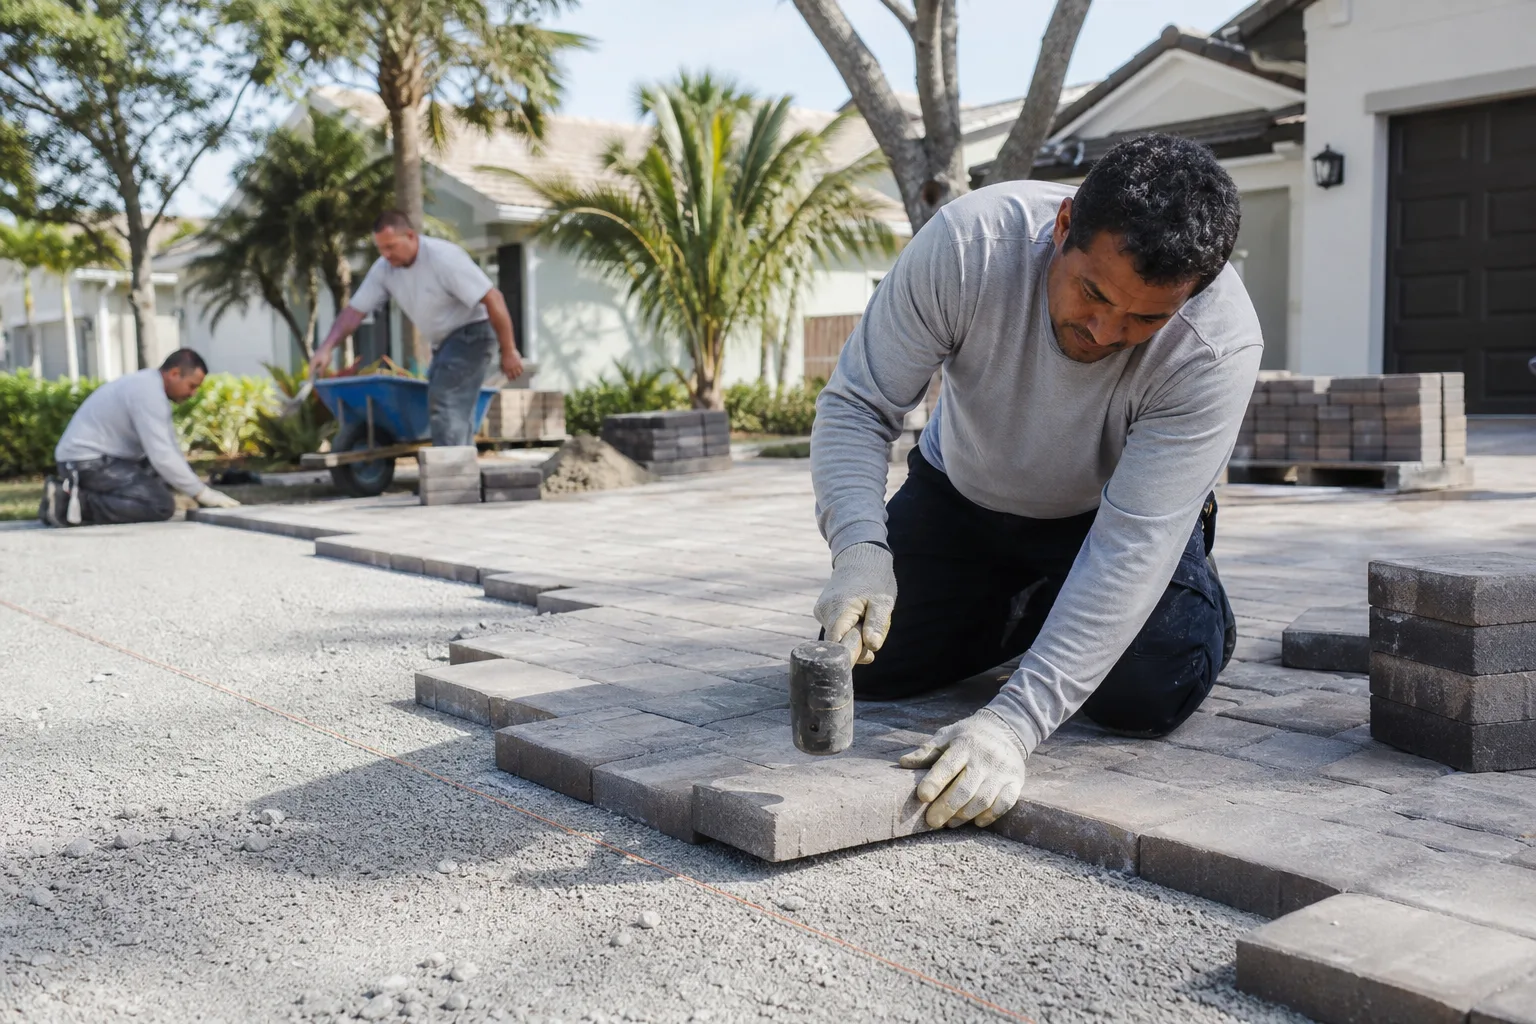
Edge restraint is the invisible part of a paver driveway and the one that costs the most to fix. It’s the strip of plastic or metal pinned along the outer border that holds the whole field of pavers tight. If it lets go, the pavers along the edge start to walk outward. Once they separate even a quarter inch, the joint sand between them drains out, the next paver loosens, and the failure cascades inward from the border. We’ve seen a single failed five-foot section of edge restraint undo a beautifully built field of pavers over two winters in Santa Ana, and the repair involves pulling pavers, resetting the edge, re-sanding, and re-compacting. It’s hours of work that a two-minute check each fall would have prevented.
The check is quick. Walk the perimeter of the driveway and push down on the outermost row of pavers with your heel. A tight edge doesn’t move. A failing edge lets the pavers rock slightly or creates a visible gap between paver and border. Look for the spikes that pin the restraint in place. If any are proud of the surface or missing, that edge needs attention.
This is a task most people never do, and it’s where the cascade starts. If you find movement in the edge, don’t reseal over it or add sand and hope. Sand won’t fix a restraint problem. Call us and we’ll take a look. Edging repairs done early usually cost a fraction of the rebuild that a failed edge creates.
What to Do After a Heavy Santa Ana Rain Event
Santa Ana rain is brief and can be violent. A single afternoon storm can drop more water than the previous four months combined, and it moves fast enough to strip joint sand off a driveway in a way that a year of foot traffic never would. The common mistake is to wait for spring to deal with it. By spring, water has been sitting in the open joints, the bedding has softened, and pavers have started to settle. The first 72 hours after the storm matter more than the six months after.
- Once the rain stops, sweep or leaf-blow any leaves and debris off the pavers promptly. Debris holds moisture against the surface and clogs the joints.
- Wait for the surface to dry, then inspect the joints along the low side of the driveway and at the apron, where runoff concentrates.
- Refill any joint that lost sand with the same joint sand you used in October, working it in with a broom after the surface is dry.
- Check the edge restraints again. A saturated edge can shift under the weight of standing water.
- Look for ponding that doesn’t drain within an hour of the rain stopping. Ponding points to a grade or drainage issue, not a sand issue.
If you were caught with open joints, a single storm can undo your fall sand work. That’s the whole reason we push the October window. Get the sand in before the first rain and the storm just tests your work. Get it in after and you’re repairing the test.
Year-One vs. Year-Five vs. Year-Ten Task Breakdown
Maintenance effort scales with paver age, and knowing which phase you’re in keeps you from doing unnecessary work in year two or skipping critical work in year nine. Here’s the breakdown we hand to Santa Ana homeowners after a new driveway goes in.
Year One: Almost Nothing
- Sweep monthly. Remove leaves and grit before they grind into the surface.
- Inspect joints in October. Top off any that settle during the first year, which is normal as the base finishes compacting.
- Don’t seal. Fresh pavers need a full season to weather before any coating goes on.
- Check the edge restraint once, at the end of the first rainy season.
Year Five: The Rhythm Kicks In
- Full October joint-sand inspection and top-off, on schedule.
- Clean the surface with a stiff broom and a mild detergent once in spring.
- Test sealer with the water-bead test. If it soaks in, apply a fresh coat after a full clean and dry.
- Walk the edge restraint and check for loose or proud stakes.
- Look for weeds in the joints. Pull them by the root rather than spraying, since herbicide can damage joint sand.
Year Ten: A Real Maintenance Cycle
- Full clean, full re-sand, and a sealer evaluation. This is the year most Santa Ana driveways need the complete cycle.
- Have the edge restraint inspected properly. Ten-year-old plastic restraint can become brittle in our sun.
- Check for settled areas near downspouts and the apron, and address any small grade corrections before they grow.
- Consider a professional deep clean. Surface dirt that a broom can’t reach dulls the color over a decade.
If your home is headed toward a larger exterior project in the next few years, our Home Additions & ADU in Santa Ana page covers how hardscape and drainage tie into bigger plans, and our Fence Installation in Santa Ana page explains how fencing and driveway edges work together at the property line.
Monthly and Seasonal Rhythm for Santa Ana
The Santa Ana climate actually makes this schedule easier than most of the country, because we have two real seasons instead of four. Once you internalize the split, the tasks become automatic.
- Year-round (monthly): Sweep leaves and grit. Pull weeds in the joints. Hose off any spills before they set.
- March through April (spring inspection): Clean the surface with a stiff broom and mild detergent. Do the water-bead sealer test. Check edge restraints after the wet season.
- May through September (dry season): Keep debris off, especially from trees near the driveway. Watch for sand pulling out of the joints along the sunny side.
- October (the critical window): Full joint-sand inspection and top-off. This is the one that prevents most failures.
- November through February (rainy season): Inspect after every significant storm. Refill joints that lost sand. Check ponding and drainage.
There’s an opportunity in those first weeks after install for the design of the system itself to make this rhythm easy. The right base depth, the right edge restraint, and proper grades mean the annual tasks stay small. The wrong drainage means you’re doing extra work every single year. Our team has up to 28 years of experience with the drainage side of this. The homeowners who never call us back about their pavers are the ones who get the October habit early. When Santa Ana hardscape is on the list, we install using quality brands like Belgard and Techo-Bloc, and we put every scope and price change on paper before work begins.
Common Mistakes to Avoid
- Waiting for spring to address storm damage. The 72 hours after a Santa Ana rain event matter more than the entire dry season. Fix joint sand before it becomes a settling problem.
- Resealing every year because a salesperson insists. Use the water-bead test. If water still beads, the sealer is working. Resealing too often traps dirt under each layer.
- Skipping the edge restraint check. This is the most skipped task and the most expensive one to skip. A five-minute walk along the perimeter prevents a rebuild.
- Using a pressure washer aggressively. High-pressure washing blows joint sand out and strips sealer. Use low pressure and a fan tip, if at all, and re-sand afterward.
- Filling joints with sand from the hardware store without checking the spec. Polymeric and washed joint sands behave differently. Use the right product for the joint width and the manufacturer’s recommendation.
- Ignoring standing water after a storm. Water that sits for more than an hour signals a grade or drainage issue under the pavers, not a surface issue. That’s the start of a base failure.
- Letting weeds take root in open joints. Weeds accelerate sand loss every time they’re pulled. Kill them early and refill the joints.
See the difference
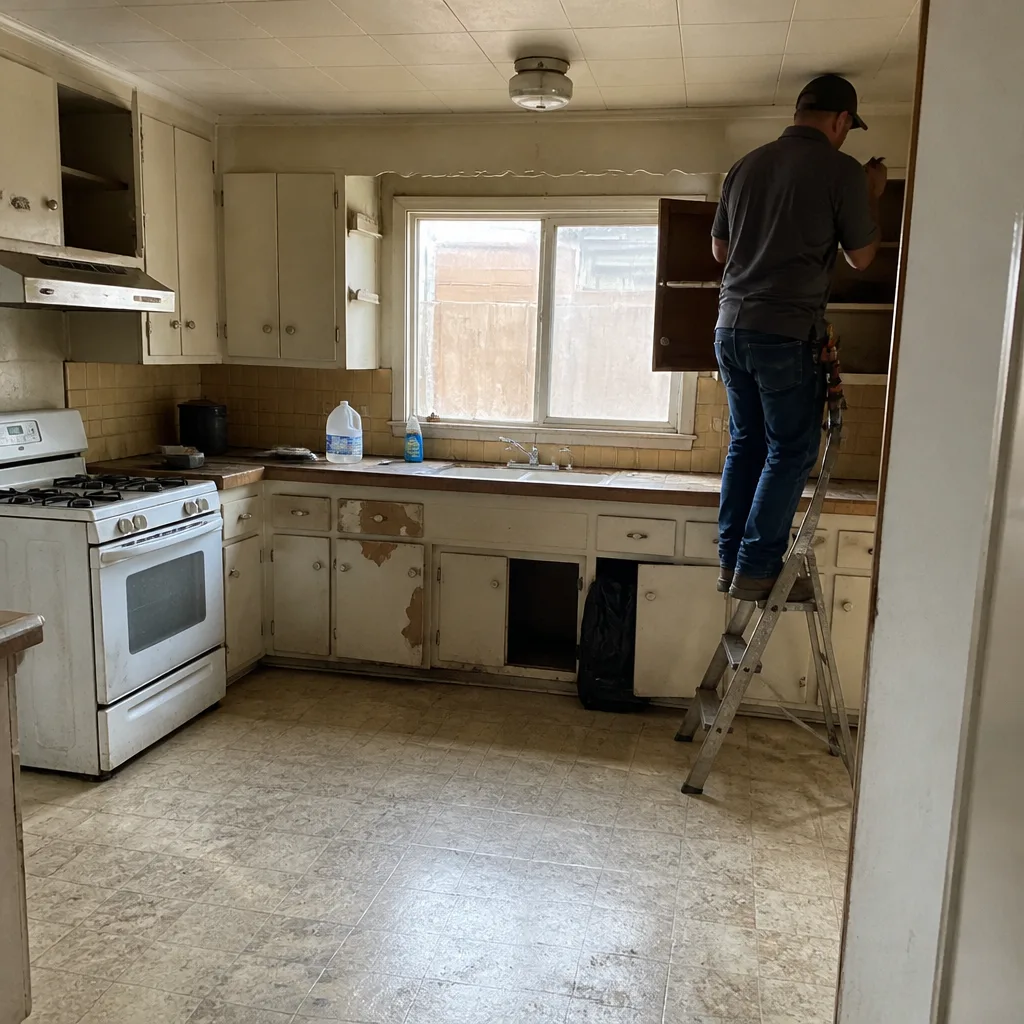 Before
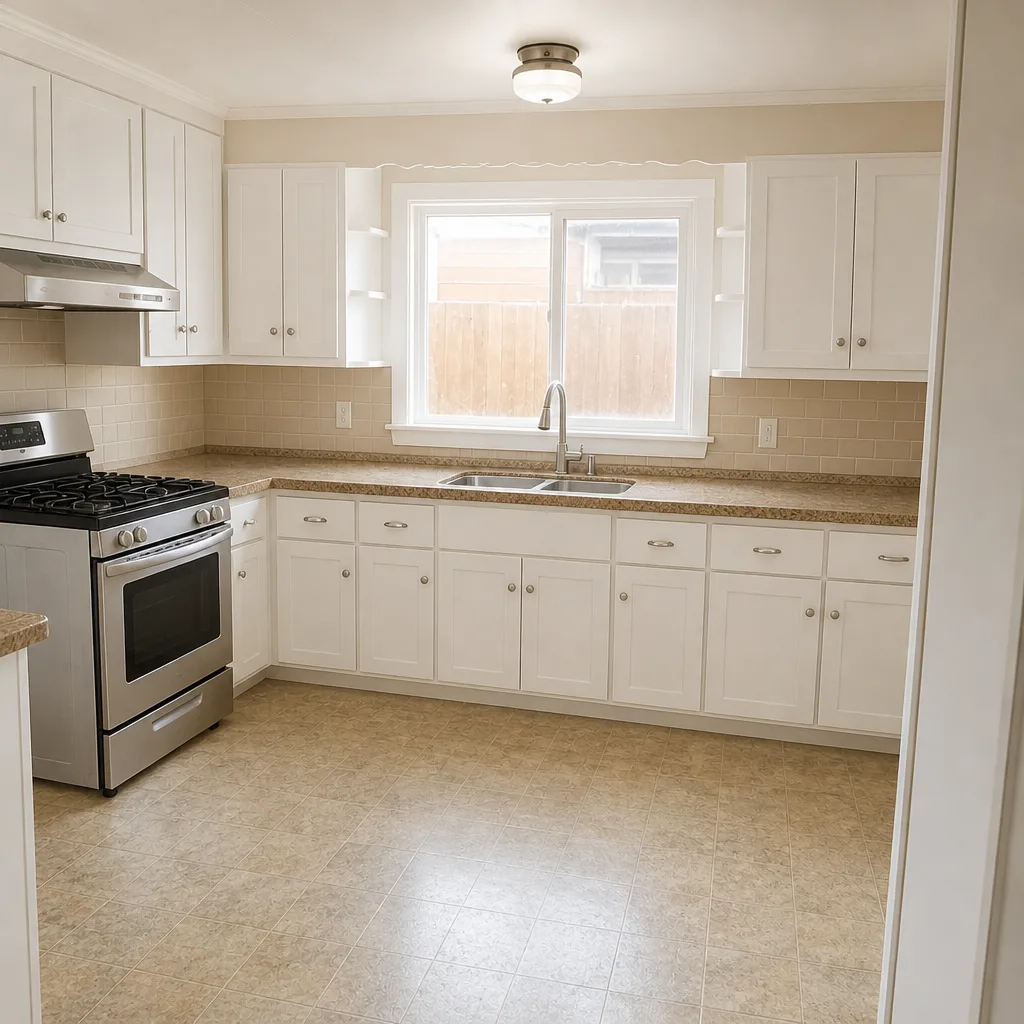 After
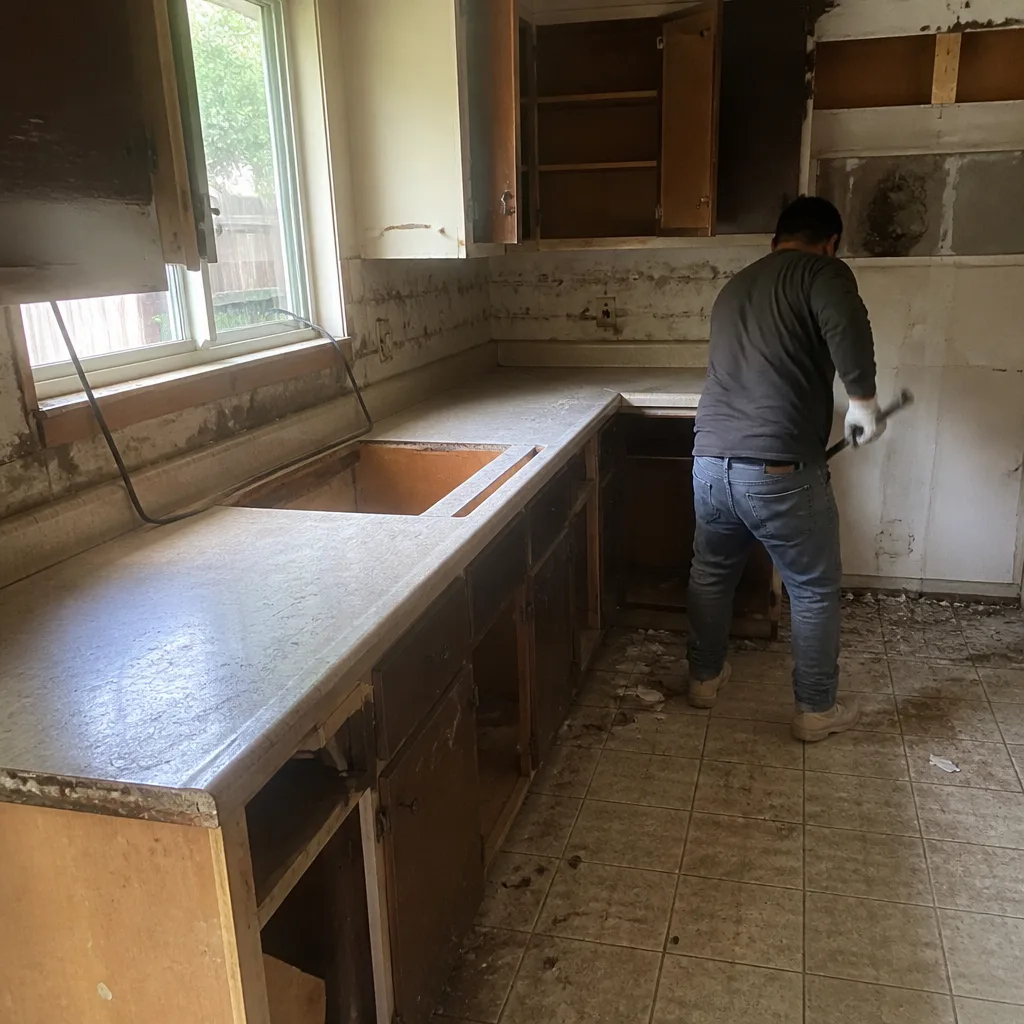 Before
 After
 Before
 After
When to Call a Professional
Most of this schedule is homeowner-friendly. A few things aren’t. Call us if you find pavers that rock underfoot, if the edge restraint has separated from the border, if water ponds for more than an hour after a storm, or if a section of pavers has sunk noticeably. Those are base and restraint problems that surface fixes can’t solve. We also want to hear from you if you’re within two years of the year-ten maintenance cycle and want a professional deep clean and re-sand done right the first time. Barrett & Sons Construction Santa Ana offers free estimates in Santa Ana. Call (888) 325-4971 and a live person will answer. Our team has up to 28 years of experience, and every eligible job comes with permits pulled, inspections signed, and our 90-Day Done Right Promise in writing on the contract. There’s a permanent 10% Senior & Veteran discount, and a free second opinion on any written estimate you’ve already been given.
Frequently Asked Questions
Once a year, in October, and again after any heavy storm that visibly strips sand off the low side of the driveway. In Santa Ana’s dry season the joints lose sand quietly over five months, so the fall top-off is the one that keeps the system tight before the rain arrives.
No. A quality penetrating sealer holds up for three to five years on a residential driveway. Test with a quarter cup of water in full sun. If it beads for a minute or more, the sealer is still working and you can save the money. Call (888) 325-4971 if you want a second opinion on whether a sealer quote is justified.
The October joint-sand inspection and top-off. Our dry season runs through summer and pulls moisture out of the joints, and the first big rain can wash out a year’s worth of sand in an afternoon. Getting the sand in before that rain is the single highest-value task of the year.
Only at low pressure with a fan tip, and only when you plan to re-sand afterward. High-pressure washing blows joint sand out and strips sealer. If your pavers are dirty and you want them cleaned right, call us for a professional deep clean and re-sand. Estimates are free.
Push down on the outermost row of pavers with your heel. Tight edges don’t move. Failing edges let pavers rock slightly, and you may see a gap between the paver and the border. If you find movement, don’t add sand and hope. Call (888) 325-4971 and we’ll take a look.
A well-maintained interlocking paver driveway can outlast a concrete slab, and individual pavers can be replaced without tearing out the whole surface. The catch is that pavers need the annual rhythm above. Concrete asks nothing for 20 years and then fails all at once. Pavers ask a little every year and reward you with decades.
The Bottom Line
The difference between a paver driveway that lasts 30 years and one that fails at year 12 comes down to a small set of tasks done consistently. October joint-sand inspection. Spring edge restraint check. The water-bead sealer test before anyone sells you a reseal. Prompt joint refills after every Santa Ana rain event. None of it is hard, and none of it is expensive. The homeowners who turn paver ownership into an annual rhythm get a surface that outlasts the house. The ones who don’t rebuild the base. Barrett & Sons Construction Santa Ana is here for the parts of the job that need a professional, from drainage fixes to a full deep clean and re-sand.
Call (888) 325-4971 for a free estimate on paver maintenance, repair, or a new driveway in Santa Ana.
Written by the team at Barrett & Sons Construction Santa Ana.