Last updated November 18, 2026


Free written scope consultation - allowances, timeline, and change-order rules on paper before a single trade is scheduled
Driveway & Pavers Warning Signs Every Homeowner Should Know
The paver driveway that costs $12,000 to rebuild in year eight usually showed its first warning sign in year three. A two-inch run of edge stones started rocking after a hard rain, and the homeowner figured it would settle back down on its own. It didn’t. Pavers give you years of visible warnings before they fail expensively, but most of those warnings look cosmetic until they aren’t. This guide names each one, tells you which are harmless settling and which mean your base is going, and gives you a simple green-yellow-red framework so you know when to watch, when to call, and when to stop parking on it. We’ve watched the same handful of failures play out on driveways across Santa Ana, and nearly all of them were cheaper to catch early.
Quick Answer
The warning signs that matter most are edge stones rocking underfoot, joint sand washing out faster than you can top it off, dips and hollows where water pools, and a few pavers sitting higher than their neighbors. Any one of these on a driveway older than a couple of years usually means the base or the edge restraint is moving, not the pavers themselves. Schedule a professional look before winter rains, before a car tire punches a paver loose, or before the problem spreads past the edge into the field.
Styles & brands we work with
- Kitchen remodeling
- Bathroom remodeling
- Home additions & ADU
- Roofing
- Windows & doors
- Driveway & pavers
- Fence
Table of Contents
- Normal Bedding Settlement vs. Base Failure: How to Tell Them Apart
- Edge Restraint Failure: Always the First Domino
- Tree Root Intrusion: The Specific Pattern of Heave to Watch For
- Joint Sand Loss: When It’s a Drainage Warning, Not a Cosmetic Fix
- Drainage and Pooling Around a Santa Ana Driveway
- The Green-Yellow-Red Urgency Framework
- The Progression: How a Small Problem Becomes a Full Rebuild
- What We Watch For on Belgard and Unilock Installations
Normal Bedding Settlement vs. Base Failure: How to Tell Them Apart
In the first year after a driveway is installed or replaced, a small amount of movement is normal. The bedding sand layer under the pavers, usually an inch or so, compresses under traffic. A few stones sit a hair low. That’s bedding settlement, and it’s cosmetic until it isn’t. A base failure is a different animal entirely: the compacted gravel base has lost its integrity, either from water, poor compaction, or soil that was never right for the load. The fixes are worlds apart, so telling them apart is the single most useful skill on this page.
Here’s how to sort one from the other at home:
- Date it. Movement in the first 12 to 18 months is usually bedding settlement. The same symptom on a five-year-old drive points to the base.
- Listen for the rocking. Bedding settlement makes a stone feel slightly low but solid. Base failure makes a stone rock, and rocking is the sound of a void underneath.
- Check the pattern. A single low paver or two in a neat row is benign. A spreading dip that swallows water, or a whole zone that’s going down together, is not.
- Watch the field vs. the edge. Settlement tends to show up in traffic lanes. Base failure often starts at an edge and works inward.
- Look for the rut. Tire ruts worn into a paver driveway mean the load is being carried by the wrong layer. That’s base, not bedding.
On Santa Ana clay soils, we see base failure show up faster than on sandier ground, because the clay holds water against the base and softens it. If you’re on the west side near the older neighborhoods, watch the years closely.
Edge Restraint Failure: Always the First Domino
The edge restraint is the concrete or plastic edge that locks the paver field in place. It’s the least visible part of the driveway and the most important, because a paver field is the interlock between pavers, joint sand, and that restraint. Kill the restraint and the whole field starts to walk. Edge failure is nearly always the first domino, and it always shows a warning before it cascades.
What edge restraint failure looks like before the cascade:
- Edge stones that rock underfoot after rain. Water gets behind the edge, softens the soil, and the restraint lifts. The paver on top of it starts to move.
- A visible gap or a sag along the perimeter. Walk the edge with a flashlight after a rain. You’ll see the line where the paver meets the edge lip, and that line should be tight and even.
- Lawn or gravel creeping into the driveway edge. The soil behind the edge is escaping. That’s a sign the edge has moved.
- Spalling or a popped paver at the edge. By the time one edge paver is out of line, three or four more are usually lifting behind it.
The fix, if you catch it early, is resetting the edge and re-locking the border. If you wait, the field starts to spread, the joints open, and sand washes out along the whole perimeter. Call (888) 325-4971 for a free estimate the moment an edge stone rocks, and we’ll tell you whether it’s an edge reset or something deeper.
Tree Root Intrusion: The Specific Pattern of Heave to Watch For
Tree roots don’t lift pavers at random. They lift them in a line, and that line follows the root. That’s the pattern you want to recognize, because a random dip and a root heave have completely different fixes. A single paver that sits two inches high with its neighbors flat is almost never a root. A row of pavers forming a raised ridge that runs from a tree trunk to the driveway edge is a root, nine times out of ten.
How to confirm it:
- Follow the ridge back toward the tree. If the high line points at a trunk, you’ve found it.
- Look for fine surface roots in the planter bed or lawn between the tree and the drive.
- Check the interior of the ridge. Roots push pavers up in a continuous row, while settling leaves a bowl shape.
- Watch the timing. Root movement tends to progress each growing season, unlike settlement, which settles and stays.
In Santa Ana, ficus and eucalyptus roots are the usual suspects on driveways near older plantings. Removing the tree isn’t always necessary; cutting the offending root and rebuilding the affected run with proper base and a root barrier is often the answer. But a root barrier installed before a new driveway matters more than any repair on this page. If you’re planning a rebuild and have large trees near the edge, mention it in the estimate. Our Driveway & Pavers in Santa Ana service includes root barrier planning on new drives where the site calls for it.
Joint Sand Loss: When It’s a Drainage Warning, Not a Cosmetic Fix
Every paver driveway loses some joint sand over time, usually from wind and traffic. That’s normal and it’s topped off. But if you’re re-sanding every spring and the joints are hollow again by summer, the sand isn’t disappearing off the top. It’s washing down and out through the base, which means water is channeling under the driveway instead of shedding off it. That’s a drainage warning, not a cosmetic fix.
Tell the two apart with these signs:
- One zone, repeatedly. Sand loss at the low corner of the drive after every rain means water is collecting there and moving downward.
- Sand piling up in the lawn or at the curb. Sand has to go somewhere. If it’s washing out to the street, the joint is a pipe.
- Settling on the same side. Sand loss at the joint plus a dip on the same side is a pairing that points to water flowing under the base.
- Joint width opening up. Wider joints means the field is moving. That’s not a sand issue; that’s the base.
On Santa Ana properties, seasonal rain arrives in concentrated bursts, and low spots in a driveway that look harmless in August can be funneling water under the base through the winter. Correct drainage ahead of the rainy season is the cheapest repair available.
Drainage and Pooling Around a Santa Ana Driveway
Pooling water is the single most destructive thing on this list, because it doesn’t just sit there. It finds the base. A paver driveway is designed to shed water off the surface and through the joints, not to hold it, and a low spot that stays wet for days after rain is telling you the slope is gone or the base has settled into a bowl.
Where we see standing water on Santa Ana driveways:
- At the street apron. Settlement at the transition to the sidewalk or gutter creates a puddle that undermines the apron edge.
- Along the house side. A negative slope toward the garage or foundation is the worst version of this, because water goes under the home as well as the drive.
- At low spots in older drives. The original grading was fine; the base has settled over years.
- Between the drive and a raised planter. The planter holds water against the edge, the edge lifts, and the field loosens.
If water ponds more than 24 hours after rain, get it looked at before the next storm. A small regrade with a drain correction costs a fraction of what soaked base replacement costs. If your drive joins a Fence Installation in Santa Ana project along the lot line, plan the drainage before the fence goes in, because a fence footing placed against a wet edge is a repair that waits for you.
The Green-Yellow-Red Urgency Framework
Homeowners ask us whether a warning is a “monitor it” problem or a “call now” problem. Here’s the simple framework we use on walkthroughs. Print it, walk your driveway with a hose and a flashlight after a rain, and sort what you find.
Green – monitor. Surface sand loss with no settling. A single low paver in the year after install. Minor weathering on the edge. Cosmetically imperfect pavers that don’t move underfoot.
Yellow – schedule an estimate. Edge stones that rock after rain. A dip that holds water for a day. Sand loss in the same spot twice. A handful of pavers sitting high or low together. These are the calls that save money.
Red – stop and call. A paver that rocks under a car tire. A visible bowl that holds water more than a day. Edge restraint visibly lifted off the base. A ridge line pointing to a tree. Any zone where the field is spreading and joints are opening. Stop parking on that section and get it looked at this week.
The first warning we see on most jobs is a yellow that was treated as green for two or three years. That gap is where base replacement gets expensive.
The Progression: How a Small Problem Becomes a Full Rebuild
A $12,000 rebuild doesn’t happen in one rain. It happens in stages, and each stage is cheaper to catch than the next:
- Joint sand washes out at a low corner. Cosmetic, cheap, invisible.
- Water channels under the base through the open joints and softens the compacted gravel. This is a yellow, and a regrade plus drainage correction usually solves it.
- The edge restraint lifts and an edge paver rocks. This is a yellow that’s turning red. Resetting the edge and re-locking the field is still modest money.
- The field spreads, joints open, and the dip becomes a bowl. Now the base has to be dug and recompacted under a zone, and the pavers lifted, cleaned, and reset.
- The whole zone fails. Full base replacement and a new driveway. This is the stage that costs five figures.
If you’ve been watching a yellow for more than two years, the honest answer is that you’re on stage three or four. The repair is still far less than the rebuild. Call (888) 325-4971 while it is a repair.
What We Watch For on Belgard and Unilock Installations
The brand of paver doesn’t cause failures on its own, but the brand tells us about the installer. A Belgard or Unilock paver set on a grade base with a properly installed edge restraint performs for decades. The same paver set on an underprepared base with a loose edge will fail in year three. When we walk a drive, we’re looking at what sits under the paver and behind the edge more than the paver face itself.
Two things that matter beyond the product: matching the paver to Southern California foot traffic and sun, and keeping the joint sand and edge locked. On hardscape work, we install Barrett & Sons Construction Santa Ana home-grade materials because a paver drive is only as good as the base and restraint behind it, and that base is the part you can’t see after the job. A new drive ties into the rest of a property too, and driveway drainage usually overlaps with your Home Additions & ADU in Santa Ana plans if you’re paving around a garage or new living space.
Common Mistakes to Avoid
- Assuming a low paver will settle back down. It almost never does. A paver that has gone low at a base void stays low, and the void widens.
- Topping off joint sand every year without asking why. Routine sand loss is fine. Sand also washing under the drive is a drainage warning, and re-sanding hides it for another season.
- Driving over a rocking edge paver. The tire load turns a small reset into a full edge and field rebuild. Park on the other side of the drive until the edge is fixed.
- Cutting a tree root without rebuilding the run. A tree root cut leaves the paver unsupported, and it fails again the next season. Root replacement needs base rebuilding and a barrier, not just an excavation.
- Ignoring water pooling at the garage side. Water routed toward a foundation is the most expensive mistake on the list, and in Santa Ana a slope that’s two inches off can move thousands of gallons per storm.
- Hiring the cheapest bid and later hesitating on permits. In Santa Ana, a patio or drive replacement with structural changes to the base or drainage gets looked at by the inspector. A contractor who says the permit is optional is making your problem theirs. We pull the permit and sign the inspection.
- Assuming a driveway replacement is out of reach without a written second opinion. Often the damage is confined to one zone. Get a line-item estimate before assuming the whole drive is gone.
See the difference
 Before
 After
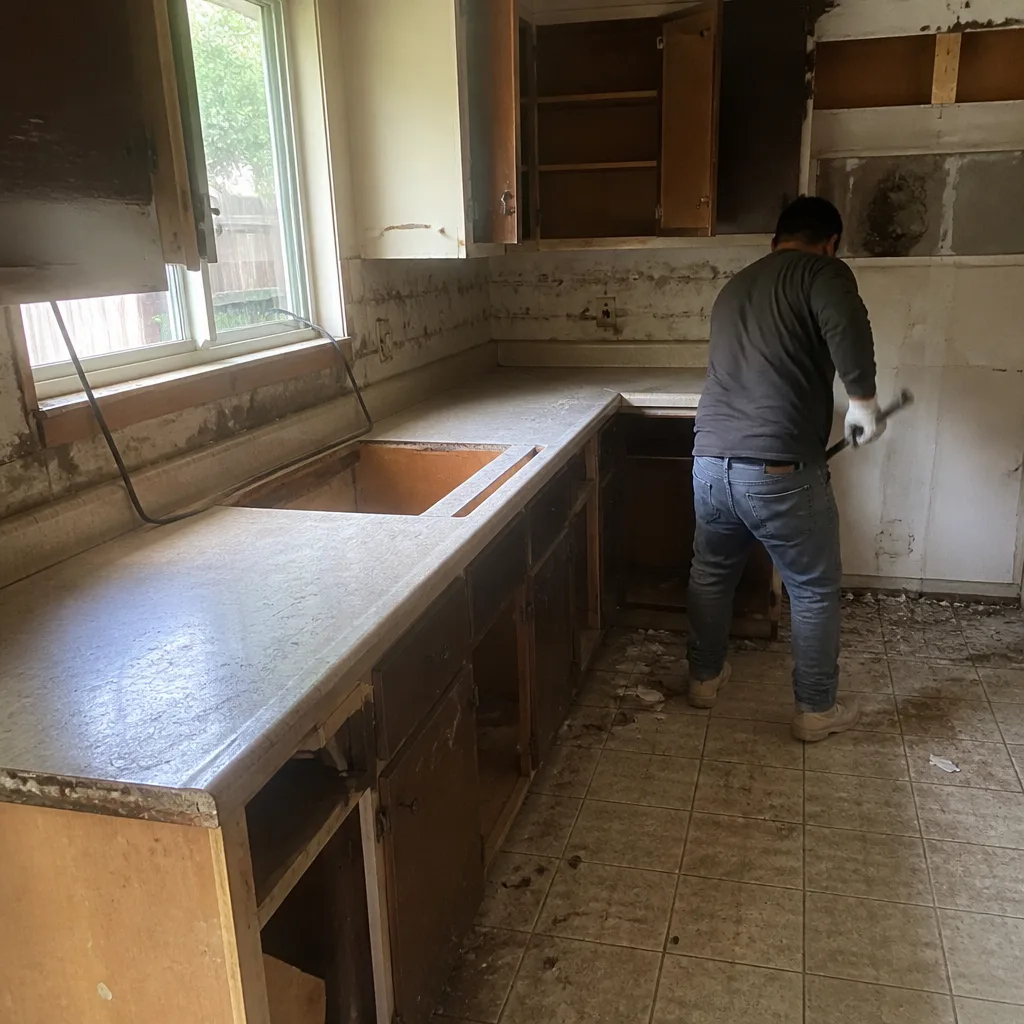 Before
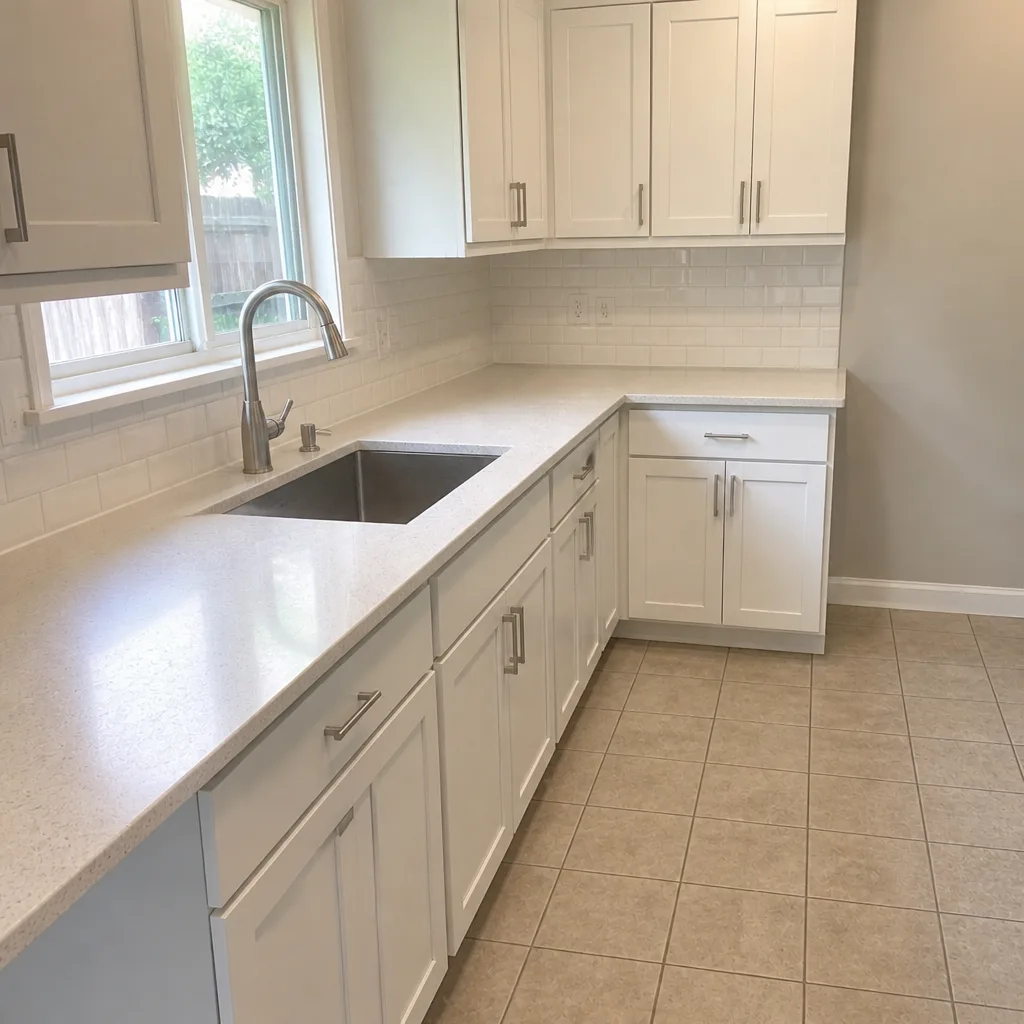 After
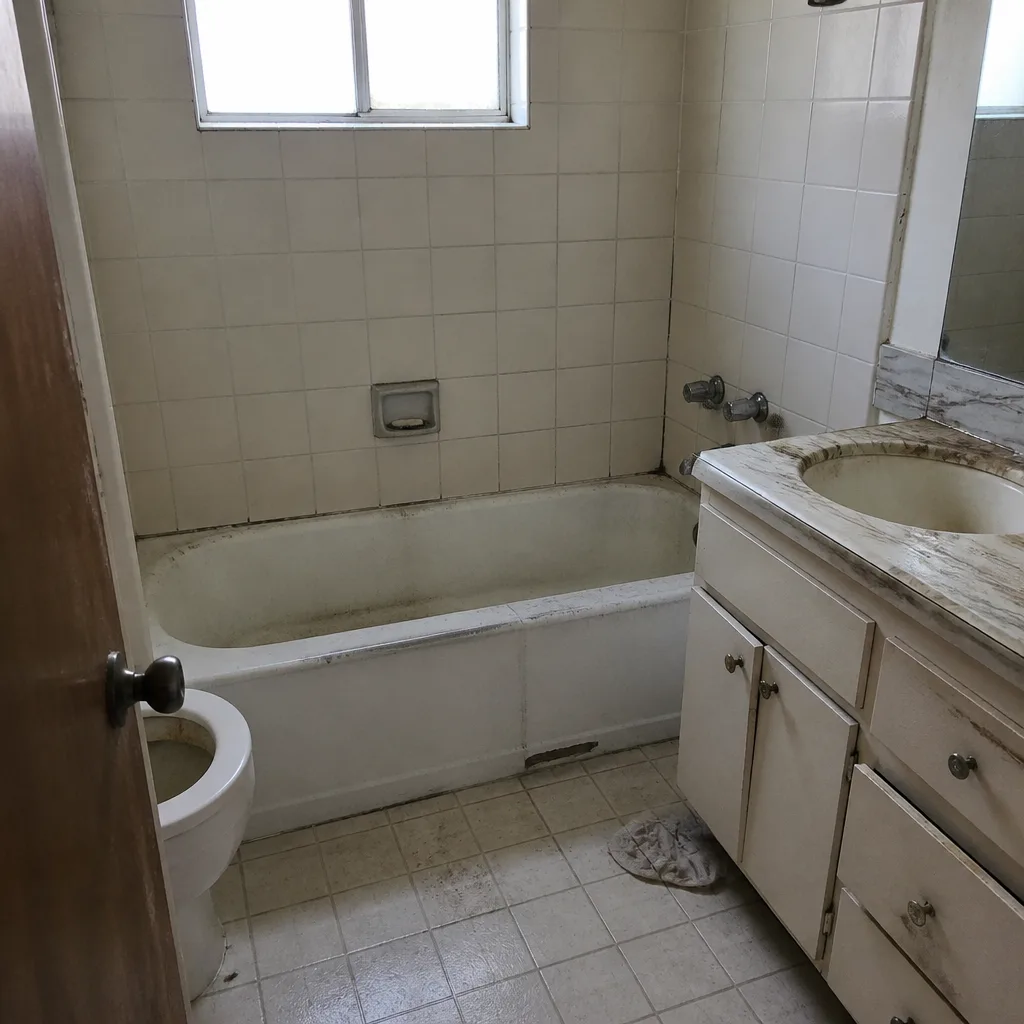 Before
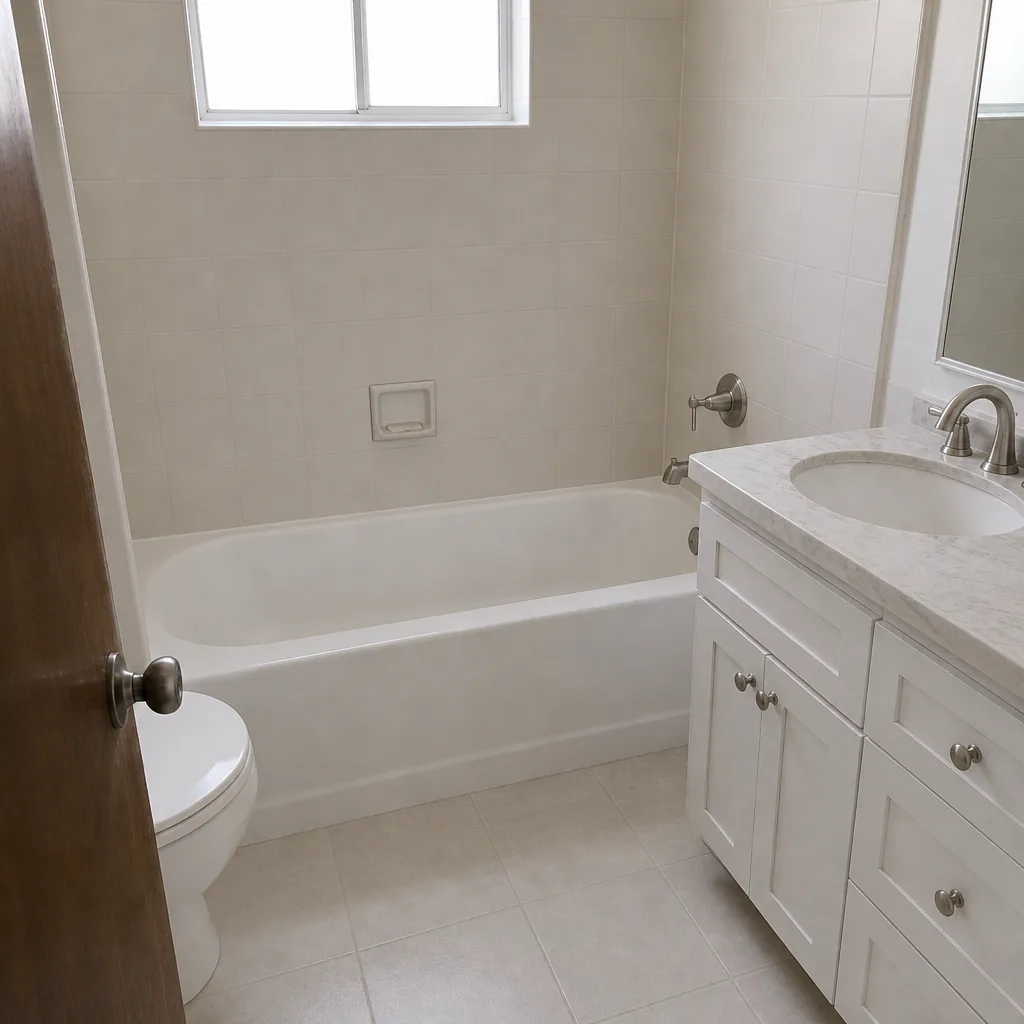 After
When to Call a Professional
Call when a paver rocks underfoot, when the same low spot holds water for more than a day, when edge stones have lifted off the base, when sand is washing down a slope after every rain, or when a raised ridge is running back toward a tree. Any of those on a drive older than about three years is worth a professional look, because the repair is almost always cheaper than a rebuild. A few of the calls we take on Santa Ana driveways arrive after the tire has punched through the paver, which is the point where the drive has to be shut down. Call before that. Barrett & Sons Construction Santa Ana offers free estimates in Santa Ana. Call (888) 325-4971 and we’ll give you a written line-item quote and a straight answer on whether it’s a repair or a rebuild.
Frequently Asked Questions
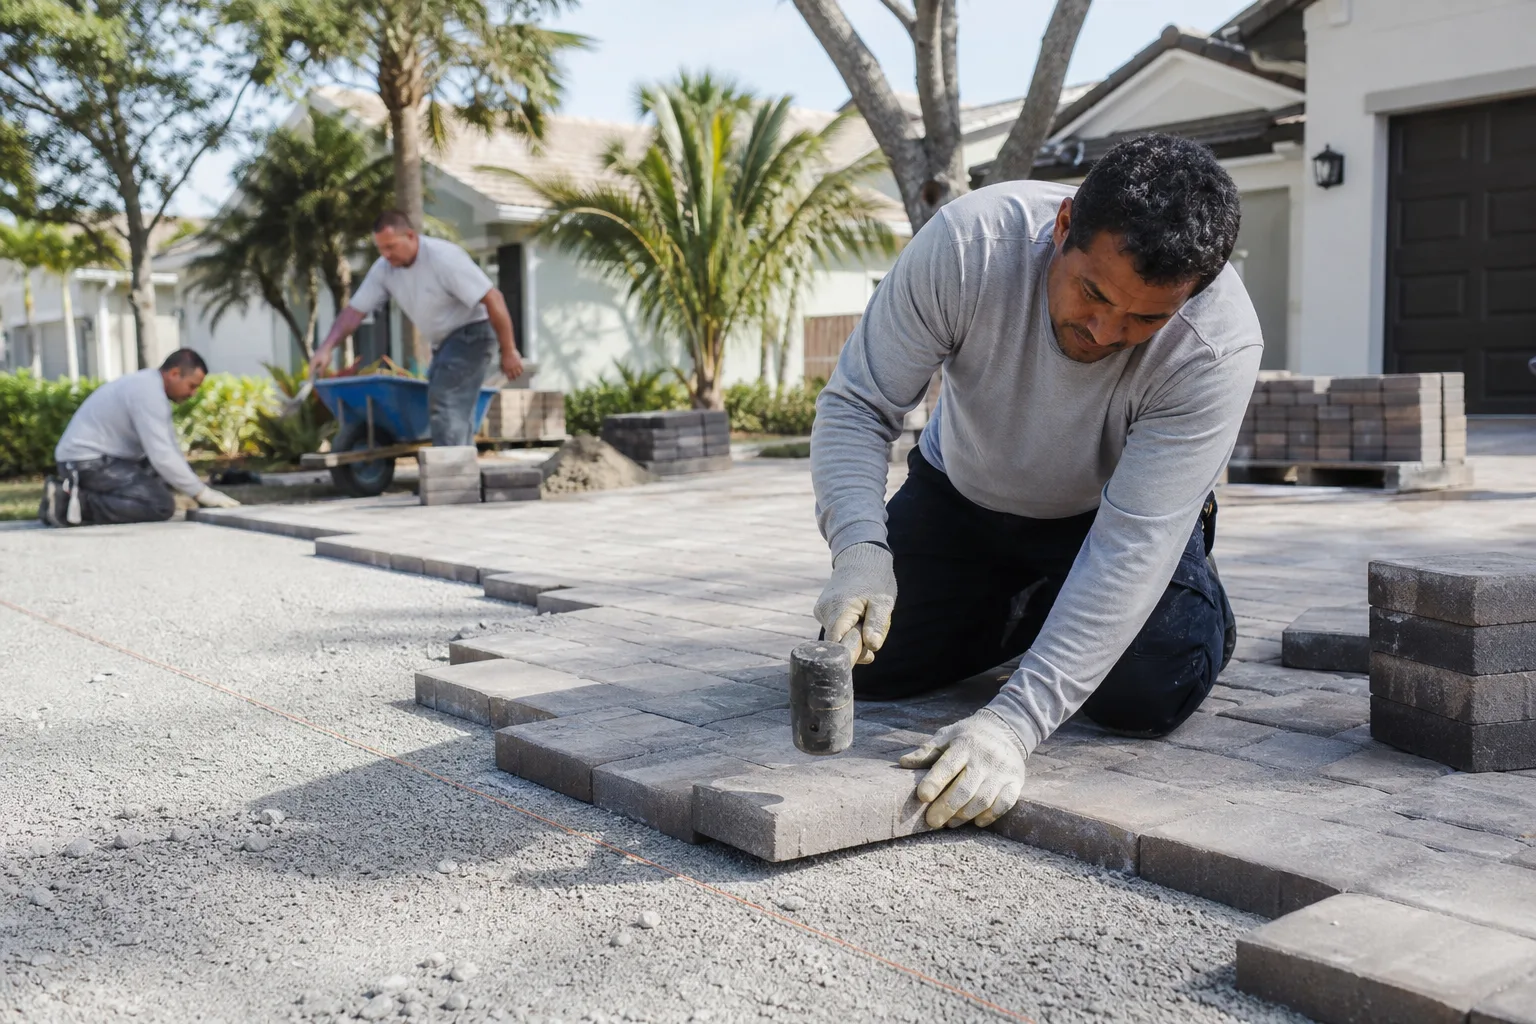
A small repair, like resetting an edge run or re-sanding and re-locking a zone, typically runs in the low hundreds of dollars. Rebuilding a section with base replacement can run into the low thousands, and a full drive rebuild is a five-figure job. Call (888) 325-4971 for an exact quote. Estimates are free and every scope arrives in writing.
Bedding settlement happens in the first year or two, makes pavers feel slightly low but solid, and stays put. Base failure happens later, makes pavers rock underfoot, and spreads. Sand washing out in the same zone after every rain is another sign of base or drainage trouble. Call (888) 325-4971 for a free estimate.
No. Re-sanding fixes cosmetic sand loss, but it hides a drainage or settling problem for another season. If the sand disappears in the same zone twice in a year, the sand is moving under the base, and a repair to the drainage returns the drive to normal. Call (888) 325-4971 and we’ll show you where the water goes.
Yes. Any drive replacement or drainage change that touches a hardscape or structural change gets permitted and inspected on every eligible job. We pull the permit and sign the inspection before work begins. If your last contractor suggested permits were optional on a drive replacement, call (888) 325-4971 for a second opinion.
Not without a written change order. Every scope, allowance, and price change on a Barrett & Sons job arrives as a written change order before the work moves. If we find a damaged base under the drive, the change order shows the extra base removal and recompaction in writing before we proceed. Call (888) 325-4971 for a free estimate.
Install a root barrier along the tree side of the drive, and plan the paving layout around the root zone rather than over it. The barrier goes in before the base is compacted and prevents the ridge-style heave that forces a rebuild. Call (888) 325-4971 about the tree situation before we quote a new drive.
The Bottom Line
Paver driveways give you months of visible warnings before the expensive failure, and the warnings are readable if you know what to look for. Edge stones that rock after rain, sand that washes out in the same spot, a low bowl that holds water, a raised ridge pointing to a tree, and a drive that’s been “fine” for years while a yellow sits ignored. The green-yellow-red framework does the work: watch the greens, book the yellows, stop driving on the reds. If you’re not sure which color your Santa Ana driveway is, that’s what the free estimate is for.
Ready for a Straight Answer About Your Driveway?
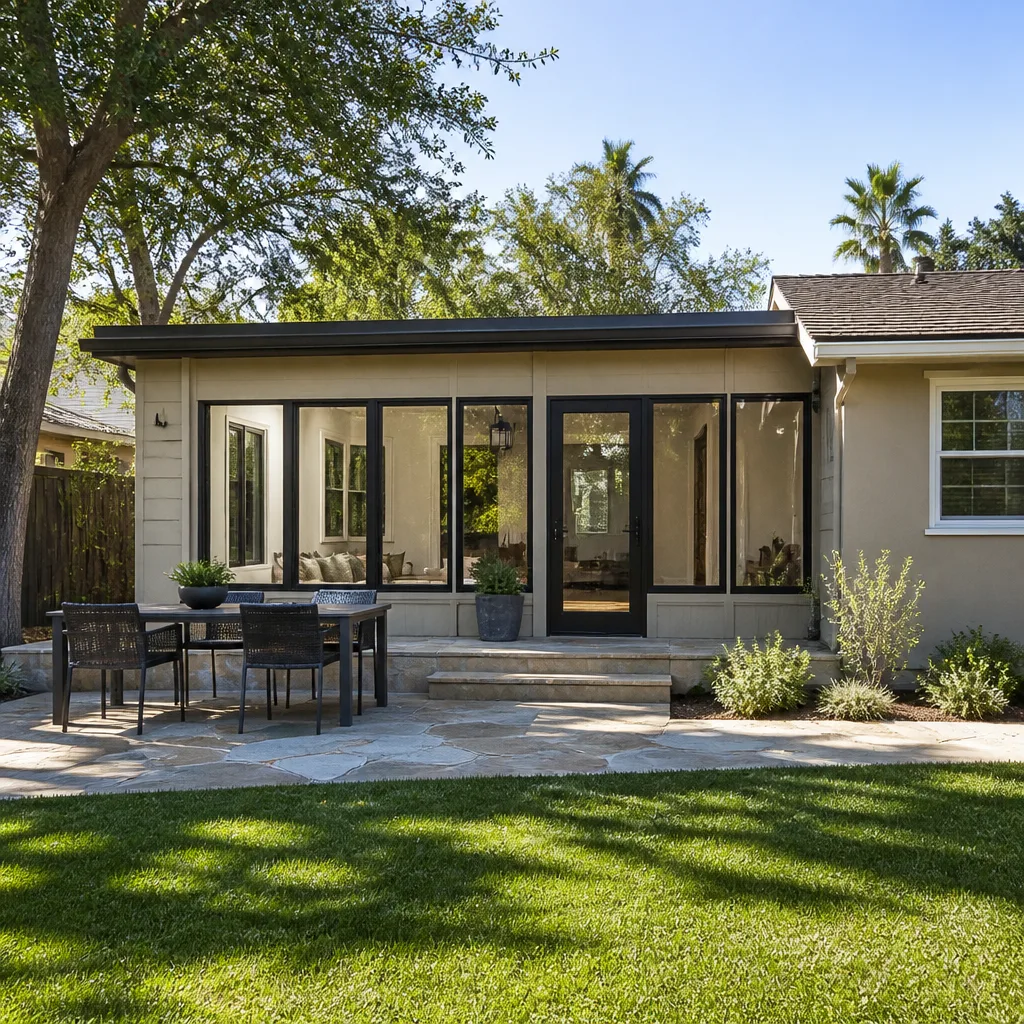
If a warning sign on this list looks familiar, call Barrett & Sons Construction Santa Ana for a free estimate. We answer our own phone, we put every scope in writing, we pull the permits and sign the inspections on eligible jobs, and the written 90-Day Done Right Promise is on every contract. We’re local, we’re owner-operated, and we’ll tell you plainly whether you need a repair or a rebuild. Our technicians have up to 28 years of experience on hardscapes, and our standing offers include $40 Off Any Repair Over $200, a Free Second Opinion on Any Written Estimate, No Trip Charge Inside the County, and a permanent 10% Senior & Veteran discount. Call (888) 325-4971 to schedule your free estimate.
Written by the team at Barrett & Sons Construction Santa Ana.