Last updated November 18, 2026


Free written scope consultation - allowances, timeline, and change-order rules on paper before a single trade is scheduled
Fence Installation Troubleshooting: Common Problems and How to Fix Them
A leaning fence post is not a fence problem. It’s a footing problem. Re-plumbing that post without digging out and resetting the footing is a repair that lasts exactly until the next time the soil gets saturated, which in Santa Ana happens every winter rain season. Most fence failures we’re called out to trace back to one of three root causes: footings that were too shallow, wood that made ground contact, or hardware that was never rated for coastal air. Fix the symptom and skip the cause, and you’ll be troubleshooting the same fence again in about four years. This guide shows you how to diagnose which failure you’re actually looking at, and what each one takes to fix properly.
Quick Answer
Most fence problems fall into three buckets – footing failure, wood rot at ground contact, and hardware corrosion – and each needs a different repair. A leaning post almost always means the footing moved, not that the post bent; patching it without resetting the footing guarantees it leans again after the next hard rain. Corroded fasteners and rotted post bases can’t be spot-patched either, because the wood or metal underneath is already compromised. Diagnose the root cause before you spend a dime on the visible symptom.
Styles & brands we work with
- Kitchen remodeling
- Bathroom remodeling
- Home additions & ADU
- Roofing
- Windows & doors
- Driveway & pavers
- Fence
Table of Contents
- How to Diagnose a Leaning Fence Post
- The Correct Footing Depth for Santa Ana Soil
- Why Wood-to-Concrete Contact Kills a Post
- Gate Sag: Hinge, Post, or Frame?
- Reading Rust Patterns on Fence Hardware
- Lateral Soil Pressure and Wind Load
- Repair or Replace: The Four-Year Test
How to Diagnose a Leaning Fence Post
Before you touch anything, figure out which of three things is happening. Each has a different fix, and fixing the wrong one wastes money.
Start with a simple test. Push the post firmly from side to side at waist height. Watch the base.
- Footing failure. If the whole post pivots and the ground around the base heaves or shows a crack line in the concrete collar, the footing has moved. The post itself may be perfectly sound. The fix is digging out and resetting the footing, not re-plumbing the post.
- Post rot at grade. If the post feels soft or spongy in the first six inches above the ground, or you can push a screwdriver into the wood with light pressure, the post is rotting from the inside out. Re-plumbing won’t help – the wood at the base is already gone.
- Lateral soil pressure. If the post leans in one consistent direction, especially downhill or toward a slope, the soil on the high side is pushing the fence over. This shows up on Santa Ana properties with grade changes, retaining walls, or heavily irrigated plant beds running along the fence line.
In our experience, footing failure is by far the most common on fences less than ten years old. The original installer used the “one-third of post length” shorthand and called it done. In Santa Ana’s clay-heavy soils, that’s often not deep enough. If you’re seeing the same leaning post every couple of years, the diagnosis is almost always the same.
The Correct Footing Depth for Santa Ana Soil
The “one-third of post length” rule underestimates footing depth in clay soils, which is what you’re dealing with across much of Santa Ana. Here’s the formula that actually holds up locally.
Footing depth = 1/3 post height above grade + 12 inches, with a maximum post height above grade of 6 feet and a minimum footing depth of 24 inches for any structural fence post.
That’s a mouthful, so let’s break it down with real numbers:
- 4-foot fence, 6-foot post: 16 inches above grade + 12 inches = 28-inch footing, minimum.
- 5-foot fence, 8-foot post: 20 inches + 12 inches = 32-inch footing.
- 6-foot fence, 10-foot post: 24 inches + 12 inches = 36-inch footing. This is where the “one-third rule” most often falls short in Santa Ana yards.
Two more notches of the formula that matter here. First, use a footing diameter of 3 times the post width, so an 8-inch footing for a 4×4 post and a 12-inch footing for a 4×6 post. Second, bell the bottom of the hole – wider at the base than the top – so the soil locks the footing against frost heave and soil expansion. Santa Ana doesn’t get hard freezes, but it does get expansive clay that swells and shrinks with the wet-dry cycle, and a straight-sided footing will heave over time just the same.
For a standard residential privacy fence in Santa Ana, going 30 to 36 inches deep with a bell-shaped footing is the standard our crews work to. Anything less, and you’re on a clock.
Why Wood-to-Concrete Contact Kills a Post
Here’s the part a lot of do-it-yourself fence builds get wrong. Setting a wood post directly into concrete at grade level – no gravel, no barrier, no standoff – creates a slow rot situation that looks fine for years and then fails suddenly.
The mechanism is simple. Concrete is porous. It wicks moisture up from the soil into the post, and the wood at the base stays wet because there’s nowhere for the moisture to go. The rot starts on the inside, invisible, and the post looks solid until it doesn’t.
You can identify this without digging if you know what to look for:
- Wood darkens and checks (small cracks) just above grade in the first year.
- A screwdriver pushed into the base penetrates easily with light hand pressure.
- The fence line sways slightly in the wind at the post bases, not at the rails.
- You can see a visible gap or separation line where the post meets the concrete collar.
The fix is a barrier between wood and concrete. The best practice is a post base standoff – a metal bracket that sets the post slightly above the concrete so water sheds off rather than soaking in – combined with a gravel plate at the bottom of the hole so water drains down instead of pooling. On fences we install, the post base is the hardest part of the job to shortcut, so it’s also the part less careful installers most often skip.
When your fence installation plans reach the point of replacing posts, this is the upgrade that pays for itself. Our Fence Installation in Santa Ana team builds to that standard on every job. If you’re also replacing the driveway or walkway that meets the fence line, we handle that alongside the fence work with Driveway & Pavers in Santa Ana using Belgard and Techo-Bloc materials.
Gate Sag: Hinge, Post, or Frame?
A sagging gate has three possible causes, and only one of them is worth fixing without replacing the gate. Diagnose before you buy anything.
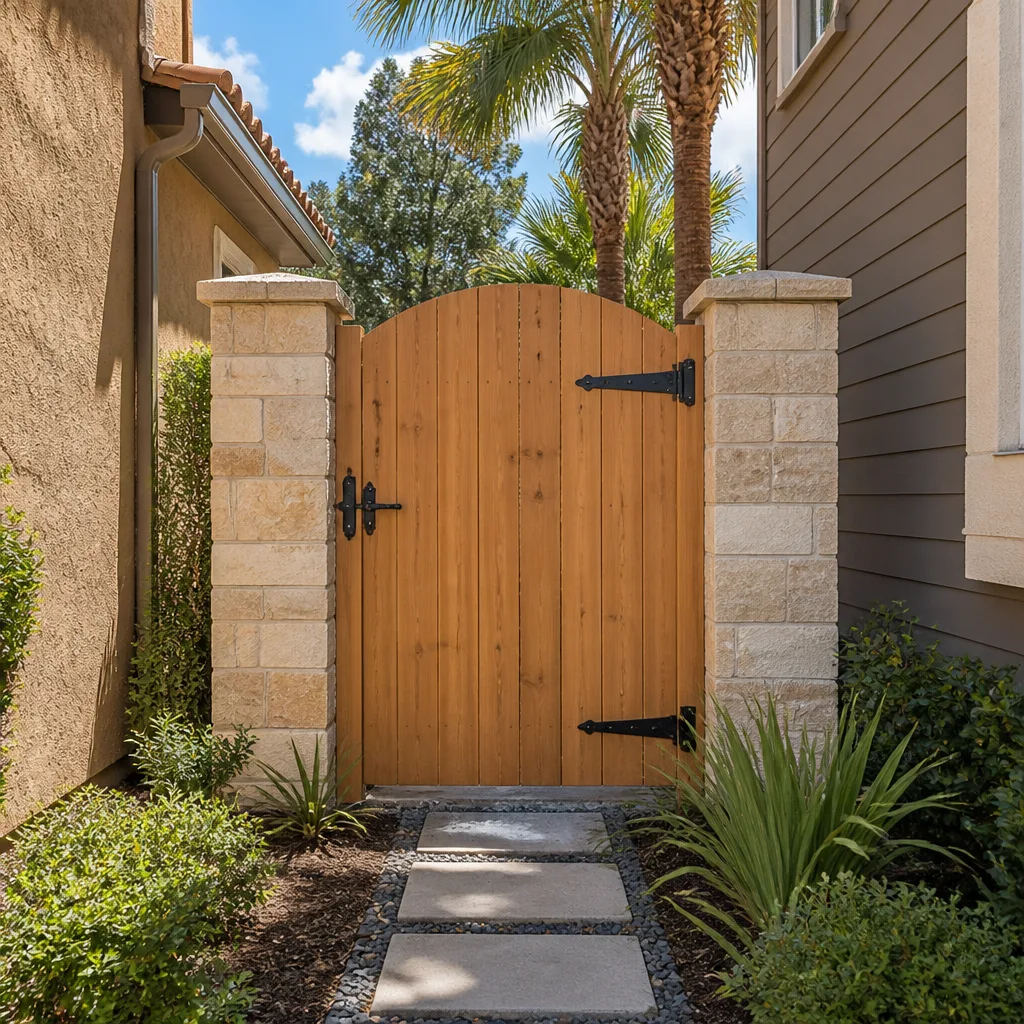
- Hinge failure. If the gate sags at the hinge side, but the hinge post is plumb and solid, the hinges are worn or weren’t rated for the gate weight. Wiggle the gate up and down while watching the hinges. If they rock in their mounting holes, that’s the culprit. Fix: replace with heavier hinges sized to the gate weight. This is the easy one.
- Post movement. If the hinge post itself leans, or moves when you push the gate open, the post footing has failed. This is a footing problem, not a gate problem – reset the post before doing anything to the gate. Otherwise you’re hanging new hinges on a moving wall.
- Frame racking. If the gate frame has gone out of square – the diagonal corners don’t measure equal – the gate has racked, usually because the frame was underbuilt or the screws backed out over time. This is the only one where repair without replacement is genuinely worth it, and only if the frame itself is still sound. Add a diagonal brace or turnbuckle to pull it back, then re-screw the corners.
In Santa Ana we see a lot of gates hung on a single post with no tie-back to the fence line, which is a guaranteed sag in about three years. The correct build ties the hinge post into the adjacent post with a horizontal brace, so the load spreads across the fence line instead of hanging on one footing.
Reading Rust Patterns on Fence Hardware
Not all rust is equal. There’s a cosmetic version and a structural version, and you need to know which you’re looking at.
Surface oxidation (cosmetic). An even, light brown or orange film across the head of the fastener or the face of a bracket. Wipe it – the metal underneath is still solid, black or silver. This is normal in coastal-influenced air and doesn’t compromise anything.
Galvanization failure (structural). Rust that’s pitting the metal, flaking off in layers, or concentrated at the joint or thread. The fastener is compromised. It won’t hold load. On a fence, that means hinge screws, rail brackets, and post anchors. A rusted-through hinge screw can shear under gate weight without warning, which is the sort of failure that hurts someone.
The giveaway in Santa Ana is the combination of coastal humidity and the few miles inland where the marine layer burns off. Fasteners that held up fine for a decade in a dry climate will pit faster here. Use hot-dipped galvanized or stainless hardware on any fence in this region – not electroplated zinc, which is what most cheap fence hardware comes with. If you can’t tell what coating the hardware is, the fact that the box doesn’t say “hot-dipped” is your answer.
Lateral Soil Pressure and Wind Load
A fence that leans in one consistent direction is telling you the soil or the wind is pushing it, not that the post moved on its own.
Santa Ana has the Santa Ana winds – the hot, dry offshore flow that funnels through the canyons and hits the basin hard from fall through winter. A privacy fence with solid panels presents a lot of surface area to a wind gust, and a fence built to the wrong spec will lean a little further every season.
The fix is not a taller post – it’s the right post. The standard structural answer for a solid-panel privacy fence in Santa Ana is:
- Post size: 4×6 rather than 4×4 for fences over 5 feet tall, especially on a wind-exposed side.
- Post spacing: 8 feet maximum, not 10, for a solid-panel build.
- Footing depth: the full formula above, not the “one-third” shorthand.
- Panels: a small gap between boards, 1/8 inch or so, lets the wind pass instead of catching the whole panel. A “solid” fence that’s actually solid board-to-board catches the full gust.
If your fence leans downhill or toward a low spot in the yard, drainage is the other half of the answer. Water pooling on the high side of a fence line softens the soil and lets the post walk sideways. That’s a grading and drainage problem that fence work can’t fully solve, which is exactly what the driveways and pavers side of our work addresses – see Driveway & Pavers in Santa Ana for how that’s handled.
Repair or Replace: The Four-Year Test
Here’s the practical question: do you patch or replace? We use a simple four-year test.
If the diagnosis is a single failing post, footing, or a hardware swap, repair. A single post reset in a fence that’s otherwise sound is a two-hour job. Same for a hinge replacement or a frame brace on a sagging gate. Repair the root cause and it’ll last.
If more than two posts are failing, or the post bases are soft in more than one spot, replace. Patching multiple failures in an aging fence is throwing money after the wrong cause. Wood rot at the base in one post almost always means the same rot is starting in the neighboring posts, and if you’re resetting three, you’re paying replacement labor in installments.
If the hardware is pitting in more than a few spots, plan the full replacement. Corroded-through fasteners are the first sign that the whole fence connection system is at the end of its service life. You can’t safely spot-fix structural hardware.
The oldest fence we’ve been called to – a 22-year-old pressure-treated fence in an older Santa Ana neighborhood – was a full replacement. The newest, a 7-year-old fence leaning badly, was a footing reset on four posts. The difference was diagnosis, not guesswork.
Common Mistakes to Avoid
- Re-plumbing a post without resetting the footing. This is the single most common mistake. It buys you a few months, then the next rain cycle leans it back out.
- Using “one-third of post length” as the footing depth in clay soil. In Santa Ana clay, that shorthand routinely comes up 6 to 12 inches short of correct depth.
- Setting wood posts directly in concrete. No gravel, no barrier, no standoff. This is a rot situation, not a fence.
- Hanging a gate on a single post with no tie-back. The load has nowhere to go but into one footing, and one footing is not enough for a full gate.
- Using electroplated zinc hardware in coastal-influenced air. It pits in a fraction of the time hot-dipped galvanized lasts.
- Building a solid-panel privacy fence without a wind gap. The Santa Ana winds will find every overbuilt panel in a hurry.
- Assuming a sagging gate is a hinge problem. Half the time it’s post movement, and new hinges won’t fix a moving post. Diagnose before you buy hinges.
See the difference
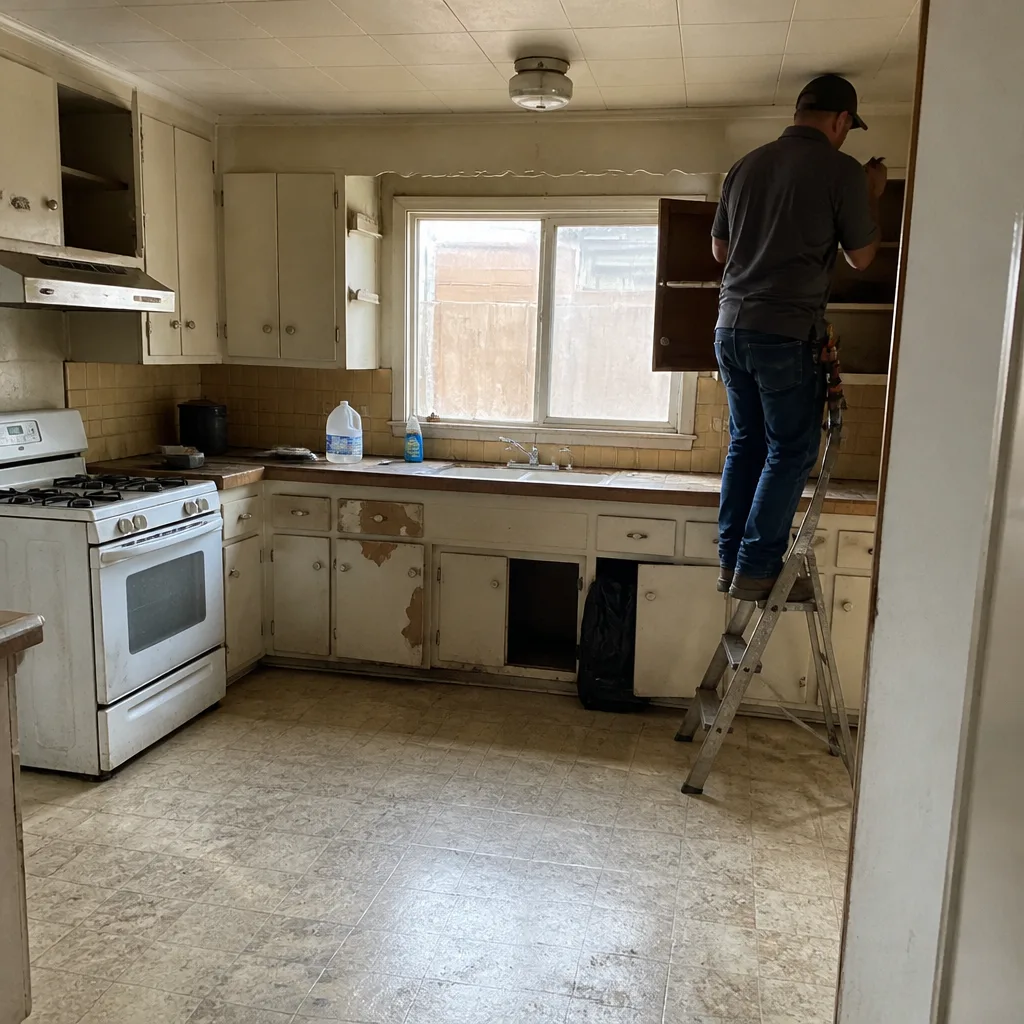 Before
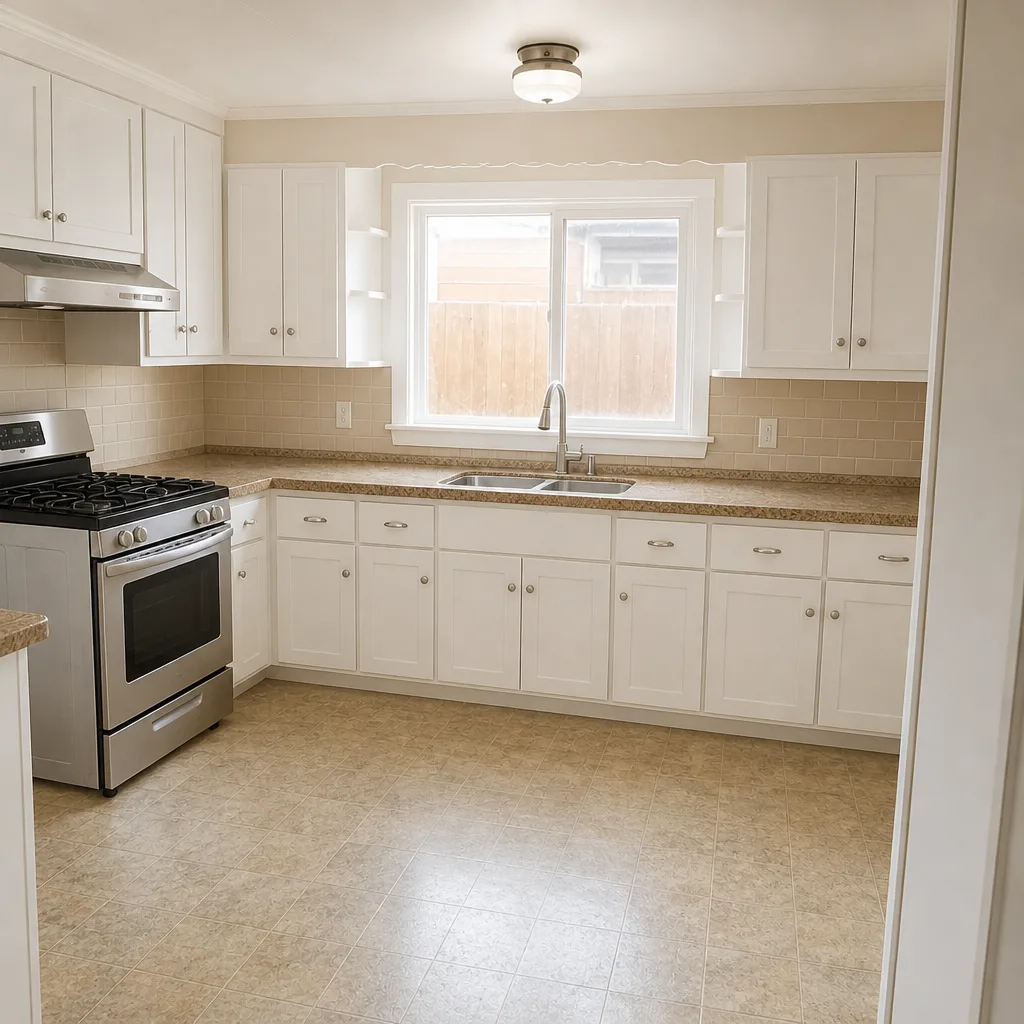 After
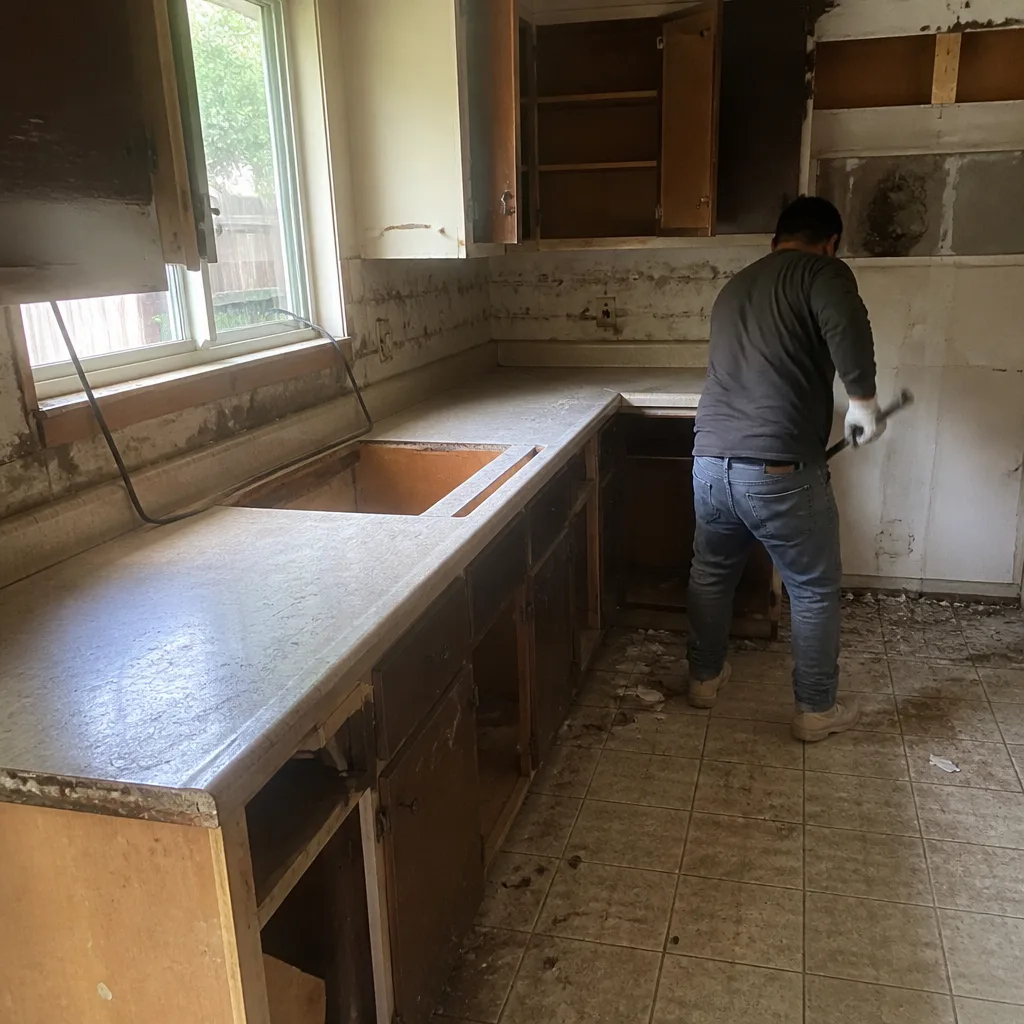 Before
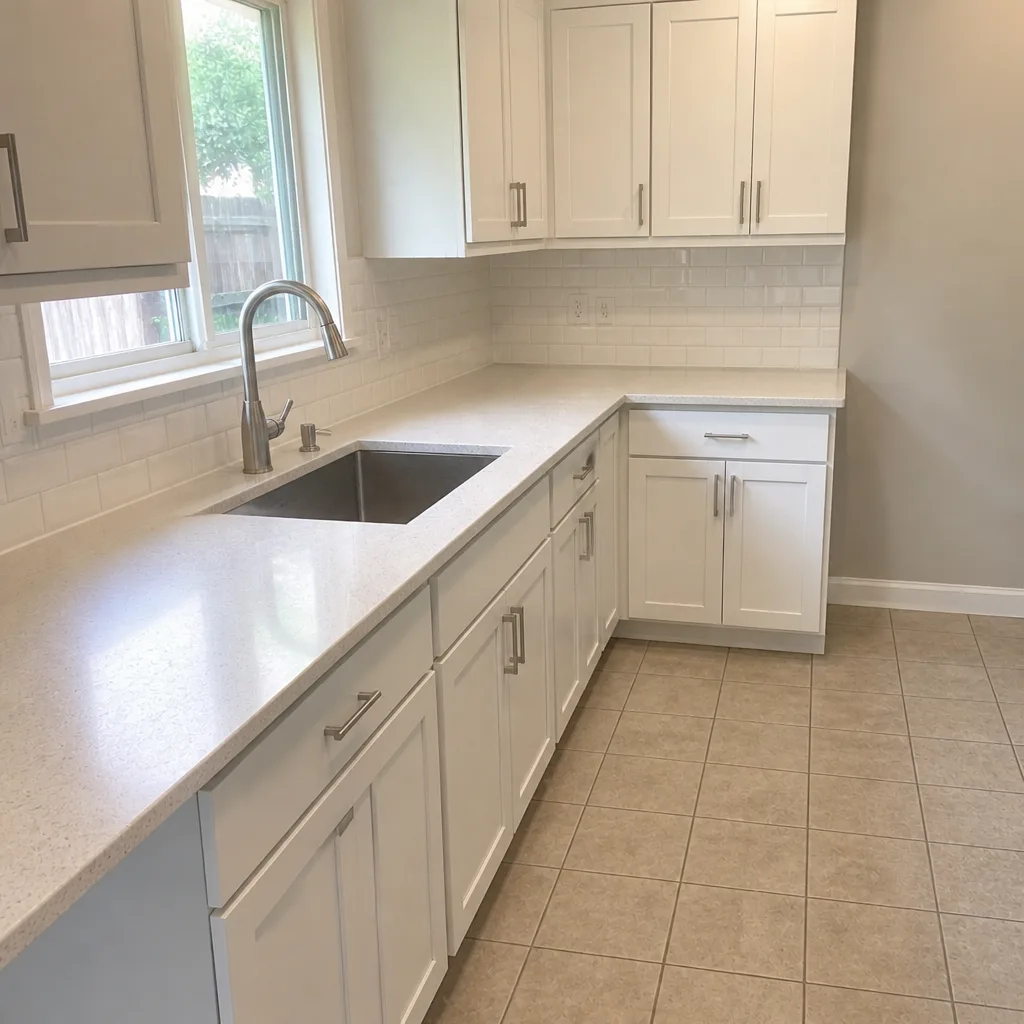 After
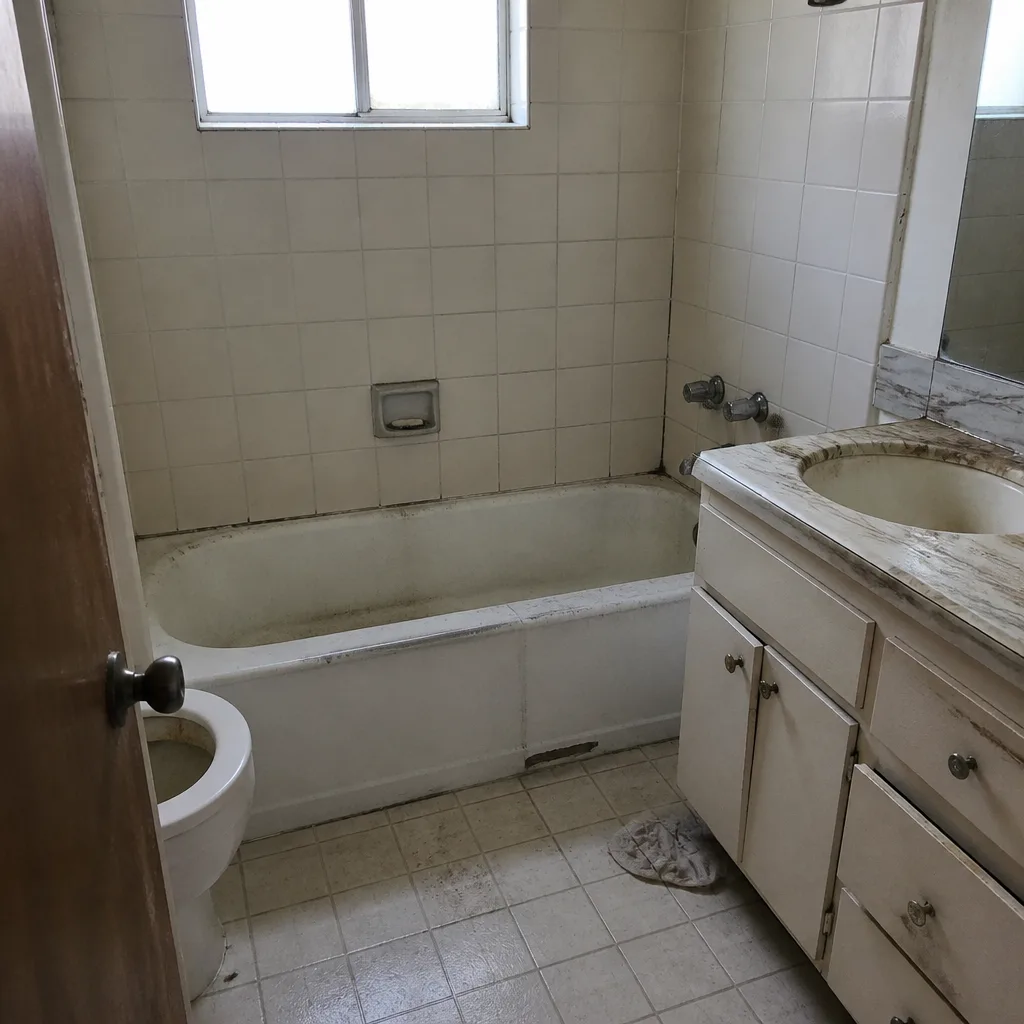 Before
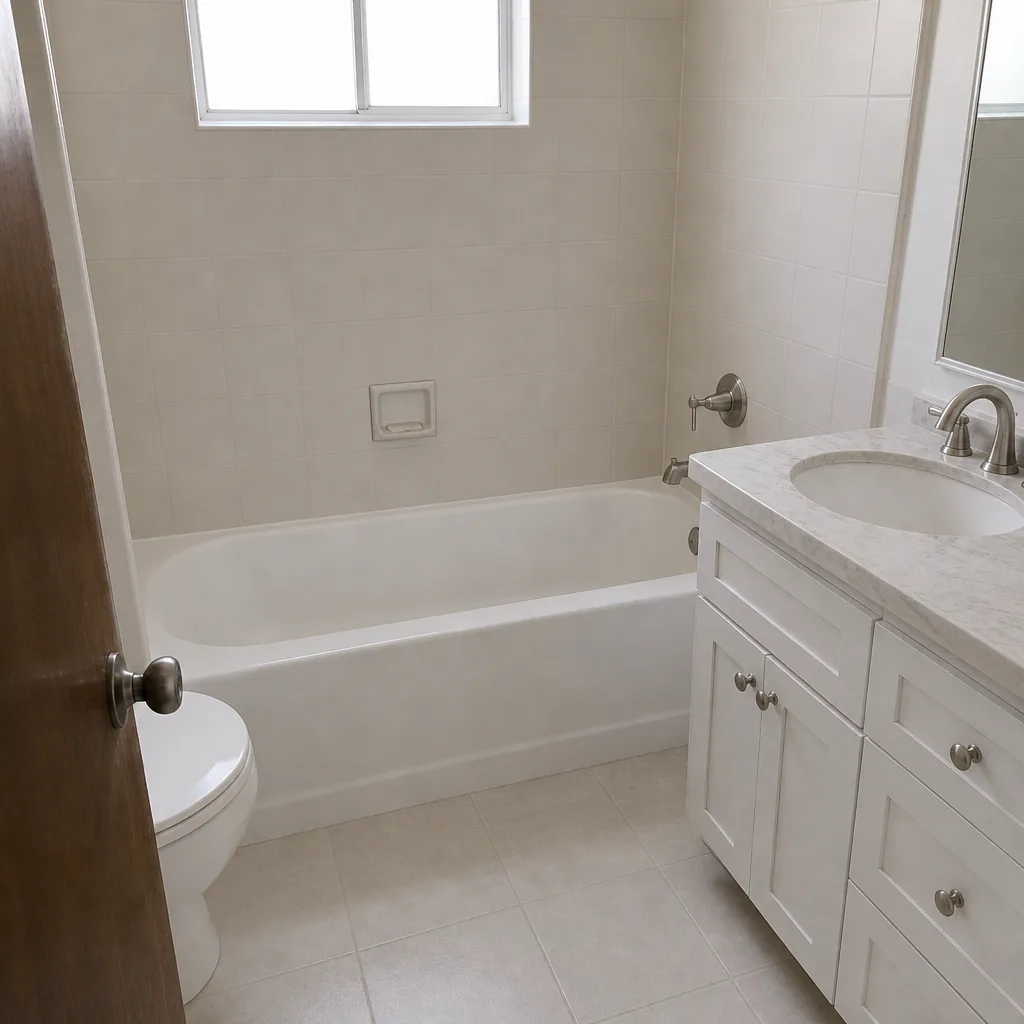 After
When to Call a Professional
Some of this is work homeowners can reasonably do. Replacing a hinge is fine. Spotting the difference between cosmetic oxidation and galvanization failure is fine. But the moment a repair involves resetting a footing, replacing a post, or diagnosing a gate that’s moving more than a few degrees, call a crew who does it every week. A post that’s set in the wrong footing depth is the most common reason a repair fails, and it’s the kind of thing that’s hard to see in a mirror-hung fence line. For the more complex scenarios – a full gate rebuild, a fence on a slope, or a driveway and fence line that are failing together – a professional look saves you the second repair. If you’re weighing a fence replacement against a repair, the permit rules and footing specs vary by soil and grade on your actual lot, and that’s worth a conversation. If your project is bigger than a fence, our Home Additions & ADU in Santa Ana work often runs alongside fence and yard rework. Barrett & Sons Construction offers free estimates in Santa Ana – call (888) 325-4971.
Frequently Asked Questions
A single post reset on a standard privacy fence in Santa Ana typically runs $150 to $350 depending on access, footing depth, and whether underground utilities or irrigation lines are in the way. Replacing a rotted post and footing runs $250 to $500 per post. Multiple posts usually price better as a batch – call (888) 325-4971 for an exact quote, and our estimate is free.
For a 6-foot fence with a 10-foot post, the correct footing depth is 36 inches, not the 20 inches the “one-third of post length” rule calls for. Add a 12-inch-diameter bell at the bottom, and use a metal post base standoff so the wood doesn’t sit directly in concrete. In Santa Ana clay, going short on depth is the most common cause of a leaning fence post.
No – not permanently. Re-plumbing the post without resetting the footing only corrects the visible lean. The footing that moved will move again after the next soil saturation, usually within a winter or two. The correct repair digs out the old footing, sets a new one to the proper depth with a bell shape, and resets the post.
Wood-to-concrete contact is almost always the culprit. Concrete wicks moisture from the soil into the wood, and the base of the post stays wet with nowhere to drain. The rot starts inside the post and rarely shows on the surface until the post is already compromised. The fix is a gravel plate and a metal post base so the moisture has somewhere to go – see our Fence Installation in Santa Ana page for how we build that in from the start.
Open the gate halfway and push it side to side while watching the hinge post. If the post moves and the hinges stay put, it’s post movement – the footing needs resetting. If the post stays solid and the hinges rock in their mounting holes, it’s hinge failure. If both are solid but the gate frame has gone out of square, it’s frame racking. Only the hinge failure and frame racking are worth repairing without replacing the gate.
Fence repair and like-for-like replacement are generally handled differently from new fence installation, and requirements depend on fence height and location relative to property lines. If your fence is on or near a lot line, in a front yard, or over 6 feet tall, that’s the trigger to check with the city before you build. We pull the permits on every eligible job and have the permit inspector sign off – because we’ve heard too many stories from customers whose last contractor told them permits were optional. Call (888) 325-4971 and we’ll walk you through what your specific project needs.
The Bottom Line
Most fence problems come down to three root causes – shallow footings, wood in ground contact, and hardware not rated for the local air – and the fix that works is the fix that addresses the cause, not the symptom. Diagnose before you repair. A leaning post is usually a footing, a sagging gate is usually a post or a hinge (not both), and rust is usually cosmetic until it isn’t. Get the diagnosis right, set the footing to the right depth for Santa Ana clay, keep wood off concrete, and use hot-dipped hardware. That’s the whole battle. When in doubt, call us – our estimates are free and we back the work with a 90-Day Done Right Promise in writing.
If any of this guide describes your fence – a leaning post, a sagging gate, a fence line that sways in the wind – call Barrett & Sons Construction Santa Ana at (888) 325-4971 to schedule a free estimate. We’ll look at the actual footing, diagnose which of the three root causes is at play, and tell you honestly whether it’s a repair or a replacement. Our technicians have up to 28 years of experience, and we’ve done this work on plenty of Santa Ana fences. Start with the Barrett & Sons Construction Santa Ana home page if you want the full picture of what we handle.
Written by the team at Barrett & Sons Construction Santa Ana.