Last updated November 18, 2026




Free written scope consultation - allowances, timeline, and change-order rules on paper before a single trade is scheduled
Home Additions & ADU Maintenance Schedule: What to Do and When
The bead of caulk where your new addition meets your original roofline will fail years before either roof does. It’s a small, unglamorous line of sealant, and it’s the single most common source of slow water damage we see in home additions, because nobody thinks to look at it on a Saturday ladder walk. An addition or ADU isn’t just more house. It’s a new structure stitched onto an old one, and that seam between old and new is its own maintenance zone with its own calendar. In Santa Ana, the dry climate hides a lot of this damage until it’s expensive. This guide walks you through what to check, when, and why the new half of your property deserves a separate schedule from the old.
Quick Answer
Treat your addition or ADU as a separate maintenance zone and inspect it on its own calendar: roof valleys and the junction where new meets old every spring and fall, caulk joints and exterior trim once a year, grading and drainage around the new foundation twice in the first two years, and the small mechanical systems inside (tankless water heater, mini-split, compact panel) on shorter intervals than a full-size house. The first year after construction matters most. Every junction should get a documented inspection at 90 days, six months, and the one-year mark before your workmanship warranty closes.
Styles & brands we work with
- Kitchen remodeling
- Bathroom remodeling
- Home additions & ADU
- Roofing
- Windows & doors
- Driveway & pavers
- Fence
Table of Contents
- Why an Addition or ADU Needs Its Own Maintenance Calendar
- The Seams That Fail First: Junctions to Inspect Every Year
- The 90-Day Post-Construction Window: What to Check Before Your Warranty Closes
- Drainage and Grading Around a New Addition: What to Watch in the First Two Years
- ADU Mechanical Systems: Shorter Intervals for Smaller Units
- How Santa Ana’s Climate Ages New Construction Faster Than You Expect
- Your Seasonal Maintenance Calendar, Month by Month
- Common Mistakes to Avoid
Why an Addition or ADU Needs Its Own Maintenance Calendar
Your original house has had decades to settle, dry out, and reveal its weak spots. A new addition has had none of that. You’ve got two structures of different ages pressed together, each moving on its own schedule, each drying out at a different rate, and each with different materials under different stress. The old house moves one way in a Santa Ana heat cycle; the new foundation and framing move another.
That’s why maintenance isn’t one list anymore. It’s two. The older home keeps the routine it always had. The new section gets a tighter schedule in its first two years, then eases into a rhythm once everything has had time to settle.
The reason this matters practically: when something goes wrong at a junction, the damage usually starts on the old side of the seam and shows up on the new side. Water sneaks behind new siding where it meets old stucco. It runs down a new roof valley into old sheathing. The fix is on the new half, but the symptom appears on the old. A homeowner who treats the property as one maintenance item usually looks in the wrong place first and loses weeks.
Think of the addition as a new car and the original house as the truck that’s been parked beside it for twenty years. They don’t share a service schedule. If you’re planning a new structure and want the full scope picture, our Home Additions & ADU in Santa Ana page covers design, permits, and how to think about the build itself. This guide is about what happens after the crew rolls out.
The Seams That Fail First: Junctions to Inspect Every Year
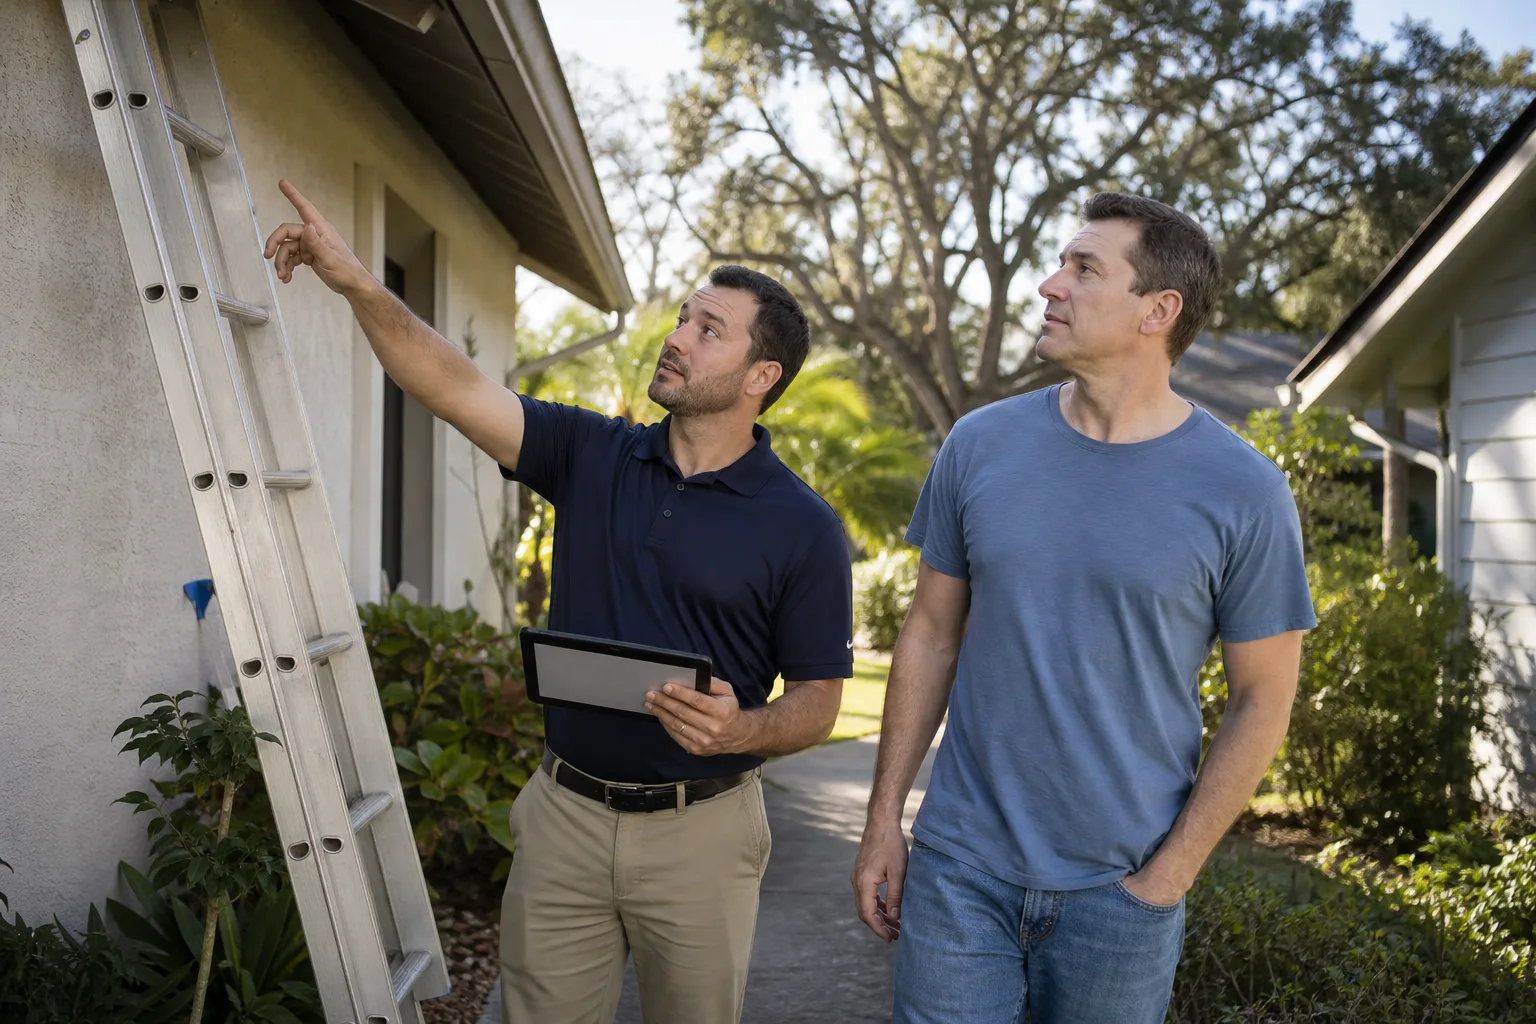
Four junctions account for the vast majority of slow-damage calls we get on additions and ADUs in Santa Ana. Walk these once in spring and once in the fall. It’s a half-hour job with binoculars and a garden hose.
- Roof valleys and the rake-to-wall junction. Where the new addition roof ties into the original, water concentrates in a valley that sees more flow than any single-plane surface. Look for staining, lifted shingle tabs, or granules collecting in the gutter below. If your addition used GAF or CertainTeed architectural shingles, check the edge tabs on the side that meets the older roof first.
- Foundation transition. Where new concrete meets old, a thin gap appears as each side cures and settles at different rates. That gap is normal. A gap wider than a quarter inch, or any gap on the inside face of the wall, means it’s time for a contractor to look.
- Siding seams. The vertical line where new siding or stucco meets original siding is the highest-risk exterior wall on the whole property. Water running down the new face wicks behind the old face at the seam. Check for soft wood, bubbling paint, and staining that runs downhill from the seam.
- Exterior trim connections. New fascia, corner boards, and the transition boards at the roof edge are typically made of composite or Boral trim these days, and they expand and contract at a different rate than the older wood trim they’re next to. Look for paint cracking along the seam and re-caulk before water gets in.
What you’re looking for on all four: a clean, intact sealant line, no staining below the joint, and no daylight through the joint when you look from inside. Any of those three wrong is a call-us-now item, not a wait-until-spring item.
While you’re at the exterior walls, the rest of your fencing, gates, and hardscape boundaries deserve the same walk. Our Fence Installation in Santa Ana page covers how new fence lines interact with the grading and structures they touch if you’re planning a boundary change to go with your addition.
The 90-Day Post-Construction Window: What to Check Before Your Warranty Closes
The 90 days after your contractor finishes work is the window where you still have real leverage. Every issue you document in that window gets fixed on someone else’s dime. Every issue you miss gets discovered at month fourteen, when it’s yours. This is why the 90-Day Done Right Promise exists on paper, on the contract, not buried in fine print. If it’s not done right, one call brings Tom back to make it right. But the call has to be made while you’re still looking.
Here’s the checklist we recommend every new addition or ADU owner run at 30, 60, and 90 days.
- Look at every caulk joint and mastic seal. A newly constructed joint has moved by day 30. By day 90, the shrink has finished. Any joint that’s pulled away, cracked, or no longer touching both surfaces should be re-sealed under warranty.
- Run every mechanical system through a full cycle. Tankless water heater through a shower. Mini-split through heat and cool. Every outlet, every switch, every GFCI. You want a full-page list of anything that fails in the first 30 days, not scattered notes.
- Check for water intrusion after a Santa Ana rain event. Or simulate one with a hose on the roof valley and the seam junctions for ten full minutes. Watch the interior side of every junction during and after.
- Photograph the grading and drainage around the new foundation. You want a before photo from day one so you can see at month 12 exactly how much the soil has settled against the foundation.
- Confirm every permit is closed and inspected. Pull the permit record, confirm the inspection signed, and keep the sign-off in the same folder as your contract. Never take the contractor’s word alone.
- Walk the interior trim and doors one final time. Every door that stuck at day 30 and swings free at day 90 was framing that moved. That’s normal. Every door that stuck at day 90 and didn’t at day 30 is the wood absorbing moisture – investigate the source.
Document all of it in one place with dates and photos. If you find issues in the 90-day window, put them in writing via email so the record is timestamped. That’s the difference between a five-minute phone fix and a lengthy dispute.
Drainage and Grading Around a New Addition: What to Watch in the First Two Years
Newly placed soil around a new foundation settles for up to two years. That settlement isn’t a defect; it’s physics. The soil was disturbed to pour the foundation, and it needs to compress and re-drain back into its settled shape. What matters is whether the settling keeps water flowing away from the foundation or pools it against the new wall.
What to watch:
- Year one, spring and fall. Look for low spots against the new foundation where water stands after a rain. The slope should run away from the wall at about six inches of fall over the first ten feet. If water pools in a depression against the wall, that depression needs to be regraded before the next rainy season.
- Year two, after the first heavy rain. By the second winter, the soil has mostly settled. Any settling that continues past two winters usually means a drainage issue upstream, not just soil compression.
- Downspouts and gutter exits. Every downspout should dump at least four feet from the foundation, ideally into a channel that runs water away from the addition. A downspout dumping directly against new soil against new foundation is asking for a moisture problem inside the wall cavity within three years.
- Grading at the addition-to-house seam. The soil should be highest against the wall of either structure and fall away in both directions. If the seam creates a valley that catches water between the two buildings, that valley is the highest-risk spot on the property.
- Side yards and paver aprons. If your addition connects to a paver walkway or driveway apron, the paver base has settled too. A paver that’s depressed more than half an inch below its neighbors is a trip hazard and a sign of water pooling beneath the base. Our Driveway & Pavers in Santa Ana page covers what proper base prep and drainage look like underneath.
The good news: most grading fixes are a weekend of shoveling and a load of soil in the first two years. Wait till year five, and you’re looking at foundation assessment and possibly wall-opening work. Two years is the window.
ADU Mechanical Systems: Shorter Intervals for Smaller Units
An ADU packs a full household’s worth of mechanical systems into 400 to 1,200 square feet. That density changes the maintenance math. Systems run harder per square foot, see more cycles per day, and get less air movement to dissipate heat and humidity. The service intervals you’d apply to a full-size house don’t fit here.
Tankless water heaters. A tankless unit in an ADU typically serves one bathroom and a kitchenette, which means short, frequent draws. That’s fine, but Santa Ana’s water is hard enough that scale accumulates faster than the manufacturer’s manual implies. Descale the heat exchanger every 12 months, not the 18 to 24 months some manuals list. Clean the inlet filter screen every six months. If you notice the hot water temperature varying at the faucet, scale is usually the culprit.
Mini-split systems. A ductless mini-split is the go-to for many Santa Ana ADUs, and it needs three things: filter cleaning every 2 to 3 months during cooling season, an annual coil cleaning, and a line-set inspection to confirm the insulation on the copper hasn’t been chewed by raccoons or sun-cracked. The condenser outdoor unit should have 12 inches of clearance on all sides year-round; in the tight side yards of Santa Ana ADUs, that clearance often gets squeezed by plant growth and stacked storage. Check it every season.
Compact electrical panels. An ADU usually gets a subpanel, not a full separate service. Subpanels have their own heat management needs. Once a year, look inside the panel door (visually, from a safe distance, no touching) for discoloration around breakers, a burning smell, or a breaker that trips more than twice in a month. Any of those three means an electrician looks at it. Do not open the panel cover yourself; the risk of shock is real and the job isn’t a homeowner task.
Beyond the big three: check your smoke and CO detectors every six months, test any GFCI outlets monthly with the test button, and confirm your ADU’s vent fan actually pulls air (hold a tissue to the grille; if it doesn’t pull the tissue against the grille, the fan or duct has a problem).
How Santa Ana’s Climate Ages New Construction Faster Than You Expect
Santa Ana gets roughly 12 to 14 inches of rain in a year, most of it between December and March. Low rainfall means less frequent water intrusion, which sounds good. What it actually means is that leaks go undetected for months at a time, because the joint that failed in October doesn’t drip until the first storm in January, and by then the interior wall has had a season of hot, dry air to hide the evidence. The damage shows up in March; the failure happened in September.
Meanwhile, the UV intensity in Santa Ana is doing work on every exterior surface faster than most new construction owners expect. Caulk joints on the south and west faces of an addition will chalk and crack in 3 to 5 years, not the 8 to 10 that a mid-climate installation guide assumes. Paint on new fascia and trim on those same faces can fade and fail within 5 to 7 years. Vinyl windows are UV-stable, but their seals aren’t immune; if your addition used PGT or CGI vinyl windows, check the glazing seals annually for clouding or condensation between panes.
Temperature swings matter too. A Santa Ana day in the low 60s can follow a day in the upper 80s in the same week, and the new addition is a tight thermal envelope that expands and contracts as a unit. Composite materials like Boral trim take that cycling better than wood, but the sealant used at their joints is the weak link. That’s why the annual caulk walk isn’t optional here; the joint will tell you what the climate is doing.
The sealant you choose matters. On a Santa Ana south-facing wall, a mid-grade acrylic that might last a decade in a cooler climate will need reapplication in 4 to 5 years. Use a high-performance, UV-rated elastomeric sealant there, and you’ll stretch that to 7 or 8. Put the difference into your maintenance budget.
Your Seasonal Maintenance Calendar, Month by Month
Here’s the annual rhythm we recommend for any addition or ADU in Santa Ana. Print it, tape it to the inside of a kitchen cabinet, and cross it off as you go.
- Late winter (February). Post-rain inspection. Walk every junction, seam, and roof valley. Look for staining and pooling. Check the grading against the new foundation; if soil has settled more than two inches below the top of your foundation slab, regrade before spring.
- Early spring (March or April). Full caulk inspection and touch-up on every exterior seam and joint. This is the most important single task in the calendar. Inspect the roof valley and clean any debris that collected over winter. Test the GFCI outlets and smoke detectors. Clean the mini-split filter.
- Late spring (May). Descale the tankless water heater. Clean mini-split coils. Look at new trim paint for cracking, especially on west and south faces.
- Summer (June through August). Mini-split filter cleaning every 2 months. Confirm condenser clearance from landscaping and stored items. Check attic and crawl space ventilation if the addition has either. One visual inspection of the electrical subpanel from a safe distance; note any new discoloration.
- Early fall (September). Second full caulk inspection. Clean roof gutters and downspouts before the rainy season. Verify downspouts discharge at least four feet from the new foundation. Re-seal anything that showed wear over summer.
- Late fall (October or November). Final grading inspection before winter rain. Re-check the roof valleys and the seam where new roof ties to old. Test smoke detectors. Touch up any remaining paint wear on sun-facing trim.
- Winter (December or January). After each significant rain, a quick 15-minute walk around the addition exterior, looking for water where you don’t want it. Watch the interior seam walls for any staining. No tools needed for this one.
That’s about six hours of work spread across the year. Compare that to what a hidden leak costs.
Common Mistakes to Avoid
- Treating the addition as one with the original house. Every maintenance list you keep should have two halves: the older house and the new structure. The new half needs more attention in years one and two, and different attention for as long as you own it.
- Skipping the caulk joint walk in spring. In Santa Ana, the joint where new meets old at the roofline is where slow damage starts. Miss the walk twice, and you’re paying for interior drywall repair.
- Opening the electrical panel to “take a look.” Compact ADU panels have live current behind the cover. Visual inspection from the outside only. Anything you can see well enough to worry about is worth a call; anything you can see by opening the cover is not worth the risk.
- Ignoring grading after the first winter. The soil around a new foundation settled more than you think in year one, and again in year two. Regrade it while it’s a weekend of work.
- Assuming the warranty is annual. The 90-day window is where leverage lives, and it’s a written window, not a rolling one. Do the walk at 30, 60, and 90 days or you lose the chance to fix problems under someone else’s cost.
- Descaling a tankless unit on the manual’s schedule instead of Santa Ana’s water. Hard water means more scale, which means annual descaling, not every two years.
- Forgetting the downspout distance rule. Four feet minimum from the new foundation. If your downspouts discharge closer than that, extend them. It’s a five-dollar fix that prevents a five-figure one.
See the difference
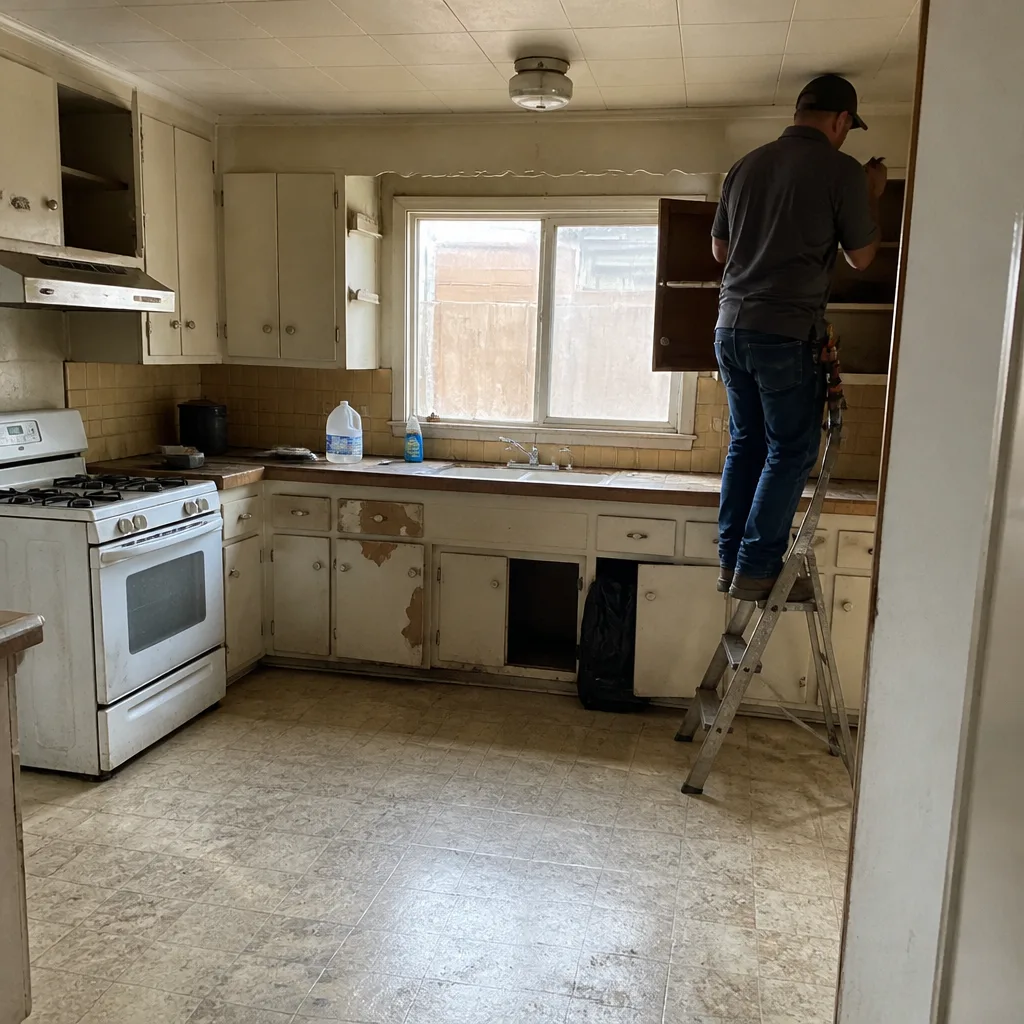 Before
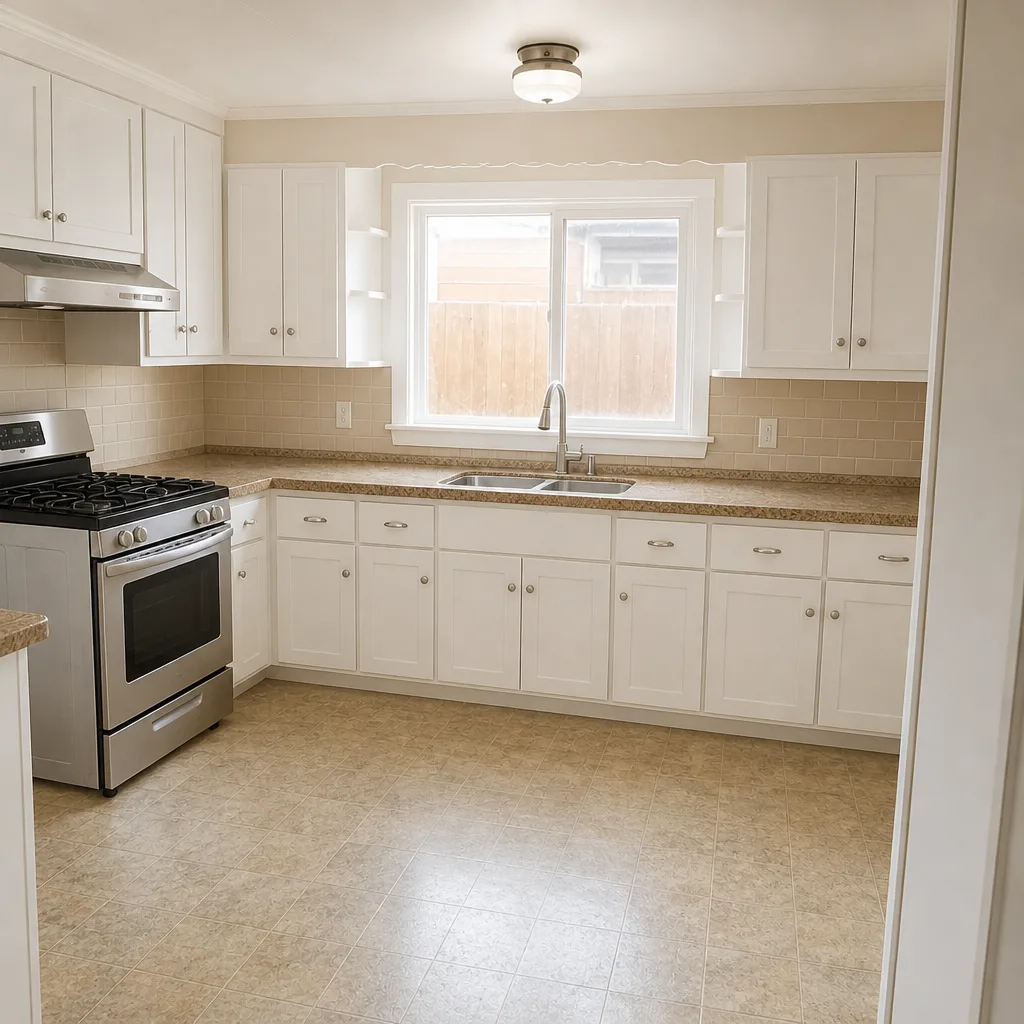 After
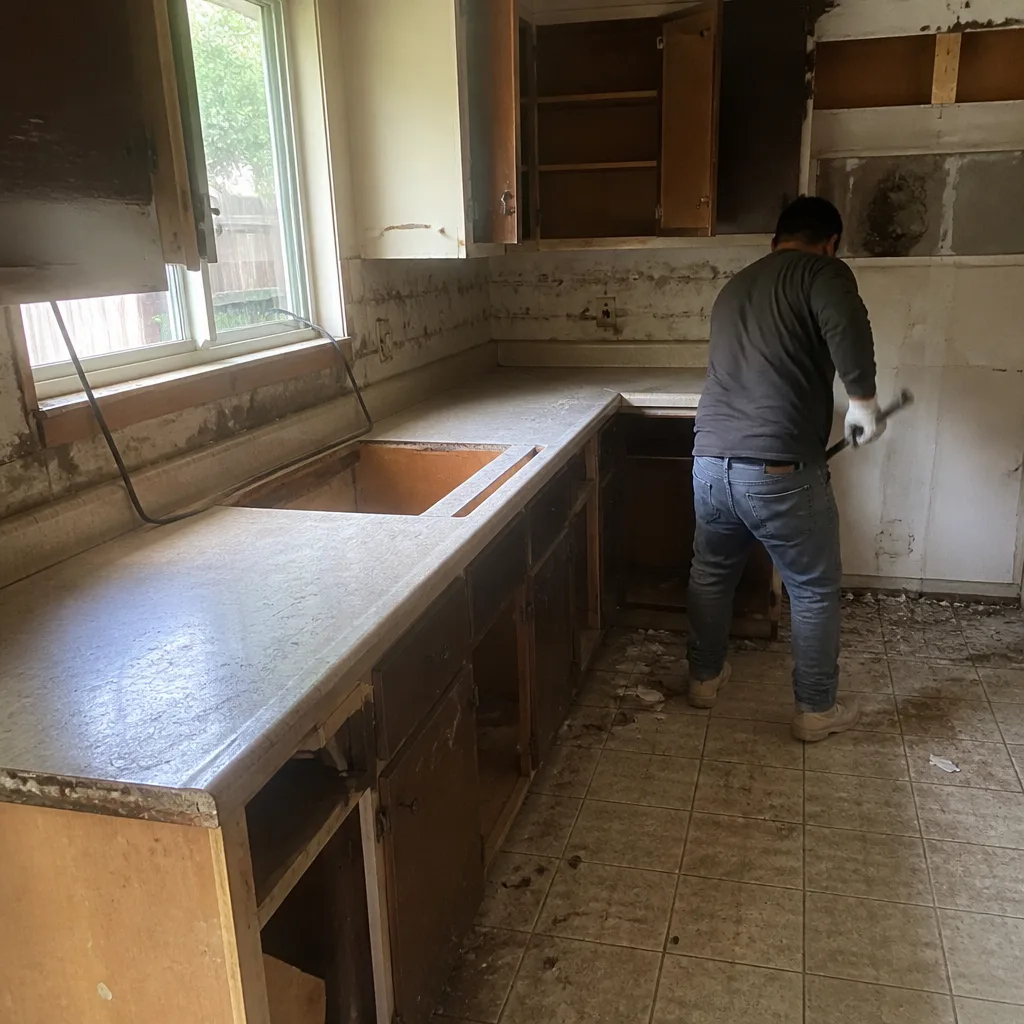 Before
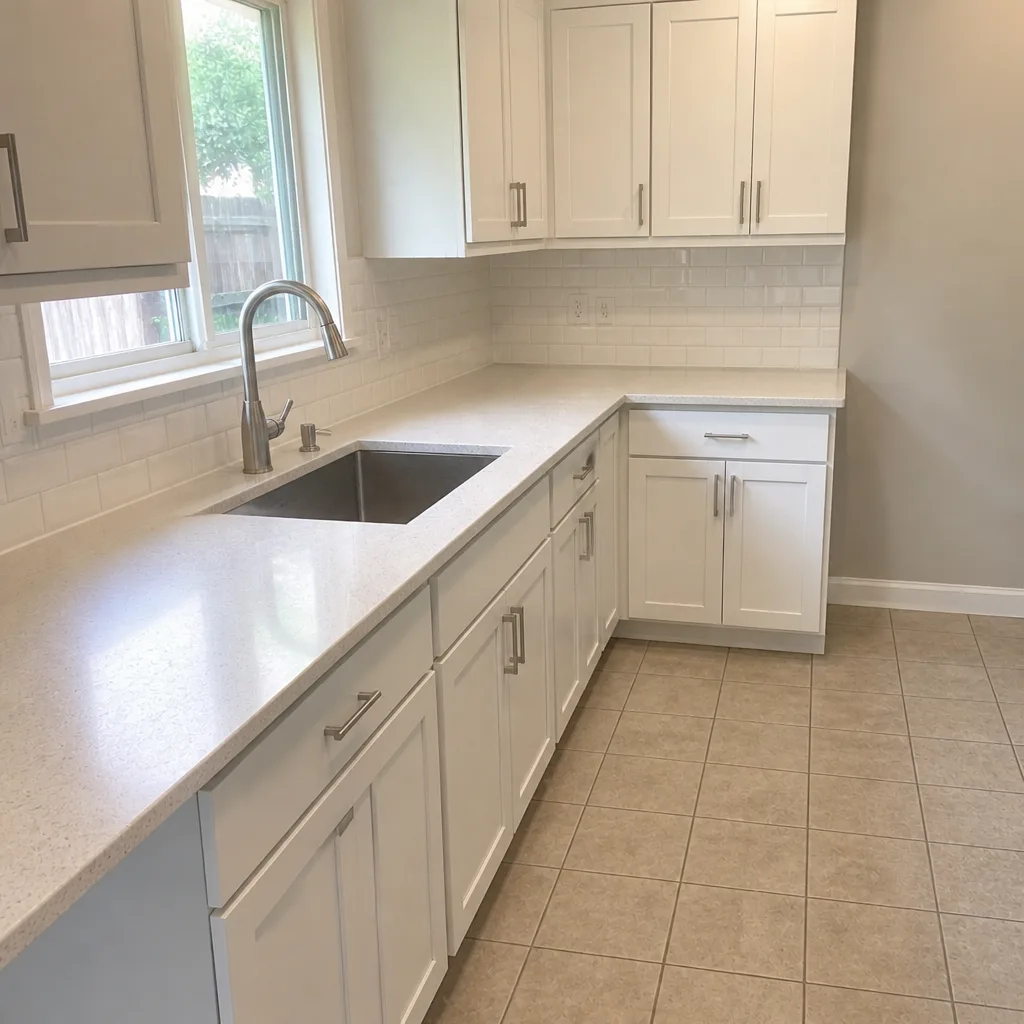 After
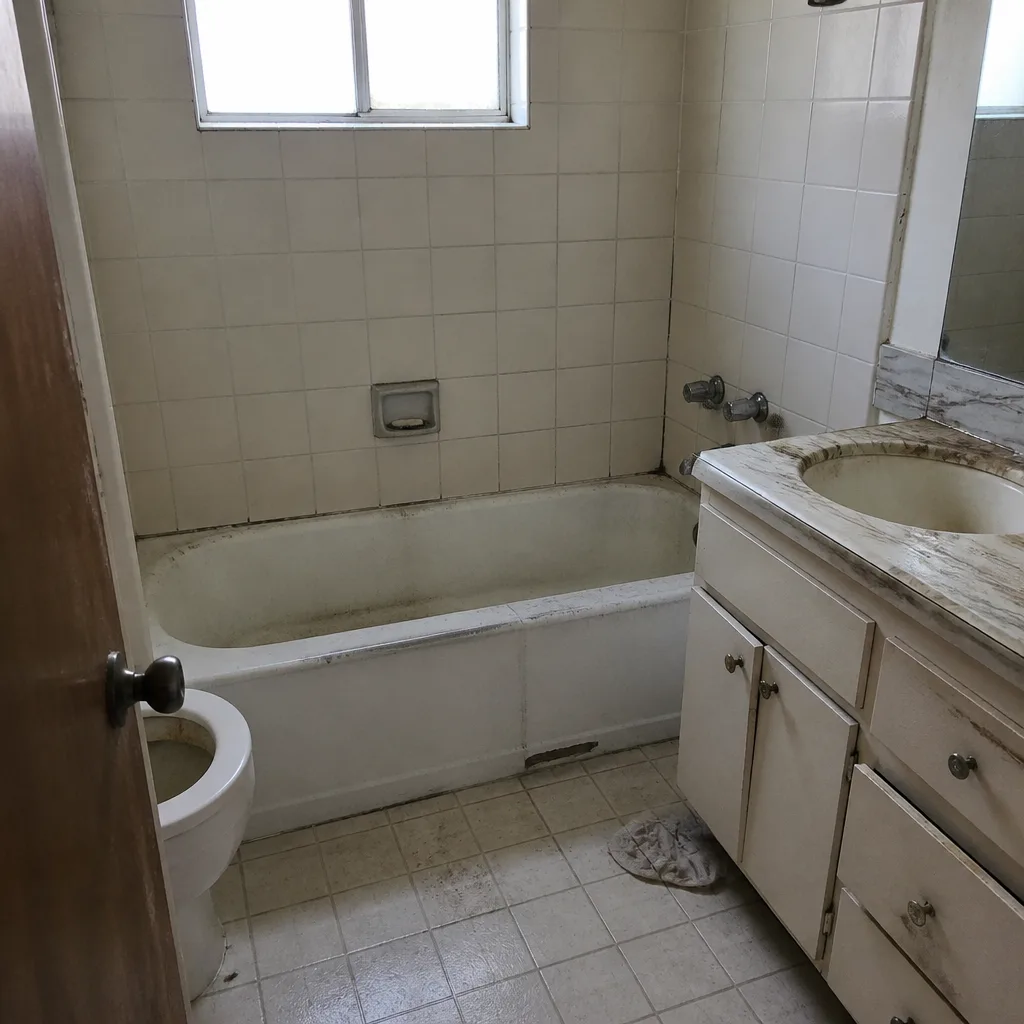 Before
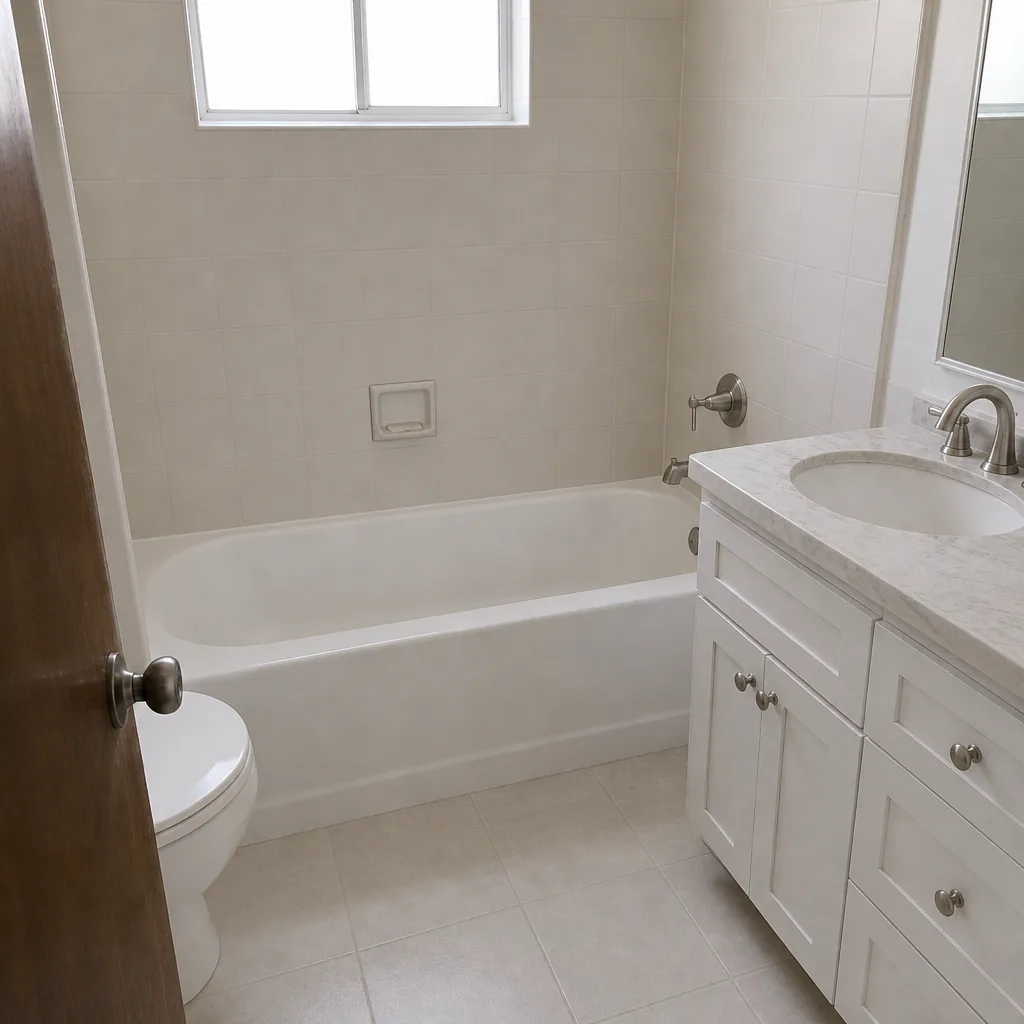 After
When to Call a Professional
Most of the checklist above is homeowner territory: caulk, gutter cleaning, filter replacement, hose testing, visually confirming grading. A few jobs are not. Call us or another licensed contractor when you see water inside the wall (anywhere near a junction), when a roof valley is actively lifting or showing daylight from below, when the subpanel shows discoloration or smells burnt, when a first-floor door starts sticking without a weather change, or when grading can’t be fixed without re-routing drainage. For the whole-home picture, our Barrett & Sons Construction Santa Ana home page covers every trade and every service we handle. Barrett & Sons Construction Santa Ana offers free estimates in Santa Ana – call (888) 325-4971. Every permit gets pulled, every price change arrives in writing before any work starts, and every completed job is backed by the 90-Day Done Right Promise. Ask us for a free second opinion on any written estimate; that offer stands whether you hire us or not.
Frequently Asked Questions
Twice a year, in early spring and early fall, for the full exterior walk – roof valleys, seam junctions, caulk joints, and grading. Plus a quick 15-minute inspection after each meaningful rain event between December and March. The biannual walk is the backbone; the post-rain checks catch what the calendar can’t predict.
The caulk joint where the new structure meets the original roofline or wall. It’s out of sight on most ladder walks, it fails in 3 to 5 years on sun-facing walls in Santa Ana, and it’s the entry point for almost every slow leak we get called out on. Inspect it every spring and fall, and re-seal as soon as you see cracking.
Depends on the repair. Cosmetic repairs (caulk, paint, filter changes) don’t. Re-roofing a section, re-siding a wall, or replacing a mechanical system usually does. In Santa Ana, any structural or mechanical change requires a permit and inspection, and the signed inspection is your proof the work was done to code. When you’re getting bids, ask the contractor whether they’ll pull the permit and pass inspection. If they say permits are optional, keep calling.
A re-caulk and sealant touch-up at a failing roof junction typically runs $150 to $450. A valley repair with lifted flashing runs $400 to $1,200. Interior water damage repair starts around $800 and climbs with the extent of the drywall, insulation, and framing damage. Catch it in September and it’s the first number. Catch it in March and it’s usually the third. Call (888) 325-4971 for a free estimate on your specific situation.
Santa Ana’s water supply is harder than the mid-range assumption most tankless manufacturers use in their manuals. Scale builds faster, and a scaled heat exchanger loses efficiency before it fails outright. Descale every 12 months instead of every 18 to 24. It costs about $100 to $200 annually and extends the life of the unit by years.
Right after the first winter and right after the second winter, when the soil has settled visibly. Those two years are when the majority of the settlement happens. If water is pooling against the foundation or the slope has reversed direction, fix it before the next rainy season; that’s a $300 to $600 landscaping job versus a foundation issue that starts at five figures.
The Bottom Line
An addition or ADU isn’t one house. It’s an old house and a new structure held together by seams – roof valleys, foundation transitions, siding joints, and caulk lines – that are doing the hardest work on the property. Treat the new structure as its own maintenance zone, walk the seams twice a year, front-load the first two years for grading and drainage, and use the 90-day window before your warranty closes while you still have leverage. Santa Ana’s dry, high-UV climate hides leaks until they’re expensive, so the calendar above isn’t busywork. It’s the whole point.
If you’re in Santa Ana and want this schedule run on a property we built, or want a second set of eyes on a repair bid before you sign, call (888) 325-4971. Live person, every time. Free estimate, written scope, written change orders, permits pulled, 90-Day Done Right Promise on every job.
Written by the team at Barrett & Sons Construction Santa Ana.