Last updated November 18, 2026







Free written scope consultation - allowances, timeline, and change-order rules on paper before a single trade is scheduled
Bathroom Remodeling Troubleshooting: Common Problems and How to Fix Them
A bathroom that smells musty six months after a remodel almost never has a grout problem. It has a waterproofing problem. By the time the smell is noticeable, moisture has been moving through the wall assembly for a while, quietly, behind tile that still looks perfectly fine. We’ve opened walls in Santa Ana homes where the shower looked flawless on the surface and the backer board behind it was soft as cardboard. The good news: most post-remodel problems announce themselves early if you know what symptoms to read. This guide walks you through the real causes behind the five failures we see most, plus the checks you can do yourself before you call anyone.
Quick Answer
Most bathroom remodel callbacks trace back to three hidden components: the waterproofing membrane, the drain slope set during the mortar bed, and the exhaust vent path. Surface issues like cracked grout or a rocking toilet are usually symptoms of those deeper problems, not the problems themselves. Diagnosing the source before anyone starts tearing things out saves both money and a second demolition.
Styles & brands we work with
- Kitchen remodeling
- Bathroom remodeling
- Home additions & ADU
- Roofing
- Windows & doors
- Driveway & pavers
- Fence
Table of Contents
- Grout Failure vs. Membrane Failure: The Towel-and-Flashlight Test
- Slow Drainage After a Remodel: It’s Usually the Pitch, Not a Clog
- Why a Rocking Toilet Is Never Just a Toilet Problem
- Exhaust Fan Troubleshooting: Duct, Diameter, and Where It Ends
- Reading Tile and Grout Cracks: Movement vs. Settling
- When to Call a Professional
Grout Failure vs. Membrane Failure: The Towel-and-Flashlight Test
Here’s the distinction that matters. Grout failure is cosmetic and surface-level: hairline cracks, crumbling at the joints, discoloration that scrubs out. Membrane failure is structural and hidden: water is getting past the tile layer entirely and sitting against the framing or subfloor. One is a Saturday afternoon fix. The other means opening the wall.
You can tell them apart with two things you already own.
- Dry the surface completely. Towel off the shower floor and walls, then run the exhaust fan for 30 minutes. The surface has to be bone dry or the test won’t read.
- Shine a flashlight flat along the wall and floor. Look at the grout lines, not the tile faces. Dark, damp-looking lines that stay dark after drying point to moisture behind the tile, not in the grout.
- Press a dry paper towel against the suspect grout line for a minute. If the towel wicks up visible moisture, water is migrating from behind. That’s a membrane signal.
- Check the base of the shower where wall meets floor. Soft caulk that peels away with a fingernail, or grout that crumbles when touched, usually means the pan and wall junction has been wet for a while.
In Santa Ana’s climate, we see this pattern most in showers built against exterior walls. The dry heat pulls moisture through the assembly toward the interior, and the first visible sign is often efflorescence, a white chalky powder blooming on the grout. That powder isn’t a cleaning problem. It’s minerals left behind by water that’s been traveling through the mortar bed.
Slow Drainage After a Remodel: It’s Usually the Pitch, Not a Clog
If a shower drained fine before the remodel and drains slow after, the problem is almost never a new clog. It’s the floor pitch set during mortar bed installation. A properly built shower floor slopes a quarter inch per foot toward the drain. Miss that by even a little, and water pools at the edges instead of finding the drain. You’ll notice it as a puddle that sits for an hour after every shower, or a drain that gurgles and backs up slowly rather than clearing fast.
How to confirm it before calling anyone:
- Pour a bucket of water across the floor, not at the drain. Watch where it pools. If it settles at the perimeter or in a corner and sits there, the slope is wrong.
- Check for a birdbath ring. A ring of standing water around the drain base after the shower drains is a classic sign the drain isn’t the low point.
- Look at the drain grate height. If the grate sits flush or slightly proud of the tile instead of recessed, the mud bed was likely floated too flat near the drain.
Fixing a slope problem is not a caulk-and-go job. It usually means removing the floor tile and mortar bed down to the drain, re-floating the pan with the correct pitch, then re-tiling. That’s why the pitch matters so much at build time. We pull the permit and have the pan inspected before tile goes down on any Santa Ana bathroom we build, because the pan is the one thing you can’t easily correct later. If you’re planning a full rebuild rather than a repair, our team handles Bathroom Remodeling in Santa Ana with the inspection signed off before the finished floor is ever laid.
Why a Rocking Toilet Is Never Just a Toilet Problem
A toilet that rocks after installation has one of two causes, and neither is the toilet itself. Either the subfloor under the flange is soft or uneven, or the flange sits below the finished floor line so the wax ring can’t seal. A rocking toilet means the fixture is bearing weight on the bowl instead of the floor, and every rock stresses the wax seal until it fails and starts leaking into the ceiling below.
What a proper fix looks like, versus a temporary one:
- Temporary (we don’t recommend it): Shimming the bowl and caulking the base. This stops the rock and hides the leak for a few months. The wax seal keeps compressing, and the leak returns.
- Temporary (also not recommended): Double wax rings stacked to close the gap. Sometimes this buys a year. It doesn’t fix a soft subfloor, and the flange still sits wrong.
- Proper fix: Pull the toilet, inspect the flange and the subfloor around it, repair or sister the damaged subfloor, install a flange extension if the finished floor is high, then reset the toilet on a new wax ring with the base bearing on the floor.
We see rocking toilets most in older Santa Ana homes where the original subfloor is plank rather than plywood. Plank subfloor flexes differently, and when a remodel adds tile and backer board over it, the flange height changes. If your toilet started rocking right after a floor tile job, the flange height is the first thing to check. It’s also worth knowing that this is the same subfloor movement that causes the tile cracks described further down.
Exhaust Fan Troubleshooting: Duct, Diameter, and Where It Ends
A new exhaust fan that performs worse than the old one it replaced is one of the most common post-remodel complaints, and it’s almost always an installation issue, not a fan defect. Bathroom fans are rated at a specific CFM, and they only deliver that number if the duct is sized right, run short, and terminated outdoors. Three things go wrong most often.
- The duct diameter is reduced to fit. A fan rated for 4-inch duct choked down to 3-inch flex loses a large share of its airflow. If the installer squeezed a smaller duct through a tight cavity, the fan is working against itself.
- The run is too long with too many elbows. Every bend adds resistance. A fan pushing air through a 15-foot run with three elbows moves far less air than the same fan on a straight 6-foot run.
- The duct terminates in the attic or at a soffit vent instead of through the roof or wall. This is a moisture problem waiting to happen. Warm, damp air dumps into the attic, condenses on framing, and creates exactly the environment you were trying to avoid.
You can spot a poor installation by holding a tissue to the fan grille. If it barely clings, airflow is restricted somewhere downstream. Look for a duct that changes diameter, sags low, or ends before it reaches the exterior. In Santa Ana, we’ve found attic-terminated fan ducts in more than a few homes where the previous owner was told “it vents fine.” It doesn’t. It vents into the attic.
Reading Tile and Grout Cracks: Movement vs. Settling
Not every crack means trouble. Grout and tile crack for two very different reasons, and the pattern tells you which one you’re dealing with.
Normal settling cracks are thin, hairline, and usually appear at the joints between tile fields or where tile meets a different surface like a tub apron or door threshold. They show up in the first few months as the house and the new mortar cure and move slightly. These are cosmetic. Rake out the loose grout, re-grout the joint, and watch it.
Substrate movement cracks are a different animal. Watch for these signs:
- Cracks that run through the tile itself, not just the grout line.
- Cracks that follow a straight line across the floor, especially over a seam in the backer board or subfloor.
- Cracks that keep reopening after repair, or that are wider than a hairline.
- Cracks along the wall-to-floor joint in a shower, especially combined with the moisture signs from the towel test.
Tiles cracked through the face, or grout that keeps cracking along the same line, point to a substrate that’s flexing. That can mean the backer board wasn’t properly fastened or the subfloor needs stiffening. It’s the same family of problem as a rocking toilet. In older Santa Ana homes with plank subfloor, a tile floor installed without a proper underlayment layer will telegraph every bit of that flex through the tile. Those aren’t cosmetic. They need to be opened up and corrected.
Common Mistakes to Avoid
- Caulking over a moisture problem. Sealing the visible gap traps water behind the caulk line and pushes the damage deeper into the wall assembly. Always diagnose the source before you seal anything.
- Skipping the permit because a neighbor’s contractor said it wasn’t needed. A bathroom with moved plumbing or a rebuilt shower pan needs an inspection in Santa Ana. Skipping it means the next buyer’s inspector finds the problem, and you own the correction.
- Re-grouting a shower without testing the pan. Fresh grout over a failed membrane looks fixed for a few months, then the discoloration returns. You’ve spent money and learned nothing.
- Venting the exhaust fan into the attic to save a roof penetration. This is the single most expensive shortcut we see. The moisture damage to attic framing far outweighs the cost of a proper roof or wall termination.
- Setting a new toilet on an old, uneven flange. If you’re replacing the floor, replace or extend the flange to match the new finished height. A toilet that rocks on day one is a callback waiting to happen.
- Choosing flat floor tile on a shower floor to make the drain look level. Large-format tile on a sloped pan can’t conform to the pitch. Water pools at the low corner every time. Smaller tile and proper slope prevent it.
- Assuming a musty smell is just “old bathroom smell.” If the smell started after the remodel, the remodel caused it. Dismissing it lets moisture run behind the walls for months.
See the difference
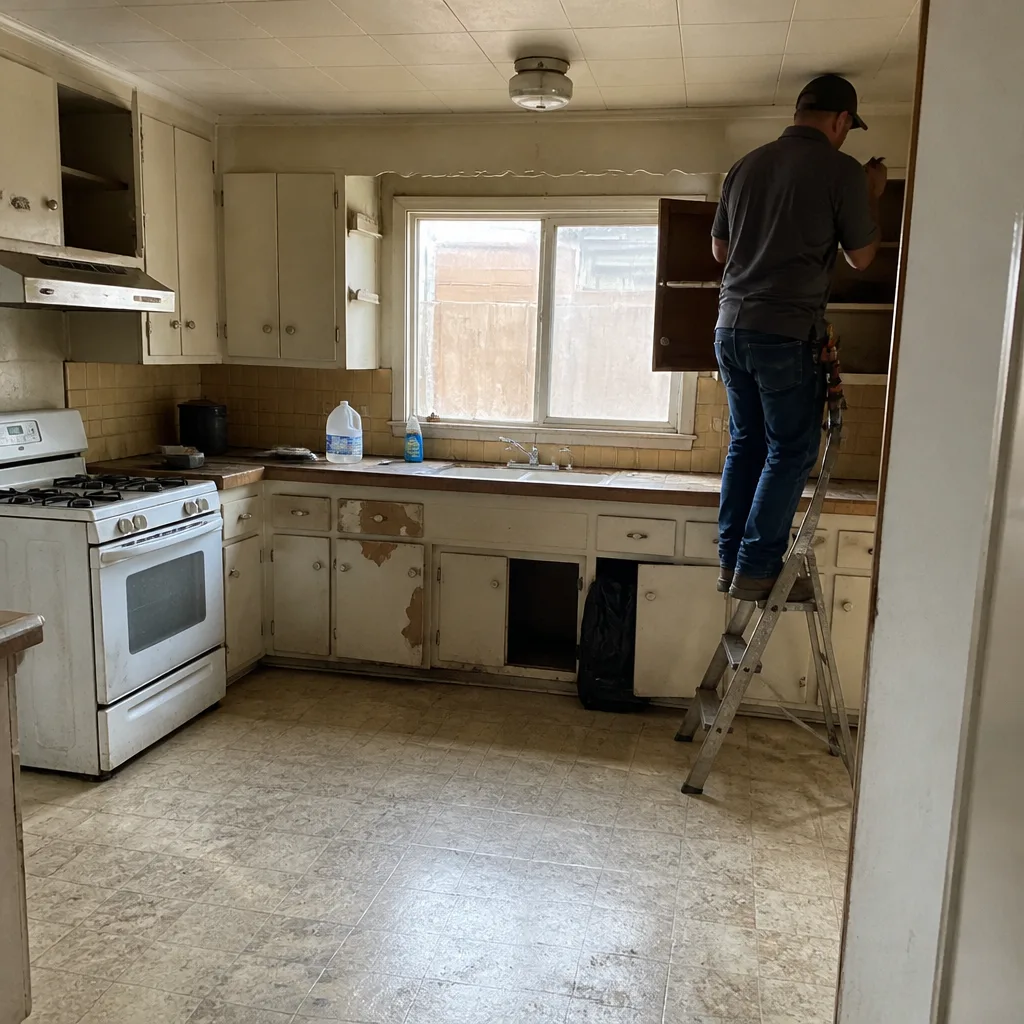 Before
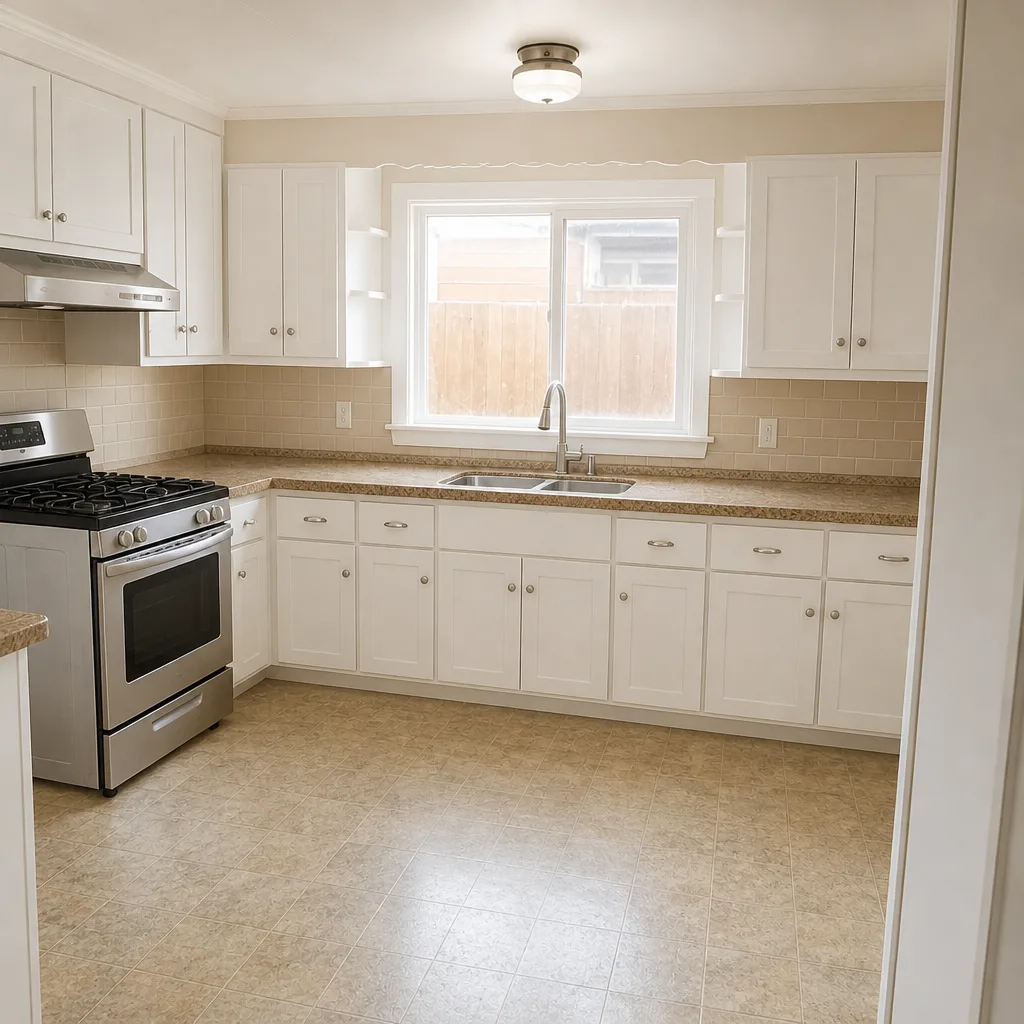 After
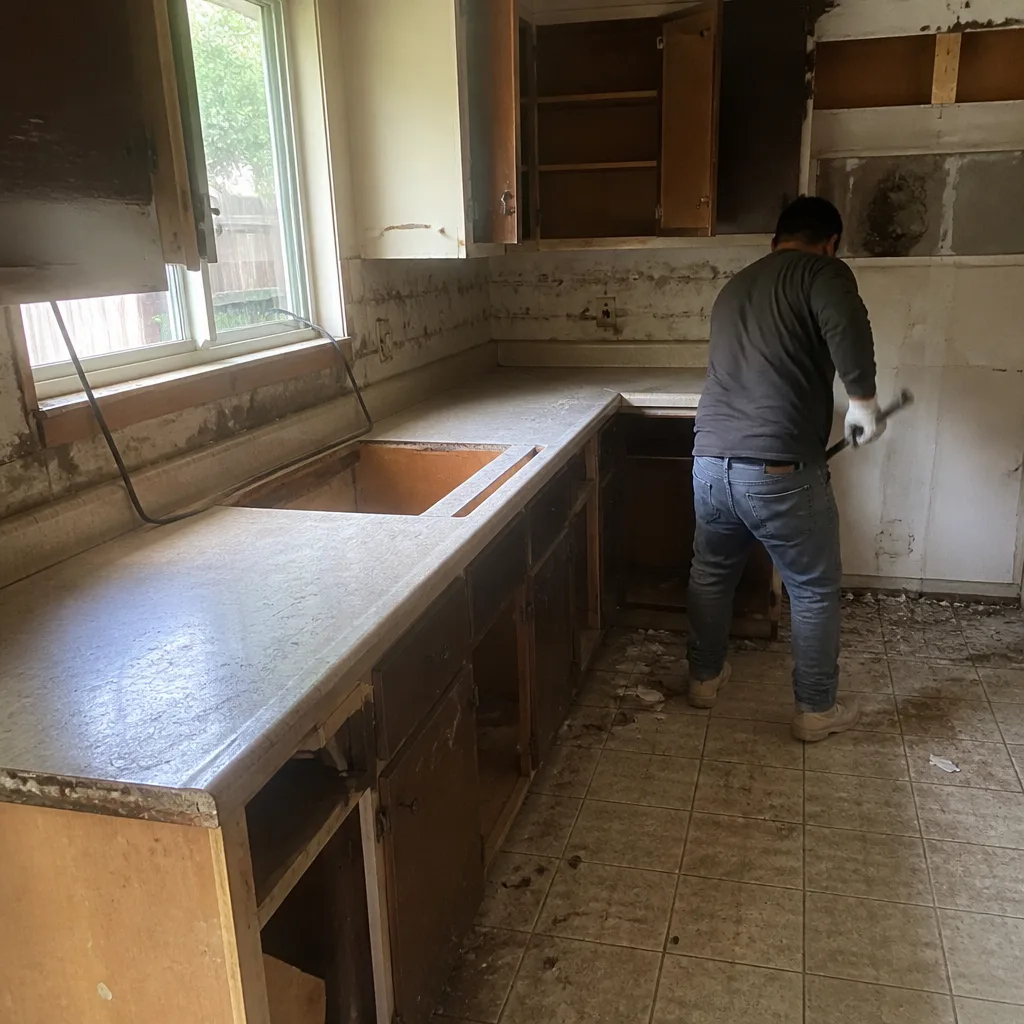 Before
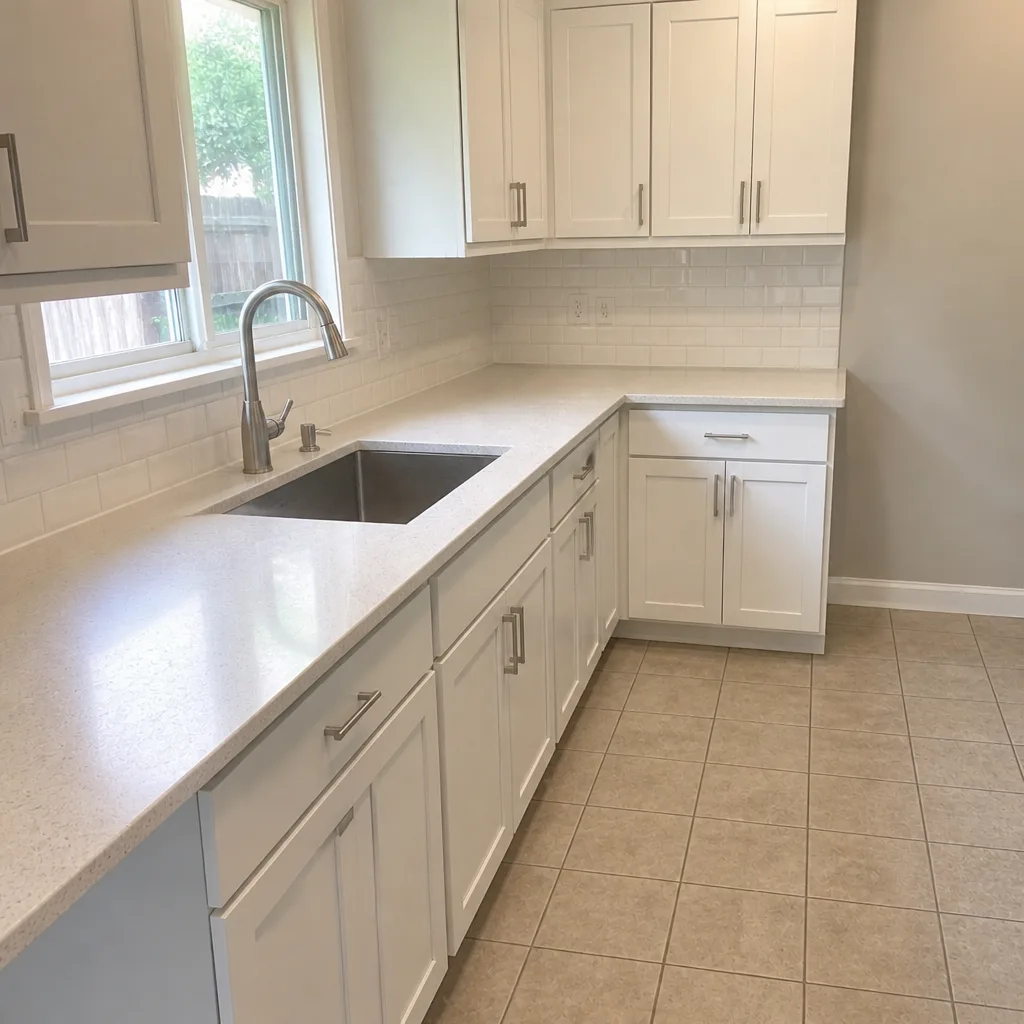 After
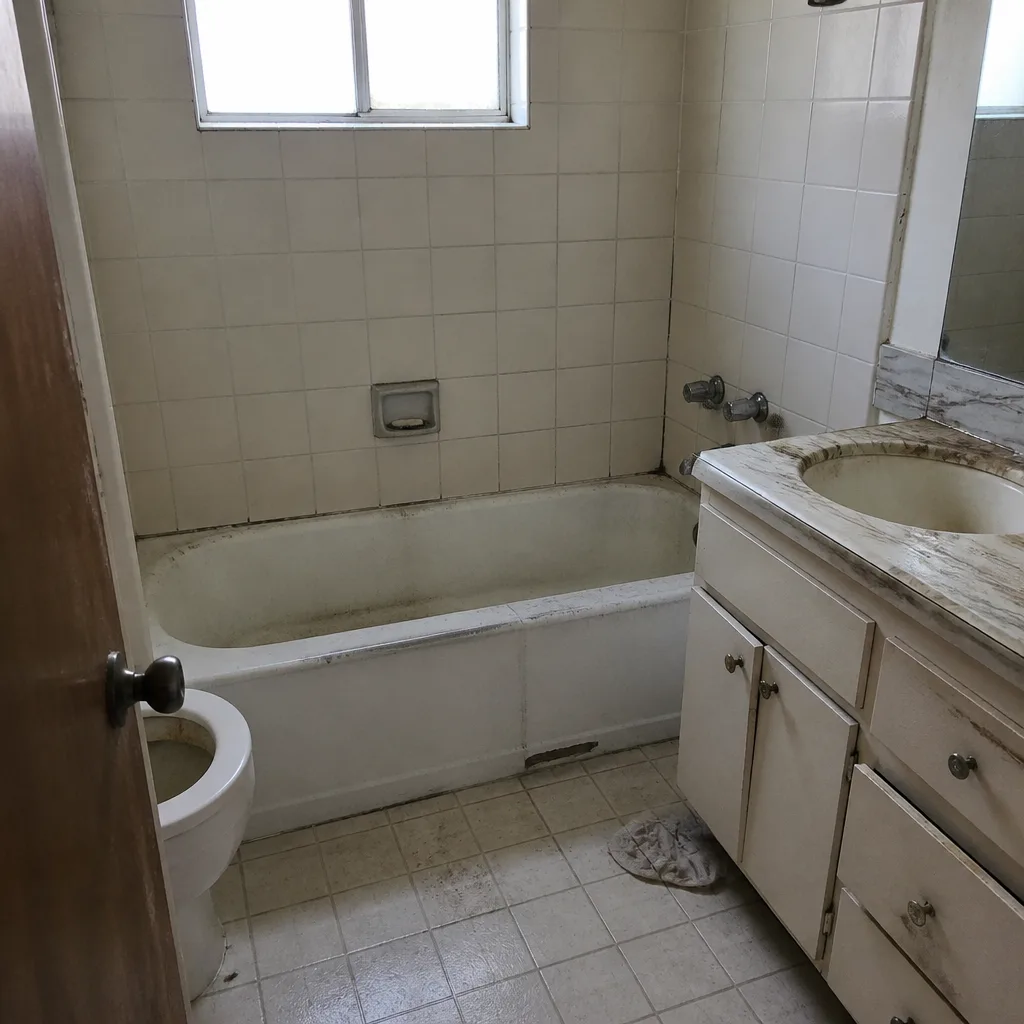 Before
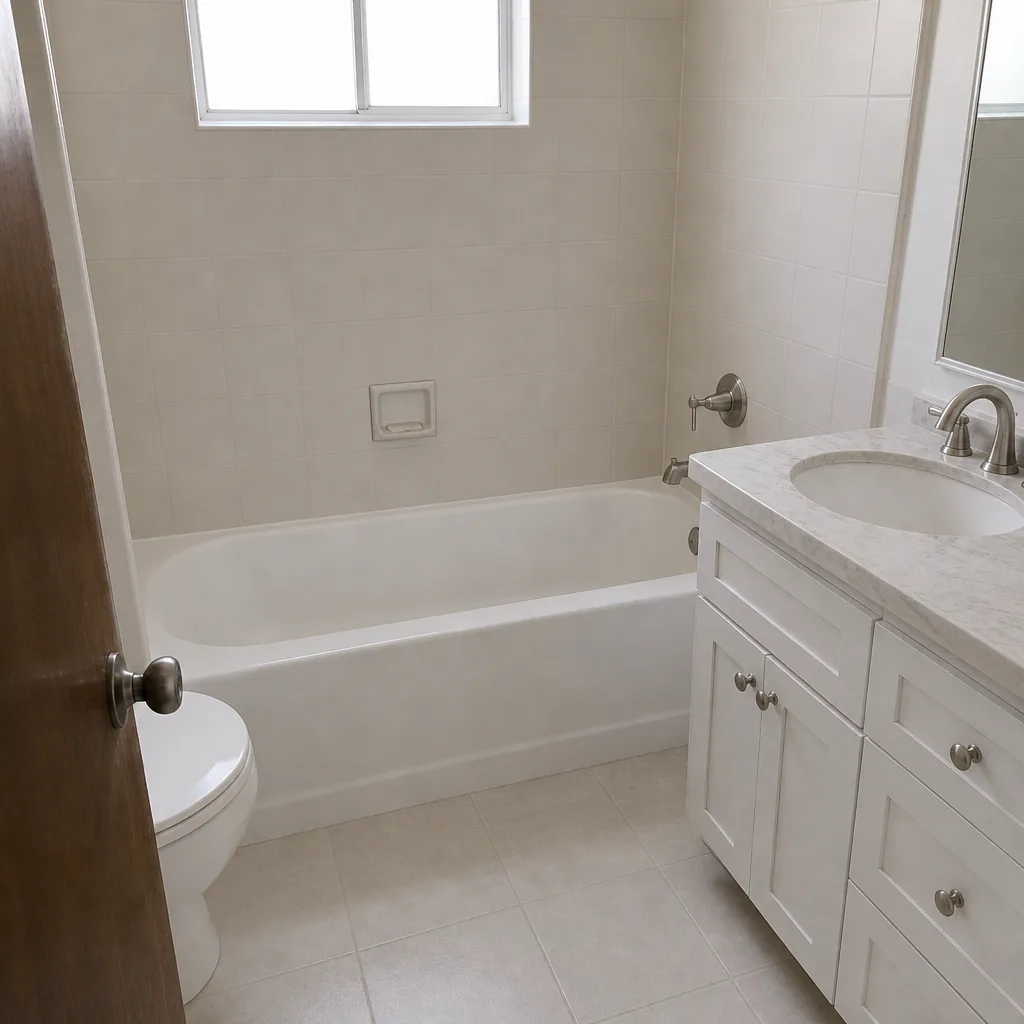 After
When to Call a Professional
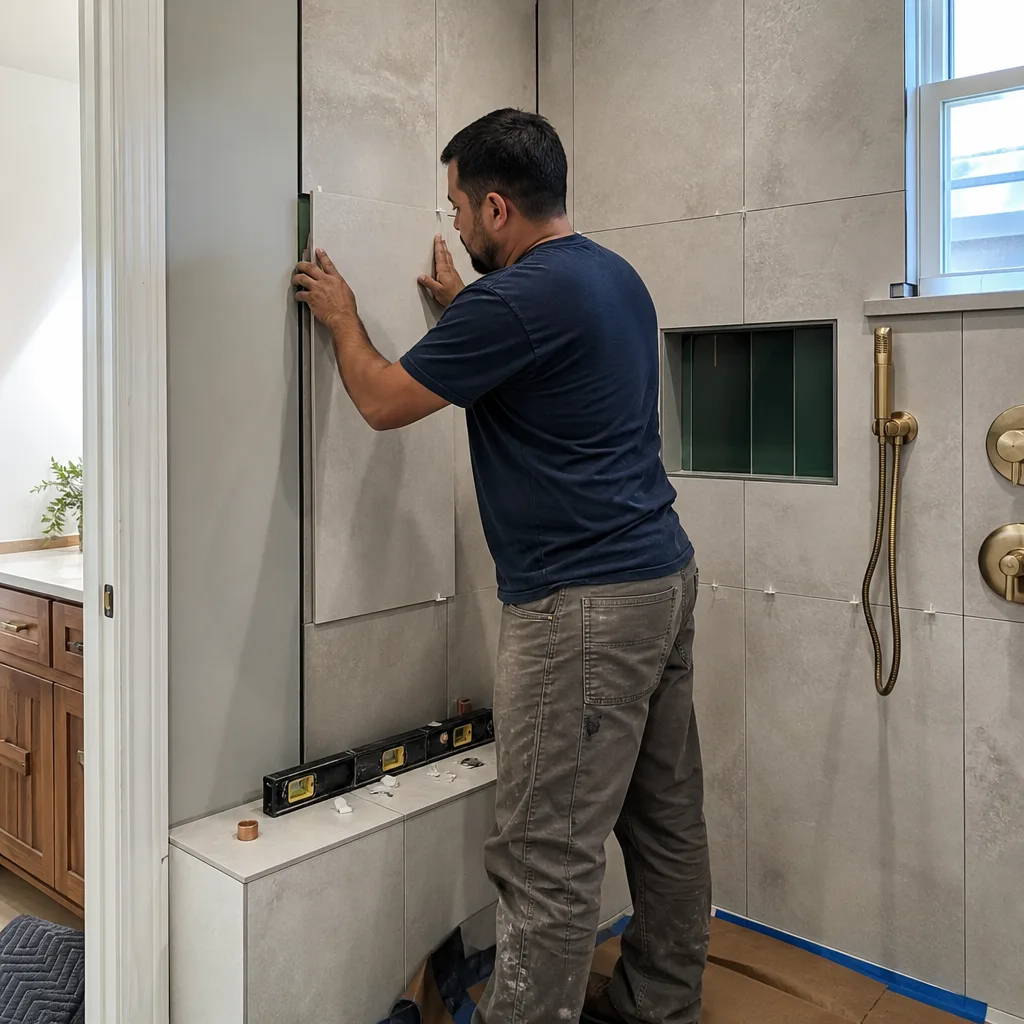
Some of these checks you can run yourself in an afternoon. But several of the problems above are genuinely hard to correct without opening the assembly, and a few of them, specifically anything involving the shower pan, the drain slope, or water showing up in the ceiling below, are jobs that go wrong fast in untrained hands. If a towel test shows moisture behind the tile, if a shower floor pools water, if a toilet rocks or shows a stain at the base, or if a new fan isn’t moving air, those are signs that the hidden components need professional attention.
Barrett & Sons Construction Santa Ana offers free estimates in Santa Ana – call (888) 325-4971. We’ll walk through the symptoms with you, tell you honestly whether it’s a cosmetic fix or something deeper, and put the scope in writing before any work starts.
Frequently Asked Questions
Most shower rebuilds that address a failed waterproofing membrane and pan run into the low thousands, and the range depends on how much tile and substrate has to come out. A single-wall membrane repair costs far less than a full pan and wall rebuild. Call (888) 325-4971 for an exact quote on your situation – the estimate is free and we’ll tell you clearly which repair you’re looking at.
A musty smell that started after a remodel almost always means water is trapped behind the tile or in the floor assembly, not that the grout needs cleaning. The most common culprits are a failed waterproofing membrane, a shower pan that doesn’t slope to the drain, or an exhaust fan ducted into the attic instead of outdoors. Run the towel test before you try any cleaning products – they won’t reach the source.
Not on our jobs. Every scope change and every allowance adjustment arrives as a written change order before the work happens. If a membrane test reveals more damage than the estimate anticipated, you’ll see exactly what the additional work costs before anyone touches it. That’s how Barrett & Sons has operated since 1998.
Yes. Bathrooms with moved plumbing, a rebuilt shower pan, or new electrical need an inspection, and we pull every eligible permit and have the work inspected before the finished surface goes back on. An unpermitted remodel that fails an inspection later can cost more to correct than the original job. Call (888) 325-4971 to talk through what your project needs.
A straightforward bathroom remodel runs a few weeks, and a rebuild that includes a shower pan, plumbing changes, and new tile takes longer. The inspection schedule and cure times for mud beds and waterproofing are the parts that can’t be rushed. Call (888) 325-4971 for a realistic timeline on your specific project – we’ll give you the schedule in writing.
Re-caulking is fine when the only problem is a failed caulk bead with no moisture showing behind it. But if the towel test shows damp grout lines or the caulk peels away and the surface behind it is soft, caulking over it traps moisture and makes the underlying damage worse. Diagnose first, then decide.
The Bottom Line

Most bathroom remodel problems that show up months after the job is “done” trace back to three hidden components: the waterproofing membrane, the drain slope, and the vent path. Surface symptoms are your clues, not your diagnosis. Run the towel-and-flashlight test before you seal anything. Confirm the drain slope with a bucket of water. Check whether the exhaust fan actually terminates outdoors. And treat a rocking toilet and a straight-line tile crack as signs of substrate trouble, not cosmetic annoyances. In Santa Ana, the dry heat often hides moisture long enough for damage to spread, which is exactly why reading the symptoms early saves the most money.
Every project we take on – whether it’s a bathroom rebuild or a full Home Addition & ADU in Santa Ana – carries the same written 90-Day Done Right Promise and the same in-writing change order discipline. When you’re ready to fix the problem for good, or to plan a bathroom that won’t need these repairs in the first place, call Barrett & Sons Construction Santa Ana at (888) 325-4971 for a free estimate. Live person on the line, every time.
Written by the team at Barrett & Sons Construction Santa Ana.