Last updated November 18, 2026





Free written scope consultation - allowances, timeline, and change-order rules on paper before a single trade is scheduled
Bathroom Remodeling Maintenance Schedule: What to Do and When
That freshly sealed grout can start failing inside a year, and the culprit is usually the bottle under your sink. Most homeowners treat a finished bathroom as done, then clean it with a spray that eats sealer and caulk line by line. We’ve watched a Santa Ana shower that looked perfect at handoff start weeping into the subfloor 14 months later, all because nobody checked the corners. The fix isn’t more cleaning. It’s a schedule. What follows is the maintenance calendar we’d hand a neighbor: the critical 30-60-90 day window, the products that quietly wreck new finishes, what Santa Ana’s hard water does to fixtures, and a printable checklist you can tape inside a cabinet door so it actually gets followed.
Quick Answer
A bathroom remodel needs a structured check at 30, 60, and 90 days after completion, then a seasonal and annual routine tied to each material (tile, stone, fiberglass, caulk, fixtures). The first 90 days matter most because that’s when settling shows up and when workmanship warranties are still wide open. Inspect seals, re-caulk hairline gaps, test the exhaust fan, watch for water staining, and skip any cleaner containing bleach, ammonia, or abrasives on fresh grout and stone.
Styles & brands we work with
- Kitchen remodeling
- Bathroom remodeling
- Home additions & ADU
- Roofing
- Windows & doors
- Driveway & pavers
- Fence
Table of Contents
- The First 90 Days: Your Critical Post-Remodel Window
- Cleaning Products That Quietly Destroy New Finishes
- Santa Ana Hard Water and What It Does to New Fixtures
- Annual vs. Biannual Tasks by Material Type
- Cosmetic or Structural? How to Tell the Difference
- Which Maintenance Lapses Void a Workmanship Warranty
- The Printable Cabinet-Door Checklist
- Common Mistakes to Avoid
The First 90 Days: Your Critical Post-Remodel Window
The 30-60-90 day window is when a bathroom tells you whether the build was solid. Materials settle, caulk stretches, and the smallest water intrusion shows itself before it reaches drywall. In our experience, if something was installed wrong, the sign shows up in this window – not year three. That’s also why it’s the right time to catch it: the work is still fresh, warranties are wide open, and any honest crew wants to hear about it early.
Here’s what to actually do at each mark.
- Day 30: Walk the perimeter of the shower and tub with a dry paper towel. Press along every caulk line and grout joint. Any soft spot, dark line, or gap smaller than a credit card is worth a photo and a call.
- Day 30: Run the exhaust fan for 20 minutes and hold a tissue to the grille. If it doesn’t hold, the duct or motor needs a look.
- Day 45: Check the base of the toilet for movement. A wobbly toilet means a failing wax ring, which means water under the tile.
- Day 60: Look under the sink cabinet for staining on the wood floor of the cabinet – slow drips show up there first.
- Day 60: Test the shower door sweep and the seal at the frame corners. These are the two spots that leak quietly.
- Day 90: Photograph every wall, floor, and ceiling joint. Compare to the photos you took at handoff. Any new hairline crack gets flagged.
Santa Ana homes on slab foundations settle differently than homes with raised floors, and a bathroom at the corner of the house often shows tiny stress cracks at the wall-to-tile joint within that first quarter. Those are usually cosmetic. A crack that runs diagonally through tile is not.
Cleaning Products That Quietly Destroy New Finishes
The wrong cleaner does more damage in a month than a decade of use. Grout sealer is a thin film, and certain chemicals strip it in one pass. Brushed nickel and matte black fixtures are especially vulnerable because their finish is a topcoat, not a solid metal.
Skip these on any newly remodeled bathroom:
- Bleach-based sprays on colored grout. They fade the pigment and break down latex caulk over repeated use.
- Ammonia glass cleaner on plated fixtures. It dulls the finish over time and eventually causes pitting.
- Vinegar and citrus cleaners on natural stone. Marble, travertine, and limestone etch permanently, and no sealer fully protects them from acid.
- Abrasive powders like scouring cleansers on fiberglass tubs and shower pans. They scratch the gel coat, which then stains.
- Melamine sponges on matte black and brushed metal. They’re mild sandpaper and will leave a dull patch.
Here’s what we tell people to use instead:
- Neutral pH cleaner (a pH of 7, like most tile-specific products) for routine tile and grout.
- Warm water and a soft cloth for fixtures. Sounds basic. Works.
- Stone soap for any natural stone tile or countertop.
- A squeegee on shower glass and walls after every use. It removes the top layer of hard-water deposit before it ever settles.
If you’re not sure what’s safe on a newly sealed shower, call the contractor who did the work and ask what they used. The finish they applied and the cleaner that protects it are a pair – one brand of sealer is chemically matched to one family of cleaners. Don’t guess.
Santa Ana Hard Water and What It Does to New Fixtures
Santa Ana water runs hard – the Metropolitan Water District serves the region with water that carries a meaningful mineral load. That’s the same water hitting your new faucet, showerhead, and glass door every morning. What it does is measurable: spots on every surface, a chalky film on shower glass, and mineral buildup inside the aerator and the cartridge within a year if you’re not fighting it.
In our experience, a new bathroom in Santa Ana needs three extra habits that a homeowner in a soft-water region can skip:
- Squeegee every shower. Not weekly. Every time. Thirty seconds saves the glass.
- Descale the showerhead quarterly. Soak it in a bag of white vinegar tied over the arm for 30 minutes – this is the one place vinegar is safe because the showerhead is a solid fixture, not natural stone.
- Wipe the faucet dry after use. Hard-water spots become hard-water etching on brushed finishes. A cloth takes two seconds.
A whole-house water softener changes the whole math. If you’re at the front end of a remodel and know hard water is coming for every new fixture, it’s the single best upgrade to talk through with your contractor before walls close. It’s not in every scope, but it’s worth asking about.
Where you’ll see trouble first: shower glass, then the base of the faucet, then the tile grout at the bottom of the shower wall. If you see white buildup that doesn’t wipe off with a fingernail, the sealer is already compromised.
Annual vs. Biannual Tasks by Material Type
A seasonal “spring cleaning” reminder doesn’t fit every surface the same way. What matters is what each material needs. This is how we map the tasks by the surface itself.
Tile and Grout
- Every 6 months: Clean grout with a grout brush and neutral cleaner. Don’t scrub hard enough to abrade the grout.
- Every 12-18 months: Re-seal grout in high-traffic areas (shower floor, floor tile near the toilet and sink). A simple water-bead test tells you when – if water soaks in immediately instead of beading, the sealer’s gone.
- Every 12 months: Inspect the caulk at wall seams, tub-to-tile transitions, and shower corners. Any crack or dark line = re-caulk.
Natural Stone (Marble, Travertine, Limestone)
- Every 6-12 months: Re-seal with an impregnating stone sealer. Stone is porous and this is not optional.
- Every 12 months: Look for etching (dull cloudy patches from acid contact) and decide about polishing.
- Never: Use vinegar, lemon, or bathroom sprays labeled for “porcelain and ceramic” on stone. They’re formulated for a different surface.
Fiberglass and Acrylic Shower Pans and Tubs
- Every 6 months: Clean with a non-abrasive cleaner and soft cloth only. Gel coat is a thin shield.
- Every 12 months: Check the pan-to-wall seal for flex or cracking. A fiberglass pan that moves when you step near the drain is a problem.
- Every 12-18 months: Re-apply a gel coat polish if the surface has lost its sheen. Cheap insurance against staining.
Fixtures and Hardware
- Every 3 months: Remove and clean aerators on faucets. Hard water clogs them first.
- Every 12 months: Inspect the toilet fill and flush valves. A hissing sound when the tank isn’t filling is a worn valve.
- Every 2-3 years: Replace the wax ring if you’ve had any prior wobble or smell at the base.
Exhaust Fan and Ventilation
- Every 6 months: Vacuum the fan grille. Dust buildup halves the fan’s pull.
- Every 12 months: Confirm the flapper on the exterior vent still closes fully – otherwise Santa Ana’s warm afternoons push hot attic air back into the bath.
Cosmetic or Structural? How to Tell the Difference
Most of what worries homeowners is cosmetic. A couple of things that look small aren’t. Knowing which is which saves you both a service call and a panic.
Usually cosmetic:
- Hairline crack where tile meets drywall (movement of two different materials, normal).
- Faded grout color in a high-traffic area.
- Water spots on glass or stone.
- Small chip on a tile corner.
Treat as structural until proven otherwise:
- Any soft, spongy, or hollow feeling in the floor near the toilet, tub, or shower.
- Bubbling or peeling paint on the ceiling or wall below the bathroom.
- A persistent musty smell that returns after cleaning.
- Caulk that pulls away from the wall in one continuous line rather than at scattered points.
- Tiles that lift, crack, or sound hollow when tapped.
- Water staining on the wood at the base of a cabinet or behind the toilet.
Here in Santa Ana, a bathroom above a garage or crawlspace is a spot we see problems show up first because water travels down and pools where airflow is limited. If you’re seeing any of the structural signs, don’t wait for the next scheduled check. Call.
Which Maintenance Lapses Void a Workmanship Warranty
A workmanship warranty covers the quality of the installation, not damage from neglect. That distinction matters when you call. In our experience, the calls that end badly are almost always caused by a maintenance lapse the homeowner didn’t know about.
Most workmanship warranties cover:
- Tile that lifts or cracks from improper installation (not from impact).
- Grout that fails at a joint because the substrate moved.
- Shower pan leaks traced to installation, not user maintenance.
- Fixtures installed incorrectly (leaking, misaligned).
Most workmanship warranties do not cover:
- Caulk that failed because the homeowner never re-sealed it and water got behind the tile.
- Grout staining or deterioration from a harsh cleaner.
- Stone etching from acid cleaners.
- Mold or mildew growth from a fan that was never cleaned.
- Water damage traced to a clogged shower drain strainer.
What this means in practice: keep a small maintenance log. Date, what you did, what you saw. That log is the difference between “installation failed” and “you didn’t maintain it.” And when something does go wrong in the workmanship category, the right move is one call, not fifteen. Our 90-Day Done Right Promise exists because that call is what a warranty is for – if something’s not right, come back and make it right. Every job carries it in writing, and the same standard applies to the maintenance conversation at the end of the build.
The Printable Cabinet-Door Checklist
You’re more likely to actually follow the schedule if it lives somewhere you open. Tape this inside the vanity cabinet door.
Every week
- Squeegee shower glass and walls after each use
- Wipe faucets dry
- Run the fan 20 minutes after every shower
Every month
- Look for caulk cracks in the shower corners
- Check under the sink for any sign of moisture
- Wipe down tile with a neutral pH cleaner
Every 3 months
- Descale the showerhead (vinegar soak, 30 min)
- Remove and clean the faucet aerator
- Check the toilet fill/flush valves for wear
- Vacuum the exhaust fan grille
Every 6 months
- Clean and inspect grout – brush with neutral cleaner
- Water-bead test on grout and stone
- Inspect the shower pan and tub seal
- Confirm exterior vent flap closes
Every 12 months
- Re-seal grout in high-traffic areas
- Re-seal natural stone
- Re-caulk any joint that has failed a visual or “towel test”
- Photograph the bathroom and compare to last year
- Check the wax ring at the toilet base
Every 12-18 months
- Polish fiberglass and acrylic gel coat
- Consider re-sealing the whole bathroom (grout + stone)
Tape it, date it, cross the boxes off. This isn’t busywork – it’s the single most effective way to stretch the lifespan of a bathroom remodel that cost you real money.
Common Mistakes to Avoid
- Cleaning brand-new grout with bleach. Bleach fades the color and accelerates sealer breakdown. It’s also the most common reason we get called back to a bathroom that’s less than a year old.
- Skipping the 30-day inspection because everything looks fine. Settling happens quietly. The 30-day check is when you catch the small stuff before it becomes a re-do.
- Using vinegar on natural stone. It etches marble and travertine permanently, and no sealer reverses it. This is the mistake we see most often in Santa Ana homes with marble vanities.
- Ignoring a wobbly toilet for more than a week. A wobbly toilet isn’t a minor annoyance – it means the wax ring has lost its seal, and water is working its way under the floor.
- Re-sealing stone or grout without cleaning first. Sealer over dirt traps the dirt inside. Clean, dry, then seal.
- Taping the checklist inside the cabinet and never opening the cabinet. The most common failure mode of any maintenance schedule. Open it, cross one off, close it.
- Waiting for a problem to become structural before calling the contractor. If a caulk line has failed and water is behind it, no maintenance routine fixes that. Bring in someone who does this for a living.
If water has already found the subfloor or you suspect a pan leak, that’s structural. A shower pan that needs to be reset is a remodel task, not a maintenance one. It’s worth being realistic about the scope of what you’re looking at before you start pulling tiles.
See the difference
 Before
 After
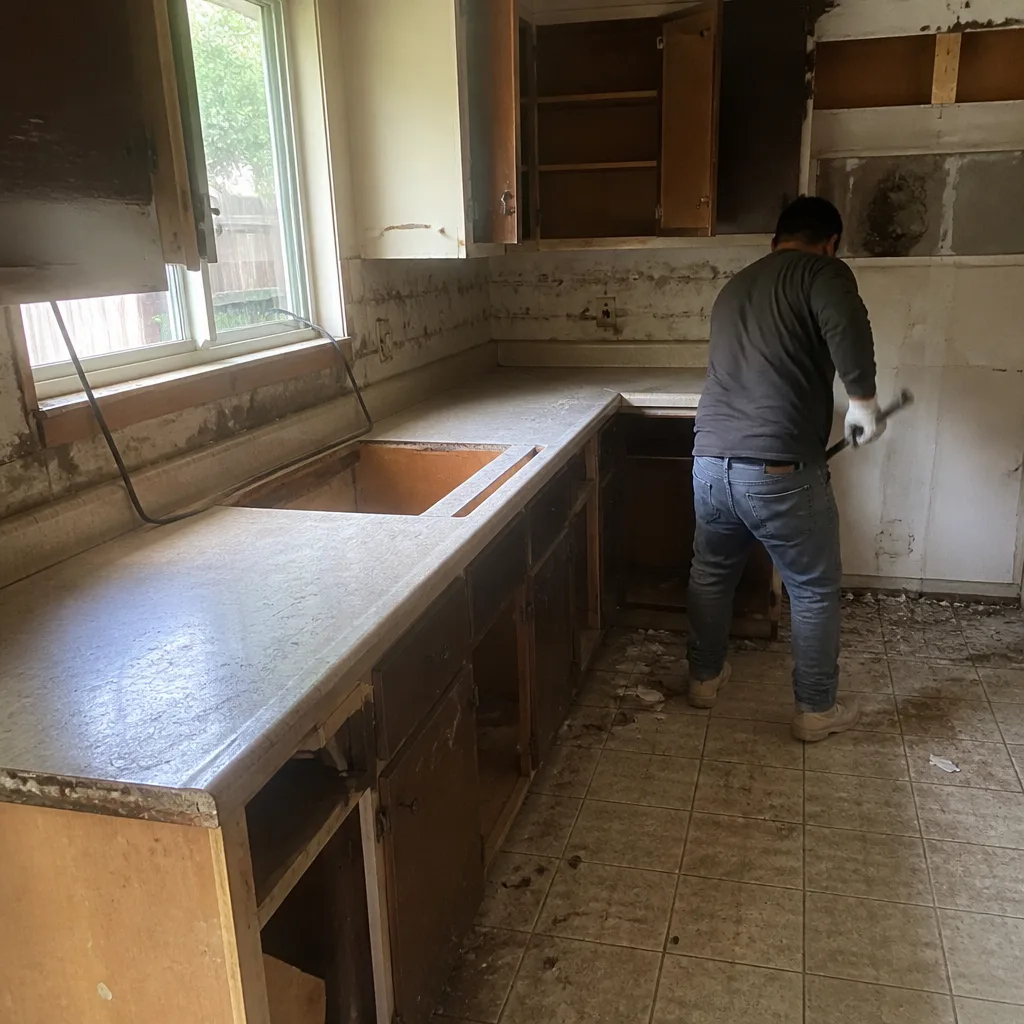 Before
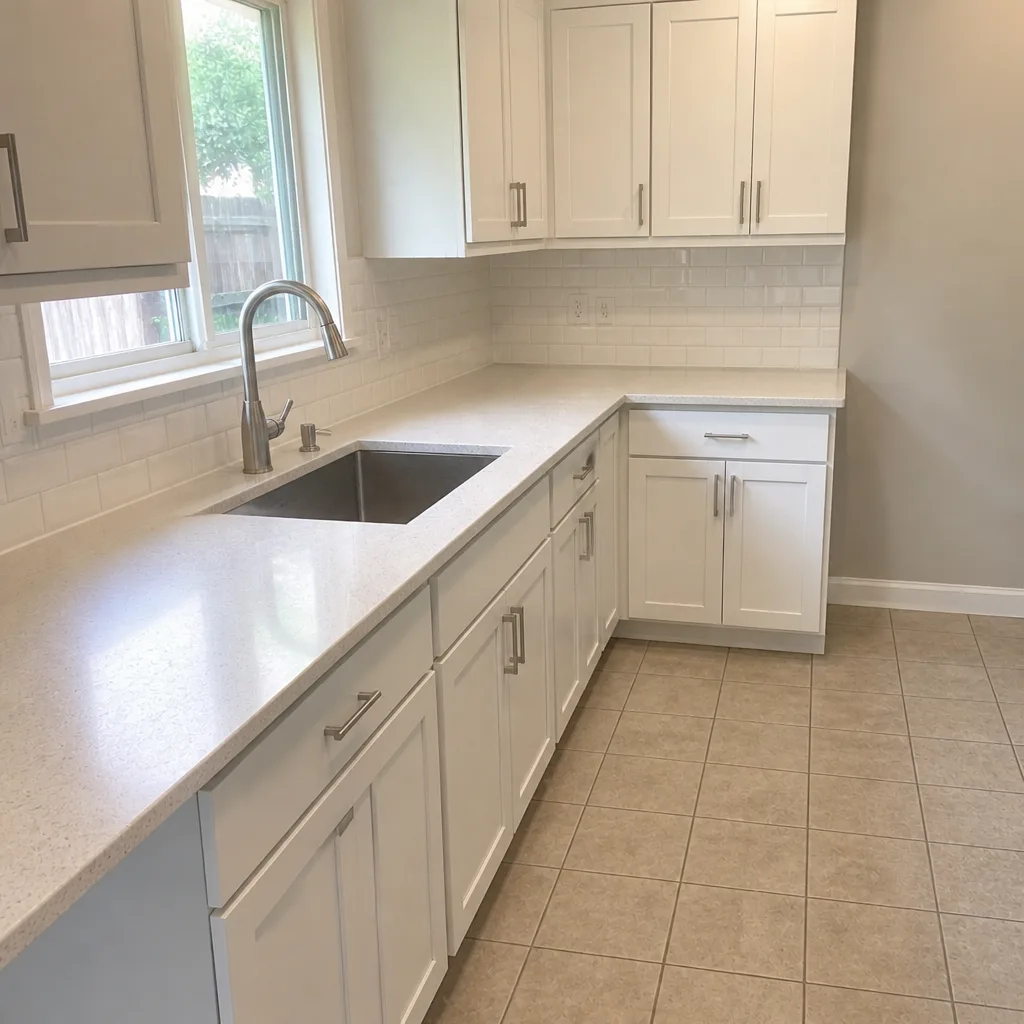 After
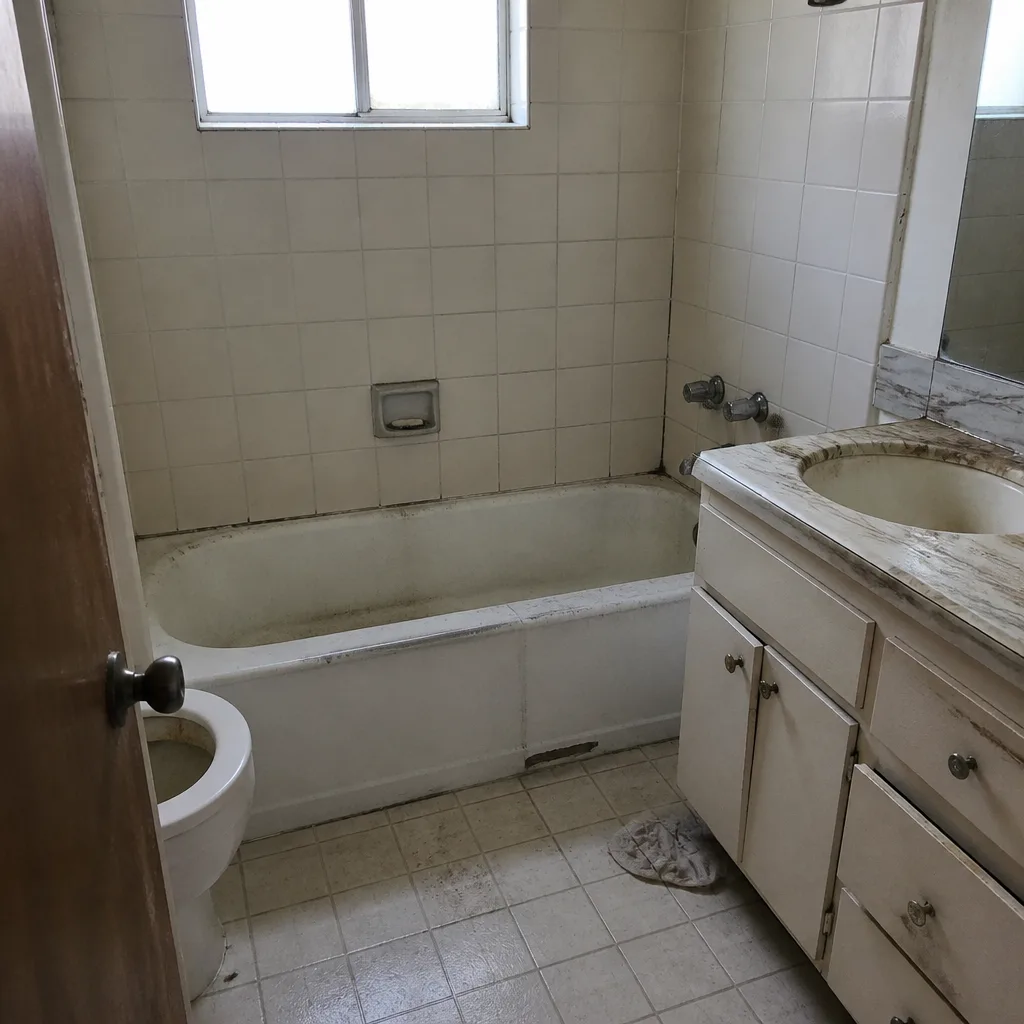 Before
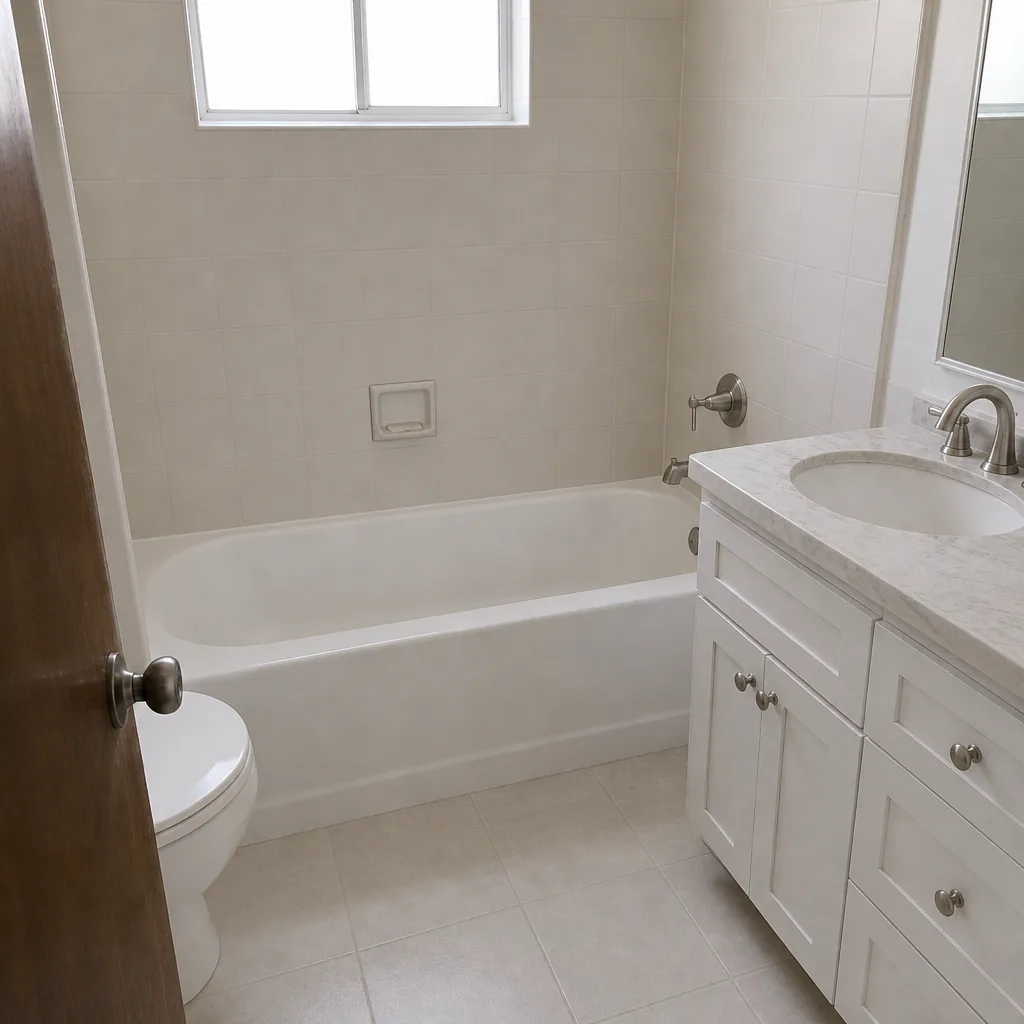 After
When to Call a Professional
Some of what you’ll find on a maintenance walk is a homeowner task. Some of it isn’t. Call a professional when:
- You feel softness or sponginess anywhere in the floor, especially near the toilet or shower.
- There’s a stain on the ceiling below the bathroom or on a wall in an adjacent room.
- A shower pan flexes when you step on it, or water pools at the drain instead of running to it.
- Tile has lifted, cracked, or sounds hollow across a section – not just one tile.
- You smell a musty odor that comes back within a week of cleaning.
- You’ve re-caulked a shower three times and it keeps failing in the same spot.
- A new shower door or tile work has started leaking where the wall meets the floor.
Any of these is beyond maintenance. Fixing them is the difference between a weekend project and a real construction job, and guessing wrong costs more than calling. Barrett & Sons Construction Santa Ana offers free estimates in Santa Ana – call (888) 325-4971 and we’ll come out, look at what you’re seeing, and tell you straight whether it’s maintenance or repair. No charge to find out. Every eligible job includes permits pulled and inspections signed, and any price change arrives as a written change order before work moves. If you’re looking ahead to a full bathroom remodel, our Santa Ana bathroom remodeling team handles everything from tile to fixtures.
Frequently Asked Questions
Grout in high-traffic areas should be re-sealed every 12-18 months, and natural stone every 6-12 months. In Santa Ana, the water is hard enough that we recommend checking the bead test at the 12-month mark rather than waiting for visible staining. If water soaks into grout instead of beading, it’s time. When a full re-seal is easier than piecemeal, call (888) 325-4971 and we’ll walk you through what’s covered under your workmanship warranty and what isn’t.
Skip bleach, ammonia, abrasive powders, melamine sponges, and any vinegar or citrus cleaner on natural stone. These strip grout sealer, dull plated fixtures, and etch marble and travertine permanently. A neutral pH cleaner, warm water, and a soft cloth handle almost everything. When in doubt, ask the contractor who installed it – the sealer brand and cleaner family are matched, and using the wrong one is the top reason a bathroom starts showing its age inside two years.
Cosmetic issues are surface-level: hairline cracks where tile meets drywall, faded grout, water spots. Structural issues involve water getting where it shouldn’t: soft floors, ceiling stains below the bathroom, a shower pan that flexes, tiles that sound hollow. Structural issues should be looked at by a professional rather than patched. Call (888) 325-4971 for a free estimate in Santa Ana and we’ll tell you which you’re looking at.
Usually no. Most workmanship warranties cover installation quality, not maintenance lapses. If caulk failed because it was never renewed and water got behind the tile, that’s a homeowner maintenance issue. If the caulk failed because the joint was installed wrong and the substrate moved, that’s a warranty issue. Keep a small dated log of what you’ve done and when. It’s the cleanest way to sort out which side of that line a problem is on.
Hard water leaves mineral deposits that spot glass, cloud fixtures, and clog aerators faster than in soft-water regions. Squeegee the shower every use, descale the showerhead quarterly with a vinegar soak, and wipe faucets dry. If you’re remodeling now, a water softener is the single best upgrade to ask about before walls close. It’s not for every budget, but it changes what the next 10 years of maintenance looks like.
If a remodel is on the horizon, spend the next year taking photos and noting what fails and when. That record is the most useful information you can hand a contractor during design. It tells us which materials have struggled in your specific home – and in Santa Ana, whether the failure pattern is water-related or just aging. When you’re ready, we can talk through what a full Santa Ana remodel scope would look like.
The Bottom Line
A bathroom remodel isn’t finished on handoff day. It’s finished when the schedule runs quietly for a year and nothing bad happened. The first 90 days tell you the truth about the build. The right cleaner protects the finish. Santa Ana’s hard water needs a little more attention than most of the county. And the checklist taped inside the cabinet door is the single habit that stretches a remodel far past its installation warranty. Our crews bring up to 28 years of experience to every job, and we’ve watched maintenance neglect undo more good bathrooms than installation ever did. If you’re ready to think about a new bathroom and want it done with a name you can look up, our Barrett & Sons Construction Santa Ana home page is the place to start. If you’re planning a bigger project around the bathroom, our Home Additions & ADU in Santa Ana team can talk through what’s possible. If a security or yard project is on the same list, our Fence Installation in Santa Ana crew and our Driveway & Pavers in Santa Ana team handle those with the same written scope and change orders. When you’re ready, call us at (888) 325-4971 to schedule a free estimate.
Written by the team at Barrett & Sons Construction Santa Ana.