Last updated November 18, 2026

Free written scope consultation - allowances, timeline, and change-order rules on paper before a single trade is scheduled
Driveway & Pavers Troubleshooting: Common Problems and How to Fix Them
If your pavers are rocking, sinking in one corner, or sprouting weeds through every joint, buying a bag of polymeric sand is not the answer. It’s the equivalent of painting over a crack in your foundation. Here’s the counterintuitive part: nine out of ten paver problems homeowners try to fix on the surface – re-sanding, re-sealing, re-leveling individual stones – are really symptoms of a base failure underneath. Patching the top makes the eventual repair more expensive, not cheaper. In this guide we’ll show you how to diagnose from the ground up, not the top down, with the same tests our crews run on Santa Ana driveways before they touch a single stone.
Quick Answer
Most sinking, rocking, and weed-prone pavers are caused by a failed or missing base – not by the pavers themselves. You fix the problem by diagnosing the base first (a tap test maps hollow spots fast), repairing the subgrade and base material locally, then resetting and re-sanding the stones above. Re-sanding or re-sealing without fixing the base buys you a season at most.
Styles & brands we work with
- Kitchen remodeling
- Bathroom remodeling
- Home additions & ADU
- Roofing
- Windows & doors
- Driveway & pavers
- Fence
Table of Contents
- How to do a tap test to find hollow spots before you tear up the driveway
- Settlement versus heave: which one you actually have
- Why weeds break through joints (and what it tells you about the fabric)
- Efflorescence, mold, or failing pavers: telling them apart
- Which repairs you can do yourself and which void the warranty
- Drainage and slope problems specific to Santa Ana
- What paver repair really costs in Santa Ana
How to do a tap test to find hollow spots before you tear up the driveway
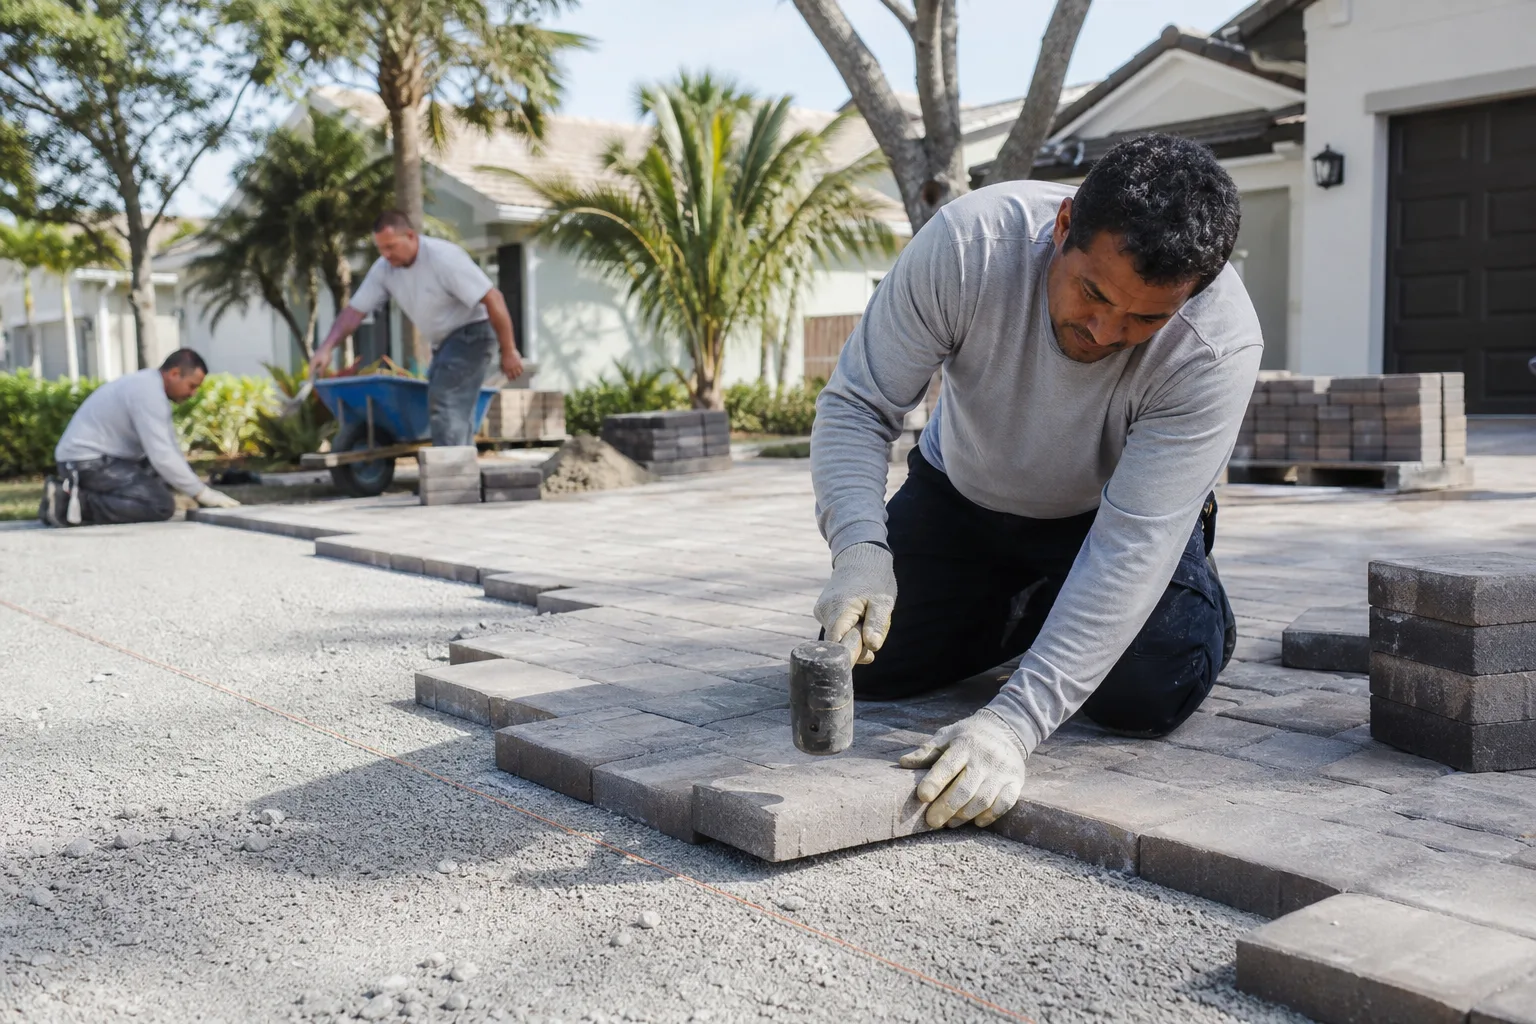
The tap test is the single most useful diagnostic a homeowner can run, and it costs nothing. You’re listening for the difference between a solid “thud” and a hollow “clack.” A hollow sound under a paver means the bedding sand or base beneath it has compacted, washed out, or never was there to begin with.
Here’s how we do it on a Santa Ana driveway:
- Grab a screwdriver handle, a rubber mallet, or the heel of a work boot.
- Work in a grid, tapping every paver in a 3-foot section. Start at the edge nearest the street and walk toward the garage.
- Mark every hollow spot with chalk. You’ll often find they cluster – a whole corner of the driveway, or a line following a low spot where water pools.
- Count and map. One or two isolated stones is normal settlement. A cluster of six or more in a connected patch means a base problem underneath that section.
- Photograph the marked grid. That photo becomes your scope when you call for an estimate, and it stops anyone from quoting you a full tear-out you don’t need.
The reason we start here is that most homeowners call after the sand washes out of the joints and assume the whole driveway is done. Usually it isn’t. Maybe 20 percent of the surface is failing because 20 percent of the base failed. If you can map the hollow spots, you can price a local repair instead of a full replacement. On some Santa Ana properties we’ve been able to save homeowners more than half the cost of a new driveway by lifting and resetting just the failing section. The pavers themselves are almost never the problem.
Settlement versus heave: which one you actually have
Settlement and heave look similar from standing height, but they’re opposite problems with opposite fixes. Getting this wrong is the fastest way to waste money.
Settlement is the driveway dropping. It’s normal, it’s fixable locally, and it’s usually caused by poor compaction, a soft subgrade spot, or water washing out the bedding sand. The pavers sit lower than the surrounding surface, and you’ll usually see it in a low area where rainwater collects. Settlement responds well to lifting the affected pavers, re-compacting the base, and resetting.
Heave is the driveway pushing up. That’s not normal, and it’s rarely a paver problem at all. Heave comes from something underneath pushing the whole assembly upward:
- Tree roots. Ficus and eucalyptus are everywhere in older Santa Ana neighborhoods, and their roots travel far and push hard. Heave along a driveway edge or a line running toward a mature tree is almost always roots.
- A leaking irrigation line or plumbing line saturating the subgrade and causing expansion. If the heave spot is wet when everything else is dry, this is the place to check first.
- Expansive clay soils that swell when wet and shrink when dry. Parts of Santa Ana have enough clay to move a driveway seasonally.
Heave requires excavation. You have to remove the pushing cause – cut the root, fix the leak, amend the soil – before you can reset pavers flat, or they’ll just heave again. This is the single biggest reason a “re-level” job fails a month later. Nobody fixed the thing pushing up. If you tap a spot and it’s high, not hollow, stop and get it looked at before you do anything else.
Why weeds break through joints (and what it tells you about the fabric)
Weeds sprouting through paver joints are almost always a sign that the geotextile fabric underneath was skipped, installed wrong, or torn during installation. That fabric is the weed barrier between your base and the soil below. When it’s missing, every joint becomes a highway for whatever is growing in the dirt underneath. Sand alone will not stop it.
The pattern matters. Here’s what different weed situations tell you:
- Weeds along the edges only – the fabric was probably installed in the field but not carried far enough to the edges. Fixable by lifting the edge pavers and re-running the fabric.
- Weeds through the center in a scattered pattern – fabric was skipped entirely, or was the cheap non-woven landscape fabric that tears during compaction. This usually means a section has to come up.
- Weeds concentrated in one area – often a tear in the fabric from installation, or a spot where base material was thin and the fabric was punctured.
- Weeds everywhere at once – fabric was never installed. This is a base rebuild section by section.
Pulling the weeds and dumping more polymeric sand into the joint is the most common fix homeowners try, and it’s the one that fails fastest. The sand sits on soil, the weed comes back through the same gap in the fabric, and you’re pulling it again in six weeks. Proper repair means lifting the pavers, installing woven geotextile the right way – with overlaps and no tears – then re-setting with a quality polymeric sand. We use Sakrete and Quikrete polymeric sand on Santa Ana jobs, both of which hold up to the dry summers here better than generic bagged sand.
Efflorescence, mold, or failing pavers: telling them apart
A white or grayish haze on pavers is one of the most misdiagnosed problems we see. Homeowners are often told their pavers have “gone bad” and need replacing, when they don’t. Here’s the difference between the three most common culprits:
- Efflorescence is a white, powdery, chalk-like bloom on the surface. It’s naturally occurring mineral salts migrating up through the concrete or clay pavers as moisture evaporates. It brushes off with a stiff broom, and it doesn’t mean the paver is failing – it’s cosmetic and can be treated with a mild efflorescence cleaner once the source of moisture is addressed. In Santa Ana it’s most common after the wet winter months, or when irrigation is hitting the driveway.
- Mold and mildew look darker – green, black, or gray, and they’ll feel slimy or fuzzy. Mold grows where water sits and the surface stays damp, often under a tree or where a downspout dumps onto the drive. It’s cleaned with a diluted bleach solution or a dedicated paver cleaner, but if it comes back, the drainage is wrong and needs fixing.
- Actual paver degradation shows as spalling (surface flaking), crumbling edges, or deep pits. That’s a real material failure, usually caused by freeze-thaw damage or a batch of pavers with poor surface integrity. This is the only situation that actually calls for replacement, and even then, only the failing stones.
Nine times out of ten what a homeowner thinks is a paver failure is efflorescence or mold. Both are fixable without replacement. Before you let anyone talk you into a new driveway, get a proper diagnosis.
Which repairs you can do yourself and which void the warranty
Some paver repairs are genuinely DIY-friendly. Some will void your contractor’s warranty the moment you touch them. Knowing the line saves both money and heartburn.
Owner-serviceable:
- Cleaning efflorescence or mold with a proper cleaner and a stiff broom.
- Pulling weeds and refreshing polymeric sand in isolated joints (not widespread).
- Re-sealing a driveway that’s clean, intact, and just needs a fresh coat for color and stain resistance. Our rule of thumb: pavers should be sealed every 3-5 years in our climate.
- Resetting one or two isolated pavers that have worked loose – if you know exactly how the base is built and you have the right sand.
Leave to a pro (and check your warranty first):
- Any repair that requires lifting more than a handful of pavers in a connected section.
- Any repair touching the base material, geotextile, or subgrade.
- Anything along a slope, drainage edge, or near a retaining wall.
- Any paver that heaves (as opposed to settles), because the fix isn’t at the surface.
If your driveway was installed by a contractor within the last few years, most warranties are voided by homeowner-installed base repairs. That’s not a reason to avoid fixing a genuine problem – it’s a reason to call the contractor who installed it first. And if you’re calling someone new, make sure the warranty they offer covers the base, not just the pavers on top. Our 90-Day Done Right Promise is written on every contract, which is not something you can say for every hardscape installer working in Santa Ana.
Drainage and slope problems specific to Santa Ana
Santa Ana sits in a basin with hot, dry summers and wet winters, and the soil varies a lot block to block. That combination causes more paver problems than anything else in the region, especially when it’s paired with older landscaping that dumps water onto hardscape.
The most common drainage situations we see:
- Ponding along the garage apron. The driveway was built with slope that drains toward the garage, which is exactly backwards. Water sits, the base soaks, and the first 6-8 feet of the driveway settles over a couple of seasons. Fixing this means correcting the slope at the top of the drive, not just re-sanding joints.
- Irrigation overspray. Sprinkler heads spraying the last few feet of the driveway keep the base chronically wet. Efflorescence shows up first, then settlement. Rerouting or shortening the irrigation is the fix, and it’s cheap once you spot it.
- No drainage at the street edge. On older Santa Ana driveways, water runs off the apron and pools against the curb. Over time it erodes the base and pavers sink along the street edge. This needs a channel drain, a French drain, or a grade adjustment – depends on the yard.
- Downspout dumping onto the drive. Every roof downspout that empties directly onto pavers is a future failure point. Forty feet of roof collects a lot of water in one spot.
Diagnosis is straightforward. Wait for the first real rain of the season, or run a hose on the driveway for ten minutes, and watch where the water goes. If it doesn’t leave the driveway within a few minutes, you have a drainage problem, not a paver problem. Fix drainage first. Pavers won’t stay flat over a base that’s wet eight months a year.
What paver repair really costs in Santa Ana
Paver repair pricing in Santa Ana varies widely because there are a few genuinely different jobs that get called “paver repair.” Below are the ranges we typically see – these are for the whole job, including labor and materials, and they’re what you should expect to see on a written estimate from anyone quoting in this market.
| Repair type | Typical Santa Ana range | What it covers |
|---|---|---|
| Re-sand and re-seal only | $400 – $900 | Clean, polymeric sand in joints, one coat of quality sealer. Only appropriate when the base is solid. |
| Localized settle repair (1-2 sections) | $600 – $1,800 | Lift failing pavers, re-compact or rebuild base in that section, reset, re-sand. |
| Sectional rebuild with fabric replacement | $1,500 – $4,500 | Lift, remove old base, install new geotextile, rebuild base to depth, reset pavers. |
| Full driveway rebuild (1,000 sq ft) | $9,000 – $18,000 | Full tear-out, new base, new fabric, new pavers or reuse. Depends on paver selection (Belgard and Techo-Bloc run higher than builder-grade). |
| Efflorescence or mold treatment | $250 – $600 | Clean and treat. Not a structural repair; priced as maintenance. |
Two things drive the spread. First, access – a driveway with tight side-yard access and mature trees costs more to work on than a wide-open front yard. Second, base depth. Some driveways are built over 4 inches of base, some 8. The deeper the base, the longer the repair, but the longer it lasts. If you’re quoted a price dramatically below these ranges, ask what base prep is included. That’s usually where the corners are cut. Our crews install Belgard and Techo-Bloc pavers across Santa Ana, and we’re happy to walk through the scope in writing before anyone touches the driveway, so you know exactly which of these categories your job falls into.
Common Mistakes to Avoid
- Re-sanding over a failed base. If pavers are rocking, the sand you pour in will be gone in a month. Fix the base or the sand won’t stay.
- Re-sealing a wet driveway. Sealer traps moisture. If the pavers are damp underneath, the sealer will cloud, flake, and look worse than before. Wait for a dry stretch of at least 48 hours.
- Skipping the tap test and calling for a full replacement estimate. A 20-minute tap test can cut a $15,000 rebuild down to a $1,200 local repair, and no one who hasn’t tested the base can tell you which you need.
- Assuming heave is settlement. In Santa Ana, heave from ficus roots or a leaking irrigation line is common, and re-leveling without removing the cause just buys you a few more months before the pavers rise again.
- Buying cheap landscape fabric to replace torn material. The thin non-woven stuff tears during compaction and lets weeds through again. Woven geotextile is what belongs under pavers.
- Ignoring irrigation overspray while you repair. Fix the water source, or you’ll be back to the same repair within two seasons.
- Letting anyone start work before a written, line-item scope is signed. Not just a price – a description of what’s being done, where, and how deep the base is being built. If the scope isn’t on paper, neither is the price.
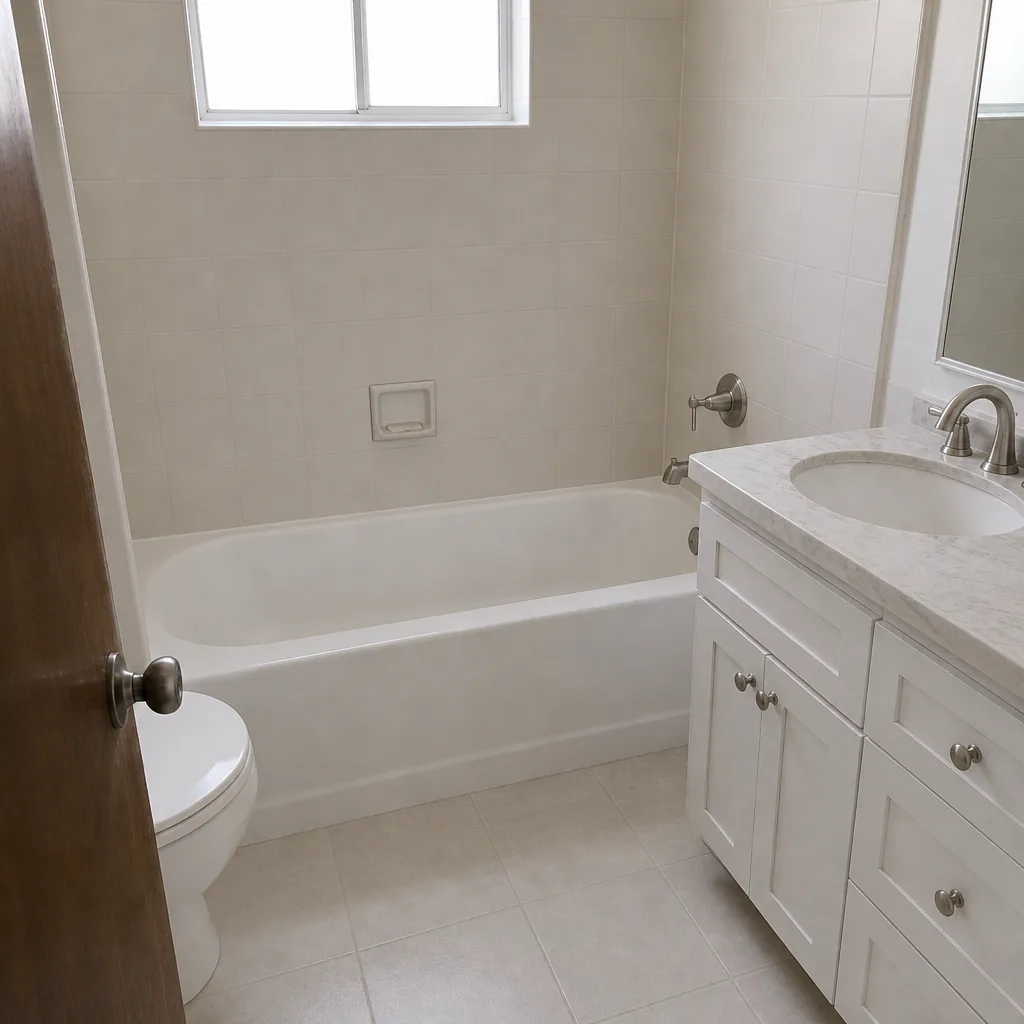
See the difference
 Before
 After
 Before
 After
 Before
 After
When to Call a Professional
Call a professional when the tap test shows a connected cluster of hollow spots, when pavers are heaving instead of settling, when the base or fabric has to be opened up, or when drainage has to be corrected. Those are the situations where DIY gets expensive fast – either because the repair fails or because it voids a warranty that would have covered it. Minor cleaning, isolated joint sanding, and re-sealing are reasonable to handle yourself. Anything touching the base, the geotextile, or the slope is not.
If you’re in Santa Ana and your driveway has a problem you can’t quite diagnose from the surface, call Barrett & Sons Construction Santa Ana at (888) 325-4971 for a free estimate. We’ll run the tap test with you, show you what the ground is telling us, and quote the actual repair – not a rebuild you don’t need. Every scope comes in writing, and the same 90-Day Done Right Promise that backs our kitchen and bath remodels backs every paver repair we do. You can also see how we approach full installs on our Driveway & Pavers in Santa Ana page, or check out our Fence Installation in Santa Ana work if a paver project has you thinking about other hardscape updates.
Frequently Asked Questions
A sunken corner almost always means the base material under that section has compacted, washed out, or was never compacted properly to begin with. Fixing it means lifting the affected pavers, re-compacting or rebuilding the base, and resetting – not adding more sand on top. If the sunken area is where water pools after rain, fix the drainage in that spot or the new base will fail the same way.
Only if the base under the pavers is solid and the pavers aren’t moving. Polymeric sand is the finish, not the fix. If pavers are rocking or hollow when you tap them, the sand has nothing solid to hold onto and will wash out within a month or two. Test first, sand second.
Weeds coming through the center joints in a scattered pattern almost always means the fabric was skipped or torn. Weeds along the edges only usually mean the fabric didn’t get carried far enough. Either way, the fix is lifting the affected pavers and installing woven geotextile correctly, not pulling weeds and re-sanding.
Probably not. White, chalky, powdery bloom is efflorescence – natural mineral salts rising to the surface, and it brushes off. It doesn’t mean the paver is failing. Dark green, black, or gray fuzzy growth is mold or mildew, and it points to a drainage problem that has to be fixed, not just cleaned.
Localized settle repairs in Santa Ana typically run $600 to $1,800 for one or two sections, while a full rebuild of a 1,000-square-foot driveway runs $9,000 to $18,000 depending on the paver selection and base depth. Re-sanding and re-sealing alone is $400 to $900. Call (888) 325-4971 for an exact quote – estimates are free, and we’ll show you which category your job is in before you commit.
Homeowner-installed base repairs usually void most installer warranties, yes. Cleaning, isolated joint sanding, and re-sealing typically don’t. If your driveway is under warranty, call the original installer first and document the problem in writing before anyone touches it. If you’re hiring someone new, ask whether their warranty covers the base, not just the pavers.
The Bottom Line
Almost every paver problem you can see at the surface is a base failure you can’t see. Re-sanding and re-sealing make the driveway look better, but they don’t fix settlement, heave, or missing fabric – and patching over a base problem makes the eventual repair bigger and more expensive. The tap test is your first move, and it costs nothing. Map the hollow spots, look at the pattern, watch where the water goes after rain. Fix the cause before the surface.
Santa Ana homeowners deserve straight answers about hardscape problems and a contractor who shows up when he says he will. If your driveway is telling you something and you want a second set of eyes on it – tap test included – call (888) 325-4971 for a free estimate. We’ll walk the driveway with you, explain what the ground is telling us, and put the scope in writing before anyone touches a paver. Our crew members carry up to 28 years of experience in local soil and local conditions. And whether it’s a paver repair today or something larger down the road – like a Home Additions & ADU in Santa Ana project that touches the same hardscape – you’ll get the same written scope, the same pulled permits, and the same 90-Day Done Right Promise. If you’re new to us, start at the Barrett & Sons Construction Santa Ana home page and look us up before you sign anything.
Written by the team at Barrett & Sons Construction Santa Ana.